I used to think gluten free sourdough bread lived in two categories: sad or pricey. Then I’d stand in the aisle doing math like a stressed accountant. The good loaf cost a small fortune, and it still looked tiny. The cheap loaf tasted like polite cardboard.
I don’t mind paying for quality, but I hate paying for disappointment. I’ve found that gluten-free bread can overpromise in a very confident font. So I started craving a loaf that tasted real and looked cute. Yes, cute counts, because counters are basically tiny stages.
Living in Orlando, I watch tourists drop nine bucks on snacks without blinking. I’m not judging, but I’m also not adopting that energy for bread. I wanted bakery vibes without the bakery bill. I also wanted that slow tang that makes butter taste louder.
Here’s the plot twist. Gluten-free sourdough doesn’t behave like regular sourdough. It has its own rules, and it won’t explain them. Still, once you get the system, it turns into a repeatable flex.
I’ll share the full recipe, the process, and the budget moves that keep it realistic. I’ll also share the little styling tricks that make it look bakery-level. I tend to notice that people quit right before it clicks. Meanwhile, the first win usually comes from one small change. That change isn’t glamorous, but it’s sneaky powerful. And yes, I’m about to tell you what it is. Today, I want you to steal that move and keep budget room for fun.
Some of the links on this page are affiliate links. That means if you click and make a purchase, I may earn a small commission at no extra cost to you. If you’re curious about the fine print, you can check out my full disclosure.
Gluten Free Sourdough Bread Without Fancy Flour Drama
Let’s clear up a big assumption. People think gluten-free means you need a boutique flour collection. I used to assume that too, because the internet loves a shopping list. Then I checked most store labels and laughed.
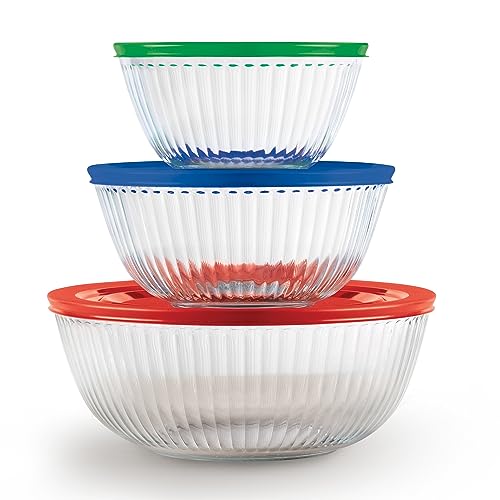
Most gluten-free loaves lean on rice flour and starch. So I build my pantry around those basics and buy bigger bags. Bigger bags look less cute in photos, but they look amazing in the cart total. Also, I store them in simple jars, so the kitchen still looks put-together.
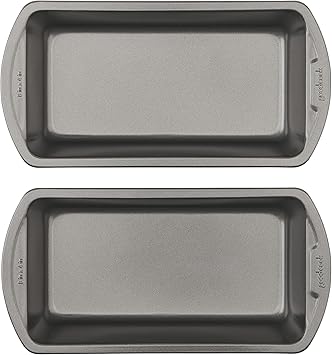
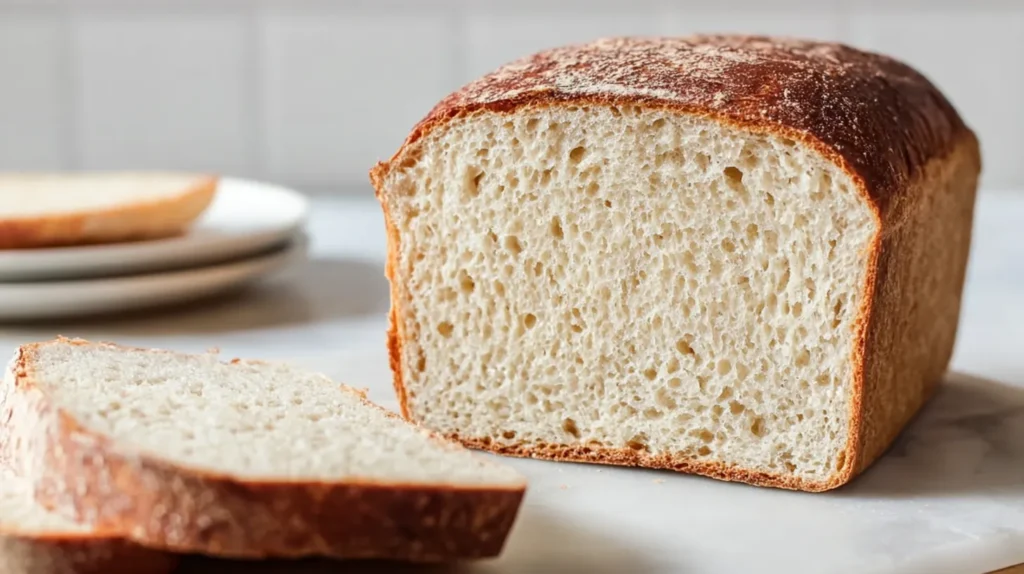
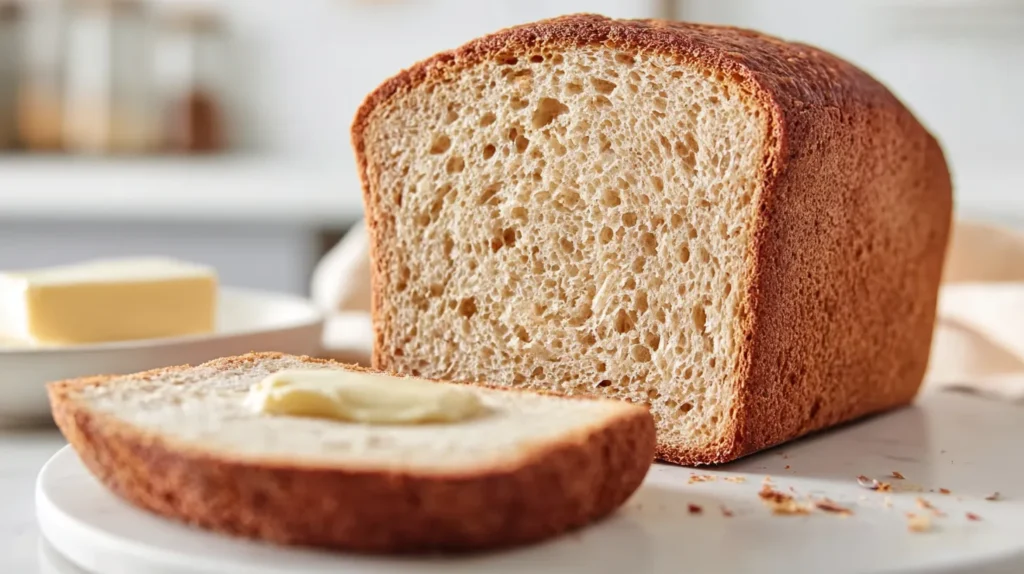
Here’s the other assumption that needs a little shove. You don’t need a perfect boule to win. You need slices that toast well, stack well, and don’t crumble like confetti. A loaf pan gives you that clean, stylish shape with zero stress.
Gluten free sourdough bread works best when you accept it as its own thing. It won’t do the stretchy windowpane trick. However, it can give you tang, lift, and a crust that looks bakery proud.
Also, don’t overlook the stylish part of budget life. A good loaf makes cheap soup look intentional. It turns basic eggs into a brunch moment. That’s the quiet power of a pretty slice.
I tend to notice that the best frugal upgrade is consistency, not more ingredients. Mix the same way every time. Use the same pan every time. Then tweak one thing, not five things.
If you freeze slices, you save money and sanity. Pop parchment between slices, then bag them tight. Toast straight from frozen, and the texture stays steady. That move keeps waste low and breakfasts fast.

The Starter Situation That Makes Or Breaks It
Starter talk can get weirdly intense. Some people treat it like a pet with feelings and a bedtime. I keep it practical, because I like results. Still, the starter decides your flavor, so it deserves attention.
For gluten-free starter, I use brown rice flour and water. I’ve found that brown rice flour ferments reliably and tastes mild. White rice flour works too, but it can run sleepy. If you already have a gluten-free starter, keep using it.
A bubbly starter isn’t always a strong starter. Sometimes it’s just gassy. Strength shows up in smell and rise, not just bubbles.
I keep my starter thick, like a soft paste. Thin starter can sour fast, but it can also weaken structure. Thick starter gives me cleaner lift in the loaf pan. That lift matters, since gluten won’t help.
I feed at a 1:1:1 ratio by weight for daily care. That means equal parts starter, flour, and water. When I want to bake, I do two feeds, twelve hours apart. Then I use it at peak, when it domes.
When your starter smells like nail polish, it needs more feeding. A yogurt-like scent means you’re getting close. If there’s barely any smell, it isn’t ready yet. And yes, waiting is annoying, but it pays off.
For gluten-free sourdough bread, I want a starter that peaks predictably. So I mark the jar with a rubber band. That trick prevents guesswork and wasted flour. It also keeps me from baking with a starter that’s past its prime.
If your kitchen runs cool, use a simple warm spot. I set the jar near, not on, an appliance. You can also use the oven light. Consistent warmth beats fancy gear. Then your timeline stops feeling like a prank.
Gluten Free Sourdough Bread Recipe Ingredients And Tools
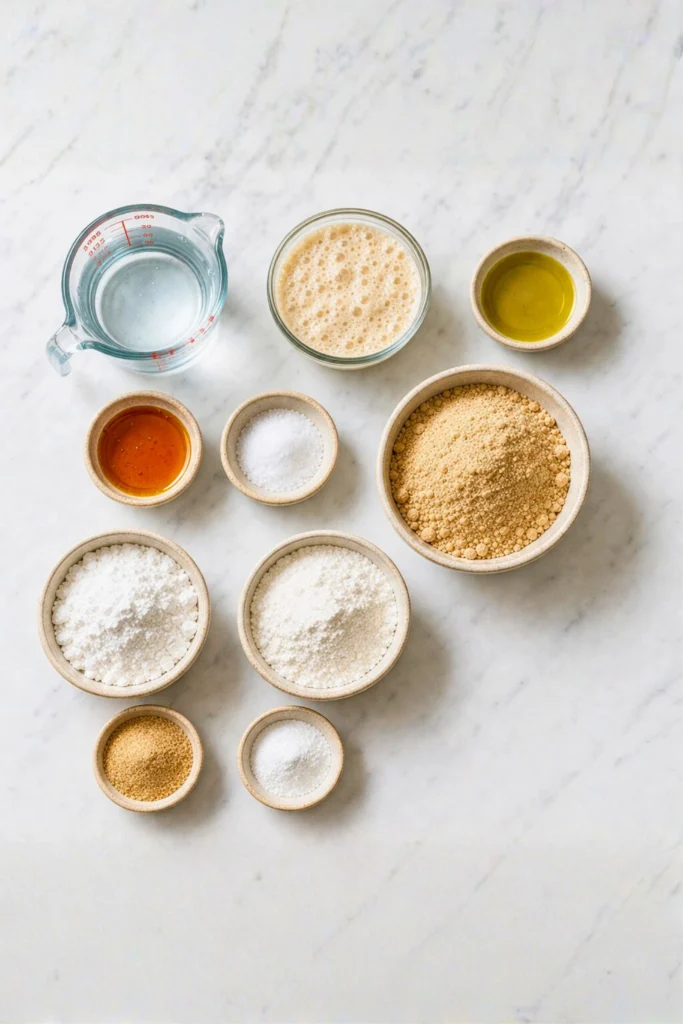
I like recipes that don’t require a scavenger hunt. This loaf uses common gluten-free staples and one good pan. The assumption I dropped was more ingredients equals better bread. Better bread comes from balance, not chaos.
Here’s what I use for one standard 9×5 loaf pan. I weigh everything, because cups can lie. Also, a scale costs less than ruined batches, so it earns its spot. I use these ingredients for one loaf:
- 300 g warm water, about 95°F
- 120 g active gluten-free starter, at peak
- 25 g olive oil
- 20 g honey or sugar
- 12 g fine sea salt
- 220 g brown rice flour
- 120 g tapioca starch
- 60 g potato starch
- 10 g psyllium husk powder
- 8 g baking powder
Approx Cup Conversions (Best Effort)
- 300 g warm water = 1 1/4 cups (plus 1 Tbsp)
- 120 g active starter = about 1/2 cup (thick starter varies)
- 25 g olive oil = about 2 Tbsp
- 20 g honey = about 1 Tbsp
- 12 g fine salt = about 2 tsp
- 220 g brown rice flour = about 1 3/4 cups (varies by grind)
- 120 g tapioca starch = about 1 cup
- 60 g potato starch = about 1/2 cup
- 10 g psyllium husk powder = about 2 Tbsp
- 8 g baking powder = about 2 tsp
I use these tools, and none of them are fussy:
- Digital kitchen scale
- Large bowl and sturdy spoon
- 9×5 loaf pan
- Parchment paper
- Small bowl for mixing psyllium
If you can’t do honey, use sugar. If you can’t do potato starch, use more tapioca. Keep the psyllium, though, because it creates structure. Psyllium doesn’t add flavor, but it changes the slice. And yes, it looks like a weird ingredient, but it’s the quiet hero.
I buy flours in larger bags when they hit sale. Then I portion them into jars, so the pantry looks calm. That’s my favorite budget-stylish crossover. Messy bags scream chaos, and jars scream I planned.
Gluten-free sourdough bread needs enough starch for lift and enough flour for flavor. Tapioca brings stretch, while rice brings body. Potato starch softens the crumb, so it doesn’t eat like foam. Baking powder sounds like cheating, but it helps the rise. Think of it as backup, not the main plan.

Mix, Ferment, Bake: The Process
This is where people overcomplicate things. They assume gluten-free dough needs constant babysitting. I’ve found that it needs clear steps and then some space. So I keep the workflow simple and repeatable.
First, mix the psyllium with the warm water in a small bowl. Stir it fast, then wait two minutes. It will gel into a thick slurry. That gel gives the loaf structure later.
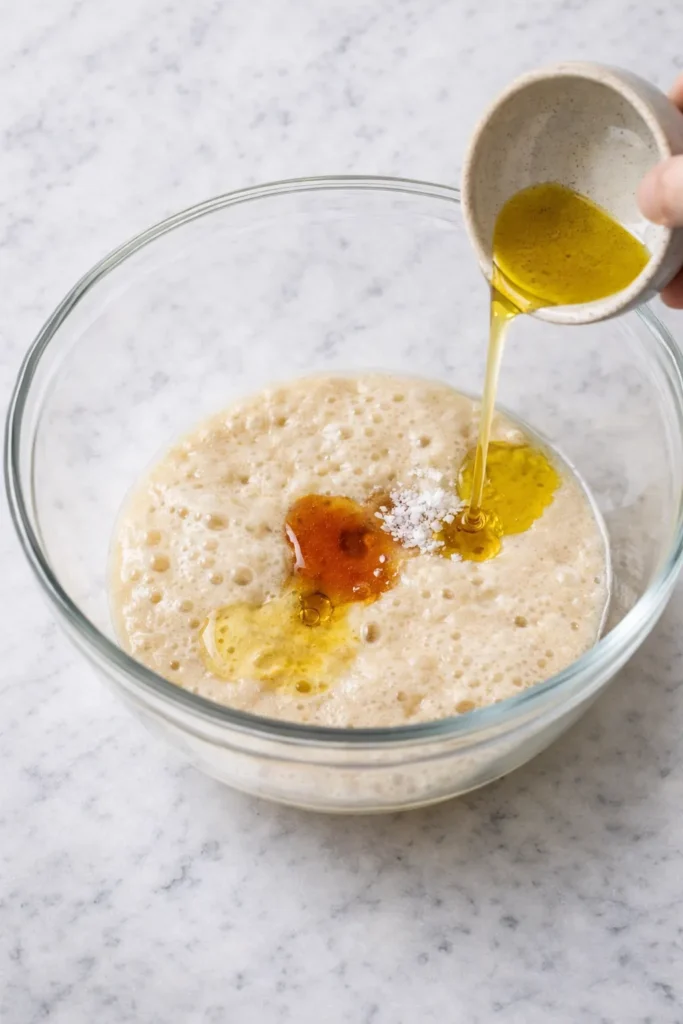
Next, add starter, oil, honey, and salt to a large bowl. Stir until the starter dissolves. Then add the flours, starches, and baking powder. Pour in the psyllium gel, and mix hard for two minutes.
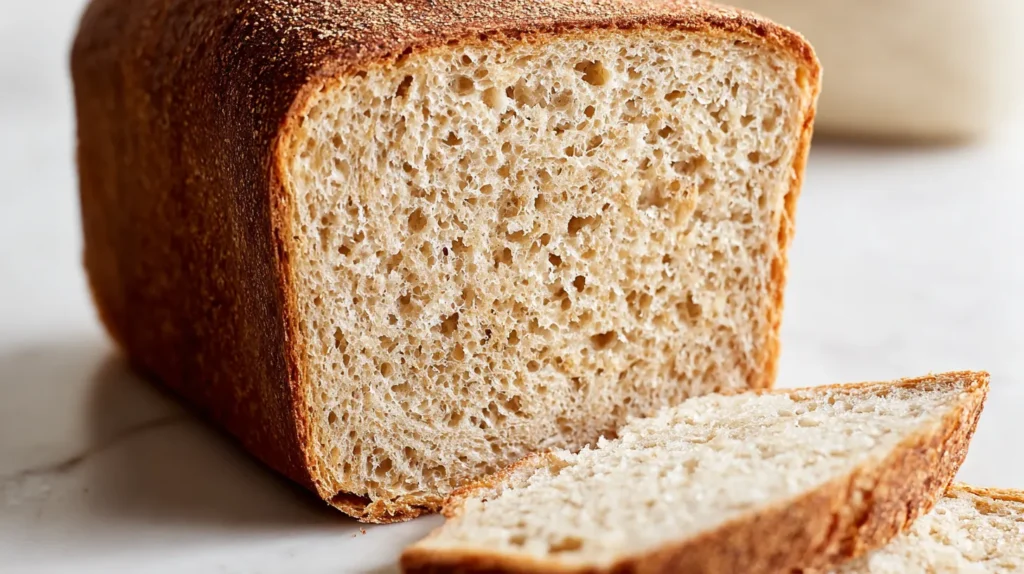
Now the dough should look like thick cake batter. That texture surprises people, and they panic. Don’t add extra flour unless it truly pours like soup. Thick batter is correct for gluten free sourdough bread.
Use parchment to line the loaf pan, then scrape in the dough. Smooth the top with wet fingers. Cover the pan loosely, and let it rise at warm room temperature. I aim for 60–90 minutes, until it crowns just above the rim.
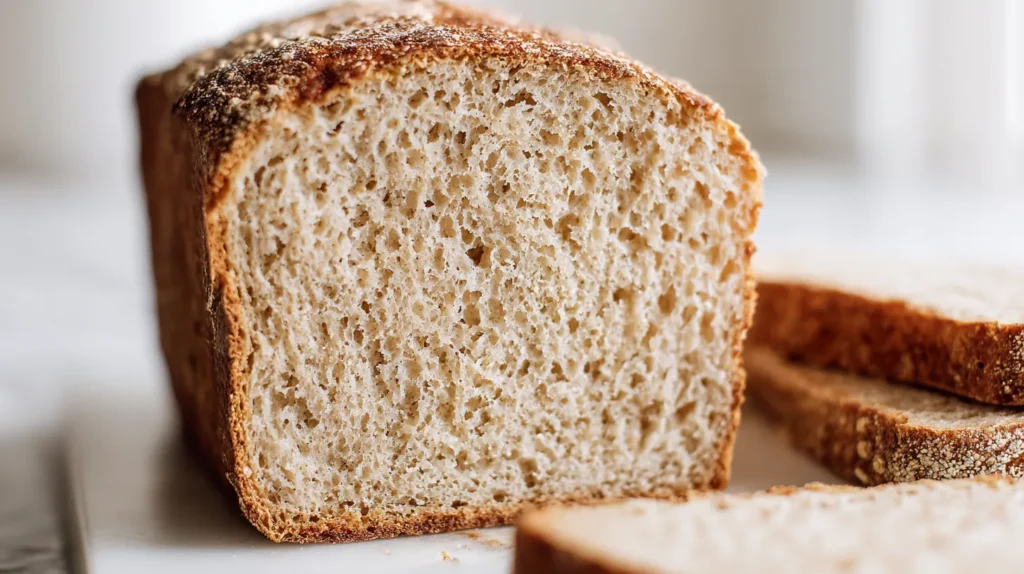
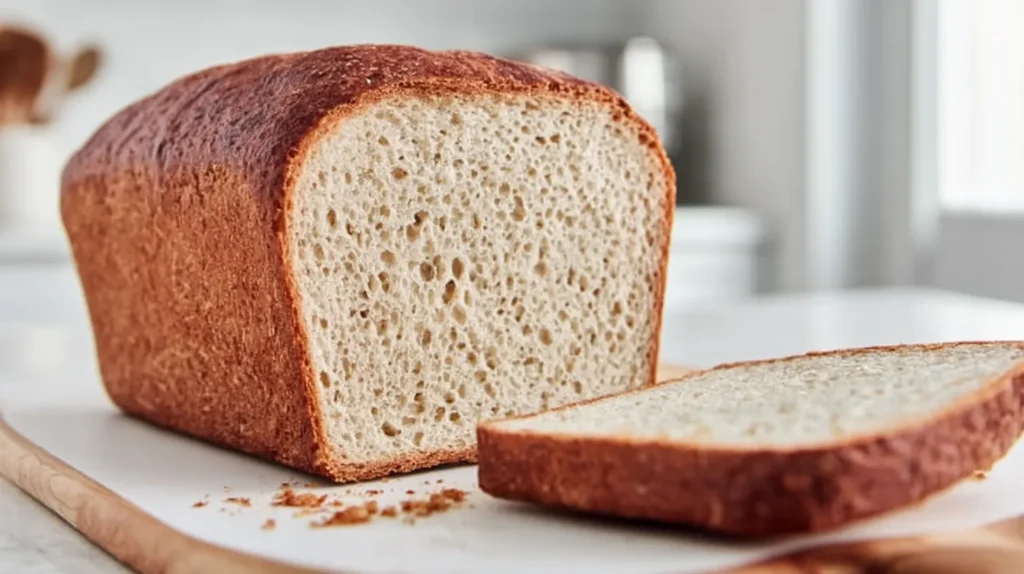
Bake at 400°F for 50–55 minutes. Then remove the loaf from the pan and bake 10 minutes more on the rack. Cool completely, at least two hours, before slicing. Cutting early steals the crumb set, and it turns gummy.
If you want a crustier top, spritz water in the oven at the start. If you want a softer crust, brush oil on the top after baking. Either way, let it cool, because patience makes it slice.
Quick timeline I use:
- Mix: 10 minutes
- Rise: 60–90 minutes
- Bake: 60–65 minutes total
- Cool: 2 hours, minimum
Budget Math For Gluten Free Sourdough Bread Per Loaf
Let’s talk money, because romance doesn’t pay for groceries. People assume homemade gluten-free costs more, and sometimes it does. That usually happens when you buy tiny bags forever. However, Publix math gets more honest when you price it by ounces.
I’m using typical Publix shelf pricing as my baseline here, and I’m aiming for “close enough to trust.” Delivery prices can run higher than in-store, so consider this the slightly higher estimate. Still, this gives a realistic range you can plan around. Gluten free sourdough bread can land near store-loaf pricing without the sad texture.
Here’s a close Publix-style breakdown for one loaf using the recipe amounts in this post:
- Brown rice flour: about $2.30
- Tapioca starch: about $1.00
- Potato starch: about $0.65
- Psyllium husk powder: about $0.50
- Honey: about $0.30
- Olive oil: about $0.55
- Baking powder: about $0.15
- Salt: a few cents
That puts the loaf around $5.45 before you count the flour inside your starter. If your starter contributes about two ounces of flour, add roughly $0.60. So you’re looking at about $6.00 per loaf, give or take, depending on brand and sales.
Now for the stylish part of being money-savvy. I put the savings into presentation, not extra ingredients. A simple bread board and a clean tea towel make cheap soup look intentional. And when the loaf slices clean, it’s easier to freeze, toast, and avoid waste.
If you want that number lower, chase unit prices, not pretty packaging. Grab larger flour bags when Publix runs good promos, then store them in jars. That’s how the kitchen stays cute and the budget stays calm.


Texture And Crust Fixes When It Gets Weird
Gluten-free sourdough can get weird in very specific ways. It can bake up gummy, or it can crumble like dry sand. That contrast makes people think they failed. Usually, they just missed one lever.
More flour doesn’t always fix wet bread. It can actually lock in gumminess. Instead, bake longer and cool longer.
If the center stays tacky, extend the rack bake by 10 minutes. Then let it cool fully, no shortcuts. Cooling sets the crumb, and slicing early breaks it. I know waiting stinks, but it works.
If the loaf crumbles, check your psyllium amount and your water. Psyllium binds and holds moisture in place. Too little psyllium means weak slices. Too little water means dry crumb.
For gluten free sourdough bread, I also watch the rise. Overproofing can collapse the top and create a dense line. Underproofing can bake up tight and heavy. Aim for a gentle crown above the pan rim.
Crust problems have easy fixes, too. When the crust gets too hard, brush oil on after baking. If the top stays pale, bake uncovered and add five minutes. For deep cracks, smooth the surface with wet fingers before rising.
And if your loaf tastes bland, your starter wasn’t ready. That’s the truth nobody likes. Feed it, wait, and let flavor build. Your future toast will thank you.
I’ve found that salt also gets underestimated in gluten-free baking. If you cut salt too far, the loaf tastes flat. So I keep the full 12 grams, unless a doctor says otherwise. Bread needs seasoning, because it’s not a dessert.
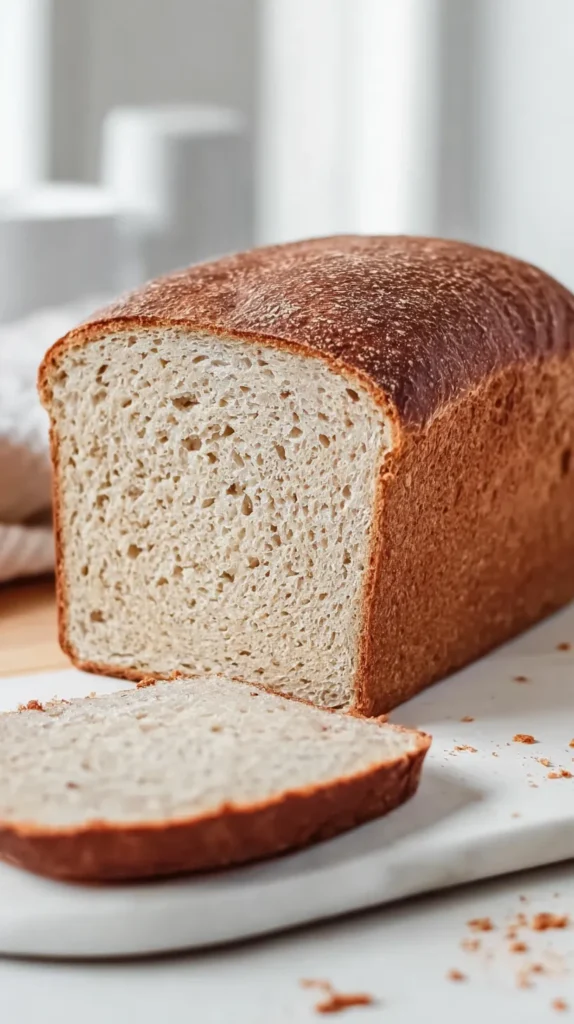
Also, don’t chase perfect holes like it’s a sport. Wheat sourdough can show off with big pockets. Gluten-free crumb stays finer, and that’s okay. Fine crumb makes better sandwiches, and sandwiches save money.
Serving Ideas That Look Stylish, Not Stingy
Budget food can look expensive when you plate it like you meant it. That sounds dramatic, but it’s true. I tend to notice that cheap often looks cheap because we rush. A little intention changes the whole vibe.
Start with slices that are even. Uneven slices scream chaos, and chaos invites waste. So I use a serrated knife and a calm pace. Then I toast lightly, because toast forgives texture quirks.
Here’s a fun contrast. A plain slice can look boring. A plain slice can also look chic, if you keep it simple. The difference is toppings and spacing.
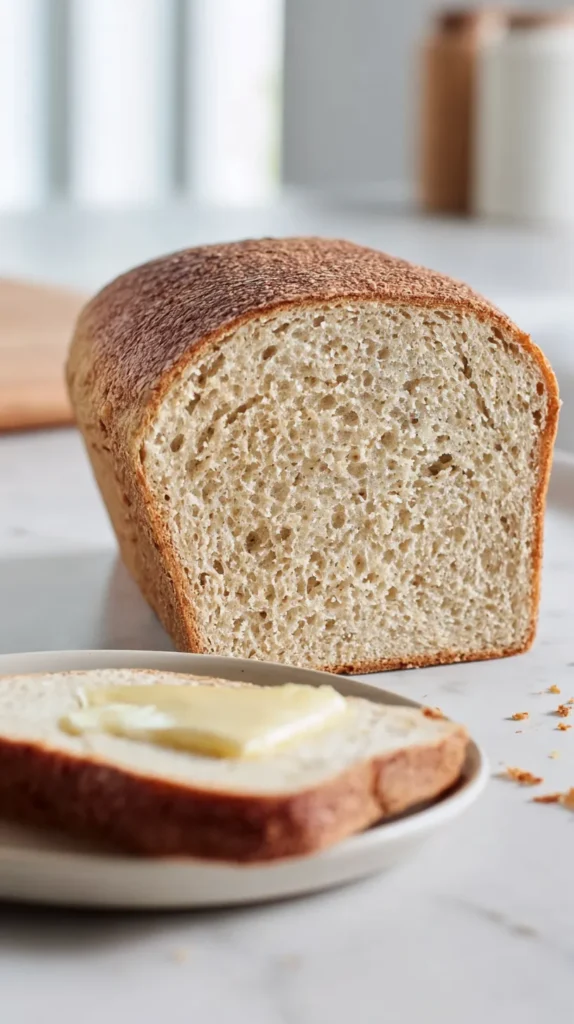
For sourdough bread that’s gluten free, I like toppings that add color. Think jam, herbs, bright fruit, or a swipe of hummus. Add one crunchy element, like seeds or flaky salt. Then stop, because too many toppings turn into a mess.
If you pack lunches, this loaf plays well with budget staples. Peanut butter stays tidy. Egg salad sits nicely. Even basic turkey looks upgraded on a tangy slice.
Also, I love a bread basket moment for guests. Use a tea towel, and tuck in sliced bread like you own a café. Serve butter in a small dish, not the wrapper. That one change makes the table look grown.
If you want a wow without spending, do garlic toast. Brush oil, add minced garlic, sprinkle parsley, and toast. People act like you bought it. Let them.
Gluten-free sourdough bread also shines with soup nights. A $5 pot of beans feels like a restaurant with toast on the side. Pair it with a simple salad, and dinner looks intentional. That’s my favorite kind of frugal: quiet and confident.
Now, you’re probably thinking one thing. Okay, but what about swaps and storage? Good question. Let’s get into the questions people always ask.
Gluten Free Sourdough Bread FAQs People Whisper At Me
Questions love to show up mid-bake like a jump scare. I’ve found that quick answers keep the loaf from turning into a mood. This section stays practical, because panic never improves bread. Still, a few tweaks can save gluten free sourdough bread fast.
- Can I skip psyllium husk powder? I don’t recommend it, because the loaf loses structure.
- Do I need a stand mixer? Nope, although it helps, a sturdy spoon works.
- Is an overnight cold ferment okay? Yes, refrigerate the covered pan for 8–12 hours.
- Will a Dutch oven work here? No, batter dough spreads and bakes dense.
- Does this recipe contain dairy? No, so dairy-free is already handled.
- Are eggs required for this loaf? Not at all, which keeps it simple.
- What if I want seeds or nuts? Add 2–3 tablespoons, then mix very well.
- Why did my loaf turn gummy? You likely sliced early or underbaked the center.
- Why did my loaf crumble? Your dough needed more water or a full psyllium dose.
- Why didn’t it rise much? Your starter probably wasn’t at peak strength.
- How should I store it? Cool fully, slice, freeze, and toast from frozen.
- How do I make it less sour? Shorten the rise, and use a younger starter.
I used to assume sourdough must take two days. Gluten-free can move quicker and still taste tangy. If the top sinks, you probably overproofed the pan. When the crust turns too hard, brush oil after baking. For serving, toast slices and top with butter and flaky salt. Then build sandwiches, because a fine crumb holds fillings better. Also, let the loaf cool two hours before slicing. That cooling time sets the crumb and improves texture.
Gluten-Free Sourdough Bread
Ingredients
- 300 g warm water about 95°F
- 120 g active gluten-free starter at peak
- 25 g olive oil
- 20 g honey or sugar
- 12 g fine sea salt
- 220 g brown rice flour
- 120 g tapioca starch
- 60 g potato starch
- 10 g psyllium husk powder
- 8 g baking powder
Instructions
- Mix the psyllium husk powder with the warm water in a small bowl.
- Stir quickly and let it sit for 2 minutes until it gels into a thick slurry.
- Add the starter, olive oil, honey or sugar, and sea salt to a large bowl.
- Stir until the starter dissolves into the liquids.
- Add the brown rice flour, tapioca starch, potato starch, and baking powder to the bowl.
- Pour in the psyllium gel.
- Mix vigorously for 2 minutes until the batter is thick and cohesive.
- Line a 9×5 loaf pan with parchment paper.
- Scrape the batter into the pan.
- Smooth the top with wet fingers.
- Cover the pan loosely.
- Let it rise at warm room temperature for 60–90 minutes until it crowns just above the rim.
- Preheat the oven to 400°F.
- Bake for 50–55 minutes.
- Remove the loaf from the pan.
- Place the loaf directly on the oven rack and bake for 10 more minutes.
- Cool completely for at least 2 hours before slicing.
The Loaf-On-The-Counter Kind Of Confidence
Some days I just want food to cooperate. I don’t want a project, and I don’t want a lecture. I want a slice that toasts, stacks, and makes breakfast look intentional. That’s the whole vibe. Honestly, that small win can reset my mood faster than any motivational quote.
I’ve found that baking at home changes how I shop. Suddenly, the sale shelf looks like opportunity. Meanwhile, the expensive aisle starts losing its power. I stop buying tiny treats that disappear in one snack.
There’s also something quietly stylish about a real loaf. A loaf pan shape looks clean and modern. A simple bread board looks calm on the counter. Even a basic kitchen feels more pulled together.
Living in Orlando, I can walk into any store and find overpriced convenience. I can also come home and make my own comfort for less. That trade feels good, and it stays good. Plus, it leaves room for fun stuff, like a fancy coffee.
Gluten free sourdough bread became my favorite kind of budget flex. It tastes like effort, but it saves money. It also keeps me from impulse-buying random baked things.
If you want to share your loaf, snap a photo and pin it to Pinterest. I love seeing what people do with a recipe once it’s theirs. Also, keep notes on your rise and bake time. Your next loaf will improve faster than you expect.
And when your kitchen smells like real bread, you’ll know you won.