I tend to notice dinner gets weird right before it gets real. One minute I’m fine, and the next I’m bargaining with my pantry. On those days, Hawaiian roll sliders solved a problem I didn’t want to admit. I want cheap comfort that still looks cute on a tray.
Most of us don’t crave a whole production. We crave a shortcut that doesn’t scream shortcut. I also want food that looks a little styled, because I’m like that. A shiny pan of small sandwiches reads put-together, even if my day wasn’t. Sometimes I want dinner to look like a party, even if it’s not. Meanwhile, I want the cleanup to stay quiet.
Living in Orlando means heat, last-minute plans, and people dropping by like it’s a sport. So I lean into snacks that can play dinner without turning my kitchen into a sauna. Tiny sandwiches do that better than a big bake.
Here’s the tension, though. Some sliders taste flat and soggy, and I refuse to serve sadness on sweet bread. That buttery top and neat slice matter more than people admit. Plus, the grocery total needs to behave. In a minute, I’m sharing variations that keep the budget calm and the tray cute. Along the way, I’ll drop the small moves that keep the tops glossy.
But first, one sneaky reason ruins most slider trays. Once you spot it, you can’t unsee it.
A few links on this page are affiliate links, so if you click and buy, I might earn a small commission. It never costs you more, and it helps support the site. You can read my full disclosure if you’re into the fine print.
Hawaiian Roll Sliders That Look Expensive on a Cheap Tray
I’ve found the fancy part comes from the top, not the filling. Sweet rolls already look special, so I treat the finish like a statement earring. A glossy top says you planned this, even if you didn’t.
Most people stop at plain butter. I mix a quick brush that tastes like more than it costs. Then I pour it slowly, so it slips into the seams. That one move keeps the edges soft and the top shiny.
Here’s my budget finish bowl.
- 4 tbsp melted butter
- 1 tbsp Dijon mustard
- 1 tsp brown sugar
- 1 tsp poppy seeds
- 1/2 tsp garlic powder
- 1/4 tsp salt
Now the vibe shift. People assume cheap food has to look cheap. I don’t buy that. Clean cuts, a warm pan, and a little shine read stylish. Meanwhile, the filling can stay basic and still win. A little contrast makes the whole tray pop.
Try this styled tray combo.
- Pickles or pepperoncini for tang
- One crunchy layer, like fried onions
- A simple dip in a cute bowl
- A garnish corner, like grapes or radishes
That’s the payoff. Hawaiian roll sliders act like party food, even on a Tuesday. And yes, the bread stays sweet, but the tray doesn’t taste sweet. Acid and crunch keep it balanced, so every bite lands.
If your rolls brown too fast, cover them early. When they look pale, uncover sooner and watch closely. I tend to notice the last eight minutes decide everything. In the next section, I’ll share the slicing habit that saves your mood.
The Slice-Once Move That Saves Your Sanity
I used to build sliders like twelve tiny sandwiches. That method made me cranky. So I switched to the slab approach, and everything got calmer. You keep the rolls connected, slice once, and build once.
Grab a serrated knife and go slow. I tend to notice speed creates torn bread. A gentle saw motion keeps the top neat. Then set the top slab aside without flipping it.
Here’s the sneaky fail point. People stack wet stuff right on the bread. That turns the bottoms gummy fast. Instead, start with a thin cheese layer on the bottom. Cheese protects the bread from moisture. Then add your main filling. After that, add pickles, onions, or anything juicy. Finish with another light cheese layer.
Now for the part that sounds dramatic. Press the top slab down with your palm. Don’t smash it. Just settle the layers, so they hold together.
Cut before you bake. Pre-cutting gives you cleaner squares later. It also helps the topping settle into the seams instead of pooling on top.
Once you bake, let the pan rest five minutes. Steam calms down, and cheese sets up. Then every piece lifts clean, and the tray looks tidy. Hawaiian roll sliders should look like you meant them to.
Next, I’m sharing the classic ham version that never fails.
More sauce doesn’t mean more flavor. Too much sauce just means slip. I keep spreads thin and let the topping carry the punch.
Line a rimmed pan with foil. Cover first, then uncover to brown. That two-stage bake keeps tops tender and glossy. Next, the ham version shows the spread that seals the deal.
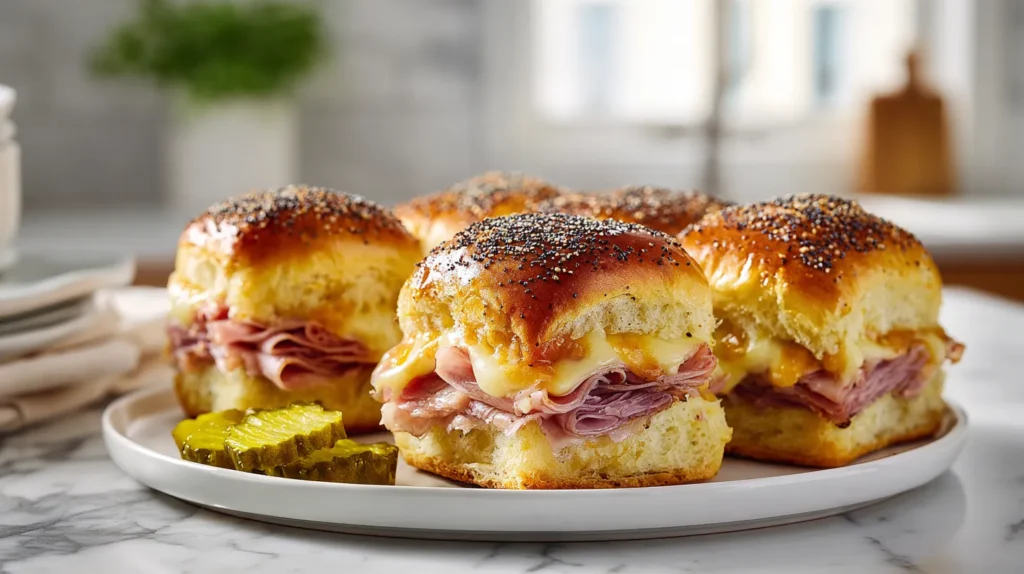
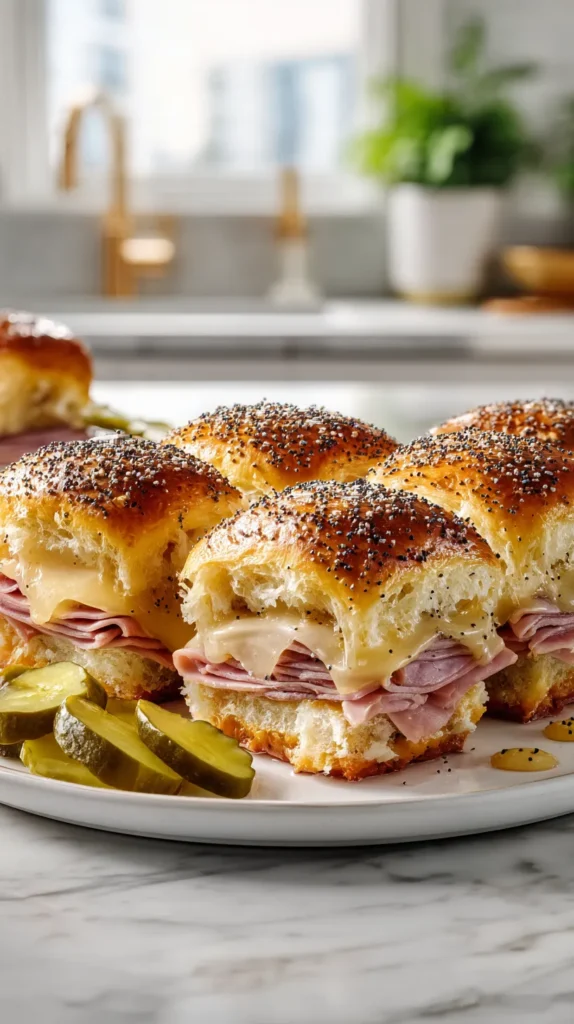
Honey Mustard Ham Hawaiian Roll Sliders
This is the tray I pick when I want zero surprises. The flavor hits sweet, tangy, and salty fast. Also, ham stays budget-friendly when you buy it thin. Thin slices stack better and slice cleaner.
Ingredients.
- 12 Hawaiian rolls, kept connected
- 12 oz deli ham, thin sliced
- 6 slices Swiss or provolone
- 2 tbsp mayonnaise
- 2 tbsp Dijon mustard
- 1 tbsp honey
- 2 tbsp chopped dill pickles (optional)
Topping.
- 4 tbsp butter, melted
- 1 tbsp Dijon mustard
- 1 tsp brown sugar
- 1 tsp poppy seeds
- 1/2 tsp garlic powder
- 1/4 tsp salt
Steps.
- Heat oven to 350°F and line a pan with foil.
- Slice the roll slab in half, then set tops aside.
- Stir mayo, Dijon, and honey, then spread on the bottom.
- Layer cheese, ham, optional pickles, then cheese again.
- Place tops back on and press gently to settle.
- Whisk topping and pour slowly over seams and tops.
- Cover and bake 15 minutes, then uncover 8 minutes.
Rest the pan five minutes before cutting. That short wait keeps the layers from sliding and the bottoms from turning soft. Bigger cheese slices don’t make better sliders. Thinner slices melt faster and taste smoother in each bite.
If Swiss tastes too mild, swap provolone or pepper jack. For more bite, add a thin swipe of horseradish mustard. Make-ahead works, too. Assemble them earlier, cover tight, and bake later. Serve with chips, a simple salad, or fruit. Add extra honey mustard in a small bowl. That tiny bowl makes Hawaiian roll sliders look catered. Next, I’m turning them into cheeseburgers with a sauce twist.
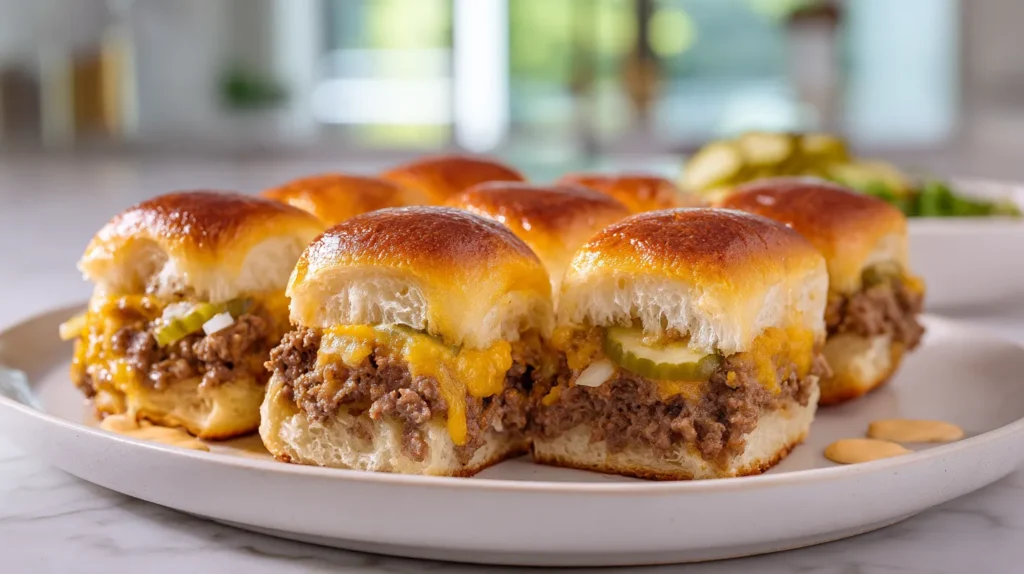
Cheeseburger Hawaiian Roll Sliders With a Drive Thru Vibe
People assume sliders have to start with deli meat. I think ground beef wins on value. One pound feeds a crowd, and it tastes familiar. Plus, baked on sweet Hawaiian rolls, it hits that salty-sweet balance fast.
Heat the oven to 350°F and line a rimmed pan with foil. Keep the 12-pack of Hawaiian rolls connected and slice the entire slab in half horizontally. Set the top slab aside without flipping it.
Brown 1 lb ground beef, then drain it well. Season with 1 tsp salt, 1/2 tsp pepper, and 1 tsp garlic powder. Stir in 3 tbsp ketchup and 1 tbsp mustard.
Now make the sauce. Mix 1/3 cup mayo, 2 tbsp ketchup, 1 tbsp relish, and 1 tsp mustard. Add 1/2 tsp smoked paprika for extra depth. Spread a thin layer of sauce over the bottom slab of the Hawaiian rolls.
Layer 6 slices cheddar directly on the bread. Spread the seasoned beef in a thin, even layer. Add 1/4 cup diced onion and 1/2 cup chopped pickles for crunch. Top with 6 more cheddar slices, then gently place the Hawaiian roll top slab back on.
Brush the tops with 2 tbsp melted butter. Cover and bake 12 minutes. Uncover and bake 6 more minutes for browning.
Blot the beef before assembling if it looks shiny. Less grease keeps the sweet Hawaiian rolls from turning soggy. Thin layers taste more balanced in each bite. Let the pan rest five minutes, then cut into clean squares.
After baking, add shredded lettuce for fresh crunch if you like. Keep tomato slices very thin or skip them. Serve with fries, carrot sticks, or kettle chips. Extra sauce in a small bowl makes these Hawaiian roll sliders feel like a snack board, not just dinner.
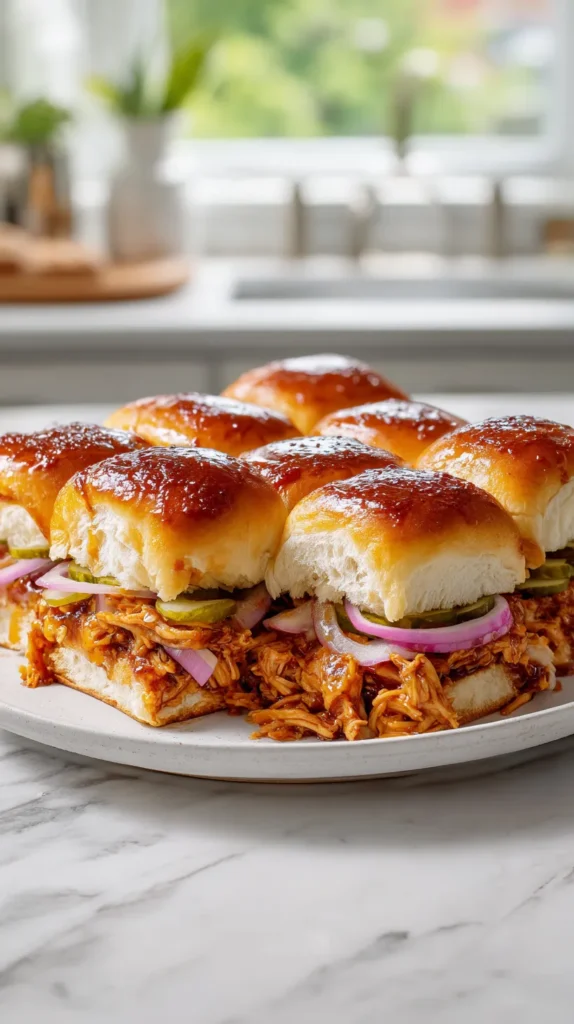
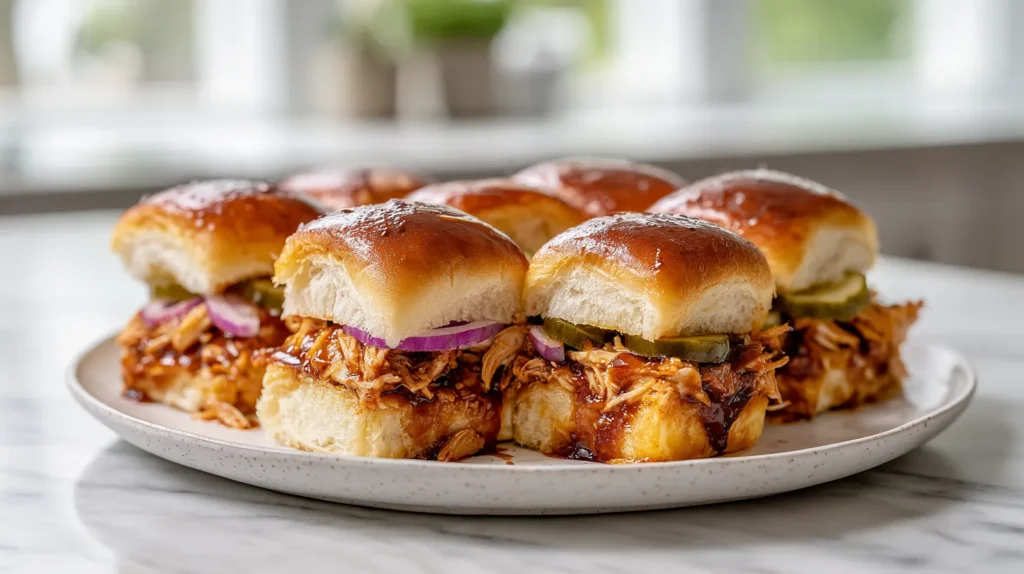
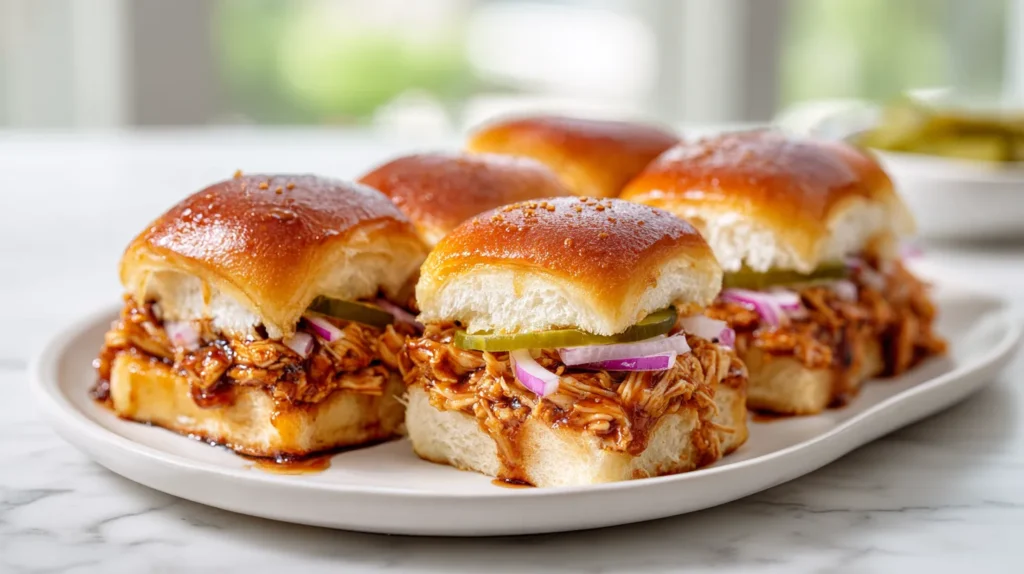
Sweet and Spicy Chicken Sliders on Hawaiian Rolls That Tastes Amazing
This version brings heat without wrecking the budget. I use cooked shredded chicken because it slices clean. Shredded meat also spreads, so you need less.
Heat oven to 350°F and line your pan. Mix 1/3 cup BBQ sauce with 2 tbsp hot sauce. Add 1 tbsp vinegar and 1 tbsp brown sugar, then stir smooth. Toss in 2 cups shredded chicken and coat it well.
Slice the rolls as one slab, then set the tops aside. Lay 6 slices pepper jack on the bottom slab. Spread the chicken in an even layer. Add 1/2 cup thin red onion and 1/2 cup pickles.
Put the top slab back on and press gently. Mix 4 tbsp melted butter with 1/2 tsp chili powder. Brush the tops, then cover with foil. Bake 15 minutes covered, then 8 minutes uncovered.
Keep the sauce layer thin. Thick sauce makes the bread slip and trap steam. More spicy doesn’t mean more sauce. A small pinch of cayenne adds heat without soaking the bread.
Let the pan rest for five minutes, then cut. Hawaiian roll sliders like this taste bold, but they still look neat. Serve with crunchy slaw, apple slices, or chips. For adults, add jalapeño slices after baking for fresh bite. Ranch works as a dip, not a spread. If you make them early, cover tight and bake later. Reheat leftovers covered, so the tops stay soft. If kids eat them, drop hot sauce to 1 tbsp. Hawaiian roll sliders can still bring drama, but only the fun kind.
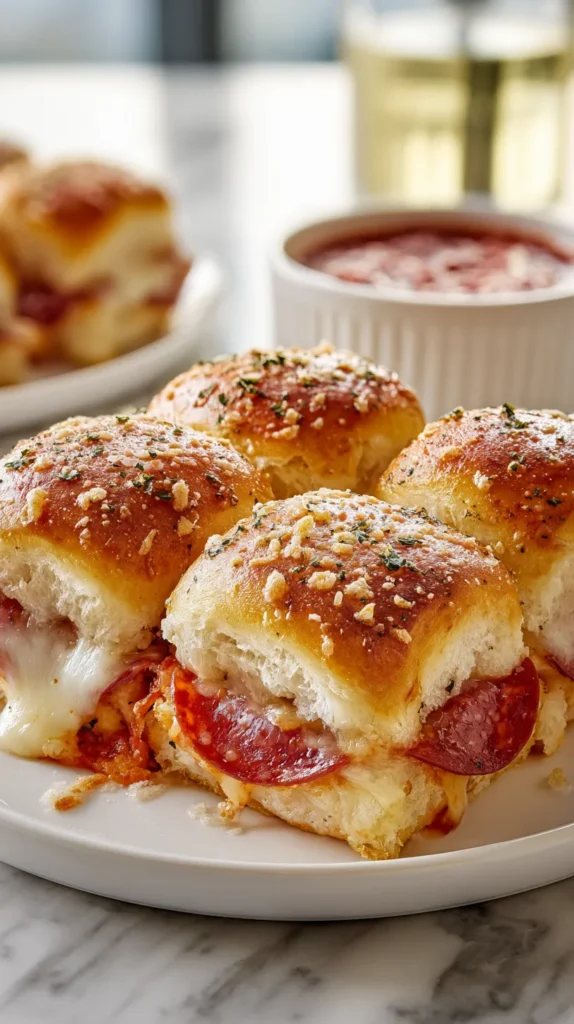
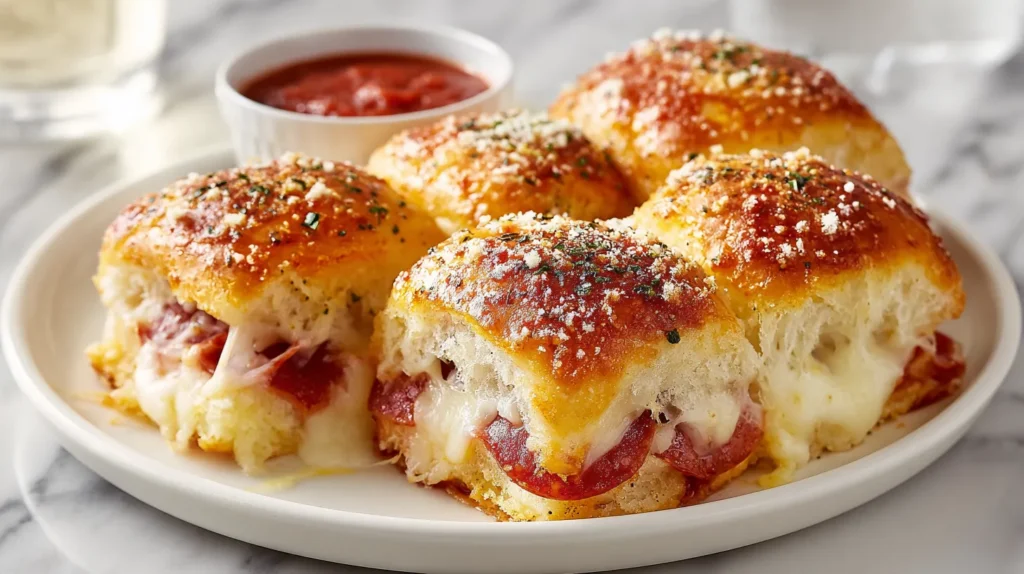
Pepperoni Pizza Sliders for Instant Weekend Energy
These taste like the easiest kind of nostalgia. They also use pantry stuff, which keeps costs down. I tend to notice pizza flavor forgives a lot.
Ingredients.
- 12 Hawaiian rolls, kept connected
- 1/2 cup pizza sauce
- 6 slices mozzarella
- 3 oz pepperoni
- 3 tbsp butter, melted
- 1 tbsp grated Parmesan
- 1/2 tsp garlic powder
- 1/2 tsp Italian seasoning
Steps.
- Heat oven to 350°F and line a pan with foil.
- Slice the roll slab and place bottoms in the pan.
- Spread sauce thin, leaving a small edge dry.
- Layer mozzarella, pepperoni, then mozzarella again.
- Replace the top slab and press gently.
- Mix butter, Parmesan, garlic, and seasoning.
- Brush tops and pour a little into the seams.
- Bake covered 15 minutes, then uncover 7 minutes.
Blot the pepperoni first. That quick press cuts grease and keeps the bottom sturdier. More toppings don’t make a better pizza. Too many toppings just slide around and muddy the bite.
If you hate pepperoni, use 4 oz cooked sausage crumbles. For extra heat, add red pepper flakes after baking. When kids eat them, skip flakes and offer ranch.
Sauté 1/2 cup sliced mushrooms first if you want them. Raw mushrooms leak water and ruin texture. Keep sauce thin, because sweet rolls soak fast. That’s why dipping sauce works better than extra spread. Serve with warm marinara for dipping. I also set out ranch, because people love choices. Hawaiian roll sliders like this turn a basic night into a snacky one. Next, I’m sharing the timing rules that keep tops glossy and bottoms happy.
The Timing Rules I Refuse to Negotiate
Two things wreck sliders fast. Dry tops and soggy bottoms. Both problems come from timing, not talent. So I use a simple rhythm and stay consistent.
Cover first, then uncover later. Foil traps steam and melts cheese gently. The uncovered finish adds browning and shine. I tend to notice most ovens brown unevenly, so I rotate the pan once.
Now the tiny step that changes everything. Let the tray rest five minutes after baking. That rest lets steam settle and cheese set. Without it, the layers slide and the bottom softens.
Sauce is not your friend on the bread. Many people assume more sauce means more flavor. I keep most of it in a dip bowl instead. A thin spread inside works, but heavy sauce just makes the layers slide.
Here’s another reframe. Sweet rolls don’t need sweeter fillings. They need sharper companions. That’s why I add pickles, mustard, vinegar, or pepperoncini often. Acid keeps the bite bright and stops the tray from tasting heavy.
If you worry about soggy bottoms, toast the bottom slab three minutes first. Then build and bake as usual. That small toast gives structure. Hawaiian roll sliders with saucy fillings need that support.
When you want a crisp top, brush topping twice. Do it once before baking, then again right after. The second brush soaks in and shines. Hawaiian roll sliders should look glossy, not dusty.
For holding, keep them covered in a 200°F oven. That keeps tops soft and cheese melted. Reheat leftovers covered, then uncover for one minute. Cutting too early is the real villain. Next, I’m tackling the stuff everyone wonders, so you don’t have to guess.
Faqs, Swaps, and Serving Ideas That Keep You Out of Trouble
I get the same questions every time sliders show up. That makes sense, because nobody wants a sad tray. So here are the real answers, not the fantasy ones.
FAQ.
- Can I assemble early? Yes, up to 8 hours, covered tight.
- Should I freeze them? Freeze the filling, not the built rolls.
- How many per person? Plan 2–3 for dinner, 1–2 for snacks.
- What pan works best? A rimmed sheet pan browns evenly.
- How do I cut clean squares? Use a long serrated knife and wipe it.
Quick swaps.
- Swap ham for turkey and add extra mustard for punch.
- Swap Swiss for provolone when you want a stronger bite.
- Swap pepper jack for cheddar when you want heat.
- Swap dill pickles for bread-and-butter for more sweetness.
Serving ideas.
- Add chips and pickles for the easiest combo.
- Add a simple salad when you want it to read dinner.
- Add fruit when kids want something familiar.
- Add a dip bowl, because people love choices.
The tray matters more than you think. People assume more food impresses guests. I think a clean presentation impresses guests. Wipe the pan edge and use parchment. Suddenly, it looks intentional.
Budget hosting doesn’t mean doing less. It means choosing the parts that show. A shiny top, a neat cut, and one good dip beat three random sides.
Hawaiian roll sliders work because they’re flexible. You can match the tray to the mood, and still stay money-smart. Next, I’m closing with the reason I keep rolls on my list.

Last Few Delicious Thoughts
Some recipes earn a permanent spot because they solve real life. I don’t need them to be fancy. What I need is dependable, a little charming, and low drama. That’s why Hawaiian roll sliders keep winning at my house.
I tend to notice food stress shows up when choices pile up. A tray of small sandwiches cuts the noise. One pan gives you dinner, snacks, and a wow moment. That’s rare.
Living in Orlando also nudges me toward food that works fast. Heat makes big meals annoying. Small trays cook quicker and disappear quicker. That’s a win for mood and budget.
The funny part is the style. Neat squares look like you tried, even when you didn’t. A thrifted platter helps, and it costs almost nothing. Meanwhile, your wallet stays calm, which matters.
I’ve saved so many slider ideas on Pinterest, and they all promise perfection. Real life doesn’t need perfection. Instead, it needs a plan that holds up at 6:00 p.m. So I keep rolls on my list and a topping in my head.
Store-brand cheese works, and nobody notices. One good dip makes the tray look planned. A small garnish corner adds style without spending. That’s the money-savvy part I actually like.
Next time dinner gets weird, I’m not overthinking it. I’m making the tray that looks cute and tastes bold. Then I’ll act casual about it, which is my favorite trick.