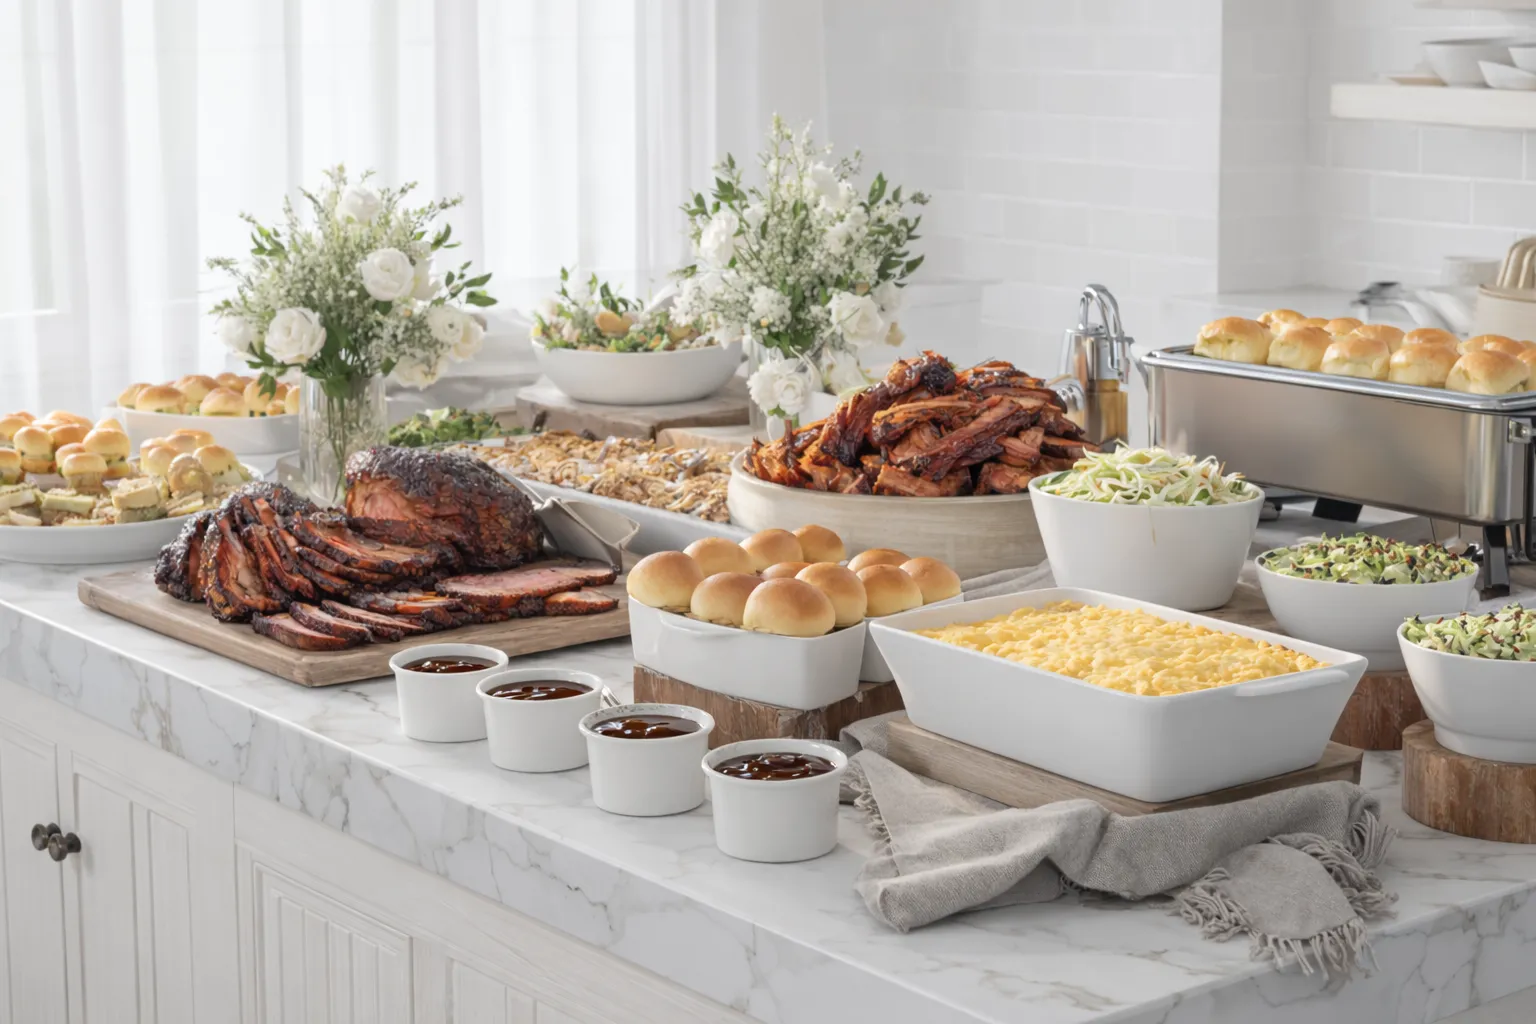
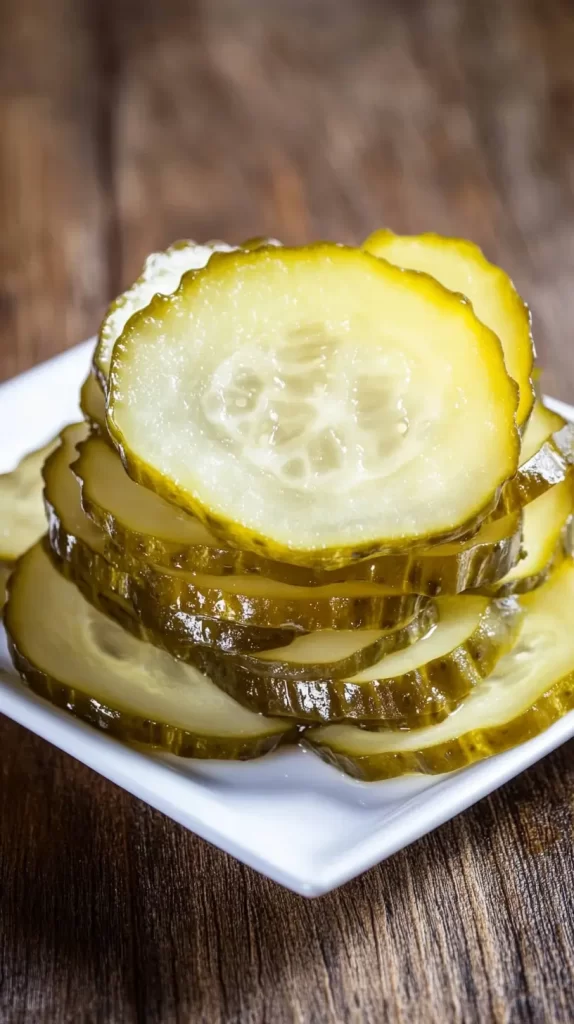
I’ve got a simple little secret that’s about to change your snack game: homemade pickles.
That’s right. If you’ve ever stared at a soggy store-bought pickle and thought, “This could be better,” you were right. It can be better. And it doesn’t take much time, money, or effort. No special equipment. No fancy ingredients. Just a jar, some vinegar, and a few things you already have in your kitchen.
In this post, I’ll show you how to make crunchy, tasty pickles that actually taste like something. We’ll talk about the basics, how to flavor them, and how to keep them crisp. I’ll go over what types of cucumbers work best, how long you need to wait before eating them, and what to do if your batch turns out too sour (or not sour enough).
You’ll also learn how to tweak your recipe to fit your taste. Like garlic? Add more. Want heat? Throw in jalapeños. You’re in charge here.
And the best part? You don’t need to can anything. This is the fridge pickle method. It’s fast, it’s easy, and it keeps for weeks. You’ll never be stuck with limp pickles again.
If you’ve ever wanted to try something new in the kitchen that feels productive and fun, this is it. Homemade pickles are simple, satisfying, and just plain good. Let’s go over everything you need to know, one step at a time.
By the time you’re done reading, you’ll be ready to slice, pour, and pop your own jar in the fridge. Let’s talk pickles.
This site includes affiliate links; you can check the disclosure for more details.
Why Make Homemade Pickles?
There are a few solid reasons to skip the store and make your own.
First, the flavor. You control it. Some pickles from the store taste like chemicals or are way too salty. With homemade ones, you make them just how you like.
Second, the cost. Cucumbers are cheap, especially in the summer. A few bucks can give you a whole bunch of pickles.
Third, it’s easy. You don’t need to boil anything or seal jars unless you want to. These go straight in the fridge.
Here are a few other perks:
- You can make small batches. No need to commit to a dozen jars.
- Kids can help. It’s safe, and it smells good.
- You use ingredients you already know and trust.
- It makes you feel like a kitchen boss, without breaking a sweat.
Plus, it’s a great way to use up extra cucumbers if you grow them or find them on sale.
You also save money by not wasting food. If your cucumbers are starting to soften a little, they’re perfect for pickling.
And homemade pickles don’t stop at cucumbers. You can pickle red onions, carrots, radishes, or even green beans the same way. One basic recipe, tons of options.
If you’ve ever felt like trying something from scratch but didn’t want a big project, this is your answer. You can make pickles today and eat them tomorrow. Let’s move on to what you’ll need.
What You Need to Get Started
You don’t need much. If you’ve got cucumbers and a clean jar, you’re halfway there.
Here’s what I always use when making homemade pickles:
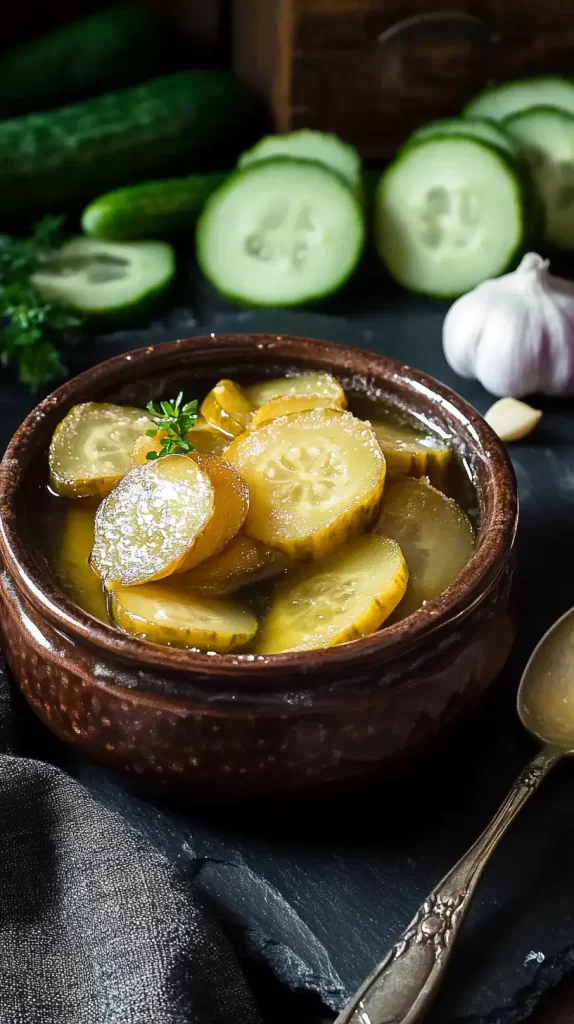
- Cucumbers (small and firm are best)
- White vinegar (apple cider vinegar works too)
- Water
- Salt (not table salt—use kosher or pickling salt)
- Sugar (just a little to balance the flavor)
- Garlic cloves (fresh, not powdered)
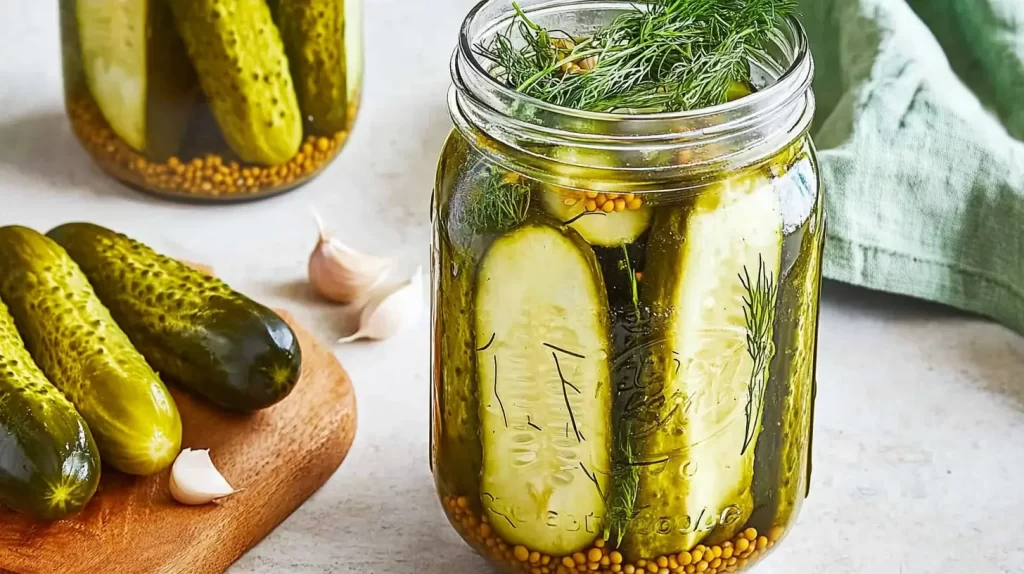
- Fresh dill (or dill seeds if that’s all you’ve got)
- A clean glass jar with a lid
Optional add-ins:
- Peppercorns
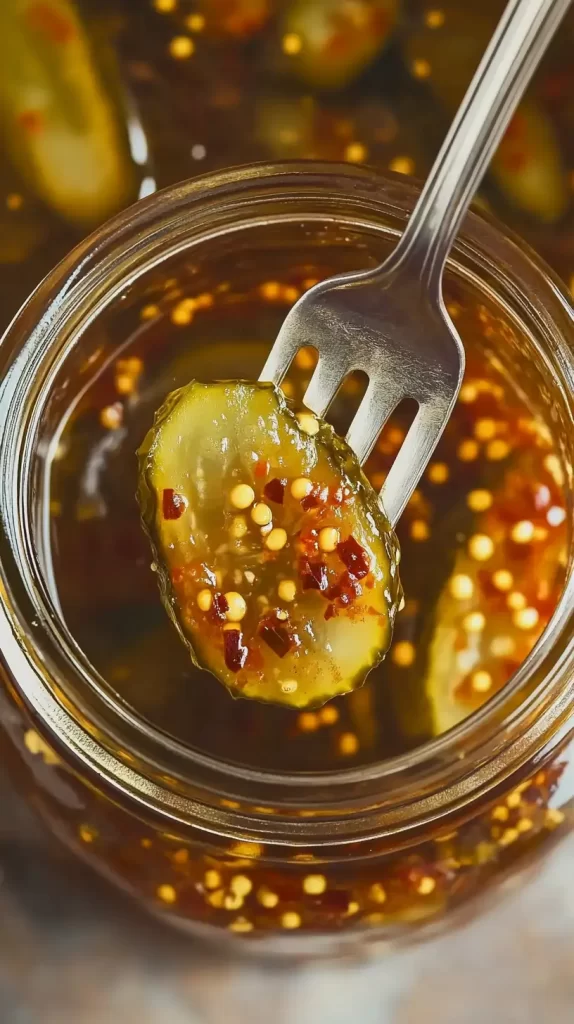
- Red pepper flakes
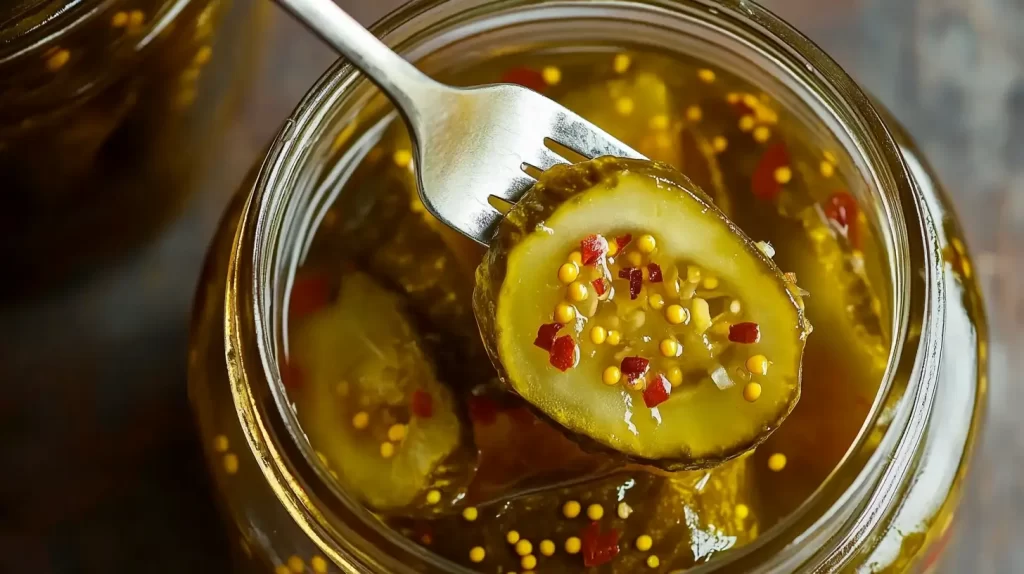
- Mustard seeds
- Sliced onions
- Sliced jalapeños
- Bay leaf
If you’re short on jars, you can use a cleaned-out pasta sauce jar or even a mason jar from the dollar store. Just make sure the lid fits well.
You’ll also need a small pot to heat your brine. That’s the vinegar-water-salt-sugar mix that goes into the jar with your cucumbers.
That’s it. No need for canning tools, pressure cookers, or big pots. No special thermometers. Just grab what you’ve got, and you’re ready to go.
Next, let’s look at the steps to actually make them. Don’t worry—it’s easy.
How to Make Homemade Pickles
You’re only a few steps away from fresh, crunchy pickles. Here’s the simple method I use every time.
1. Wash and slice your cucumbers.
- You can slice them into rounds or spears.
- Rinse them well and cut off both ends.
- If they’re too big, slice them thinner so they absorb more flavor.
2. Pack the jar.
- Add garlic cloves, dill, and any other spices to the bottom.
- Tightly pack the cucumbers in the jar. They should be snug but not squished.
3. Make the brine.
- Combine 1 cup vinegar, 1 cup water, 1 tablespoon salt, and 1 tablespoon sugar in a pot.
- Heat until the salt and sugar dissolve.
- Let it cool slightly so it’s warm but not boiling hot.
4. Pour the brine over the cucumbers.
- Fill the jar so everything is covered.
- Tap the jar gently to release air bubbles.
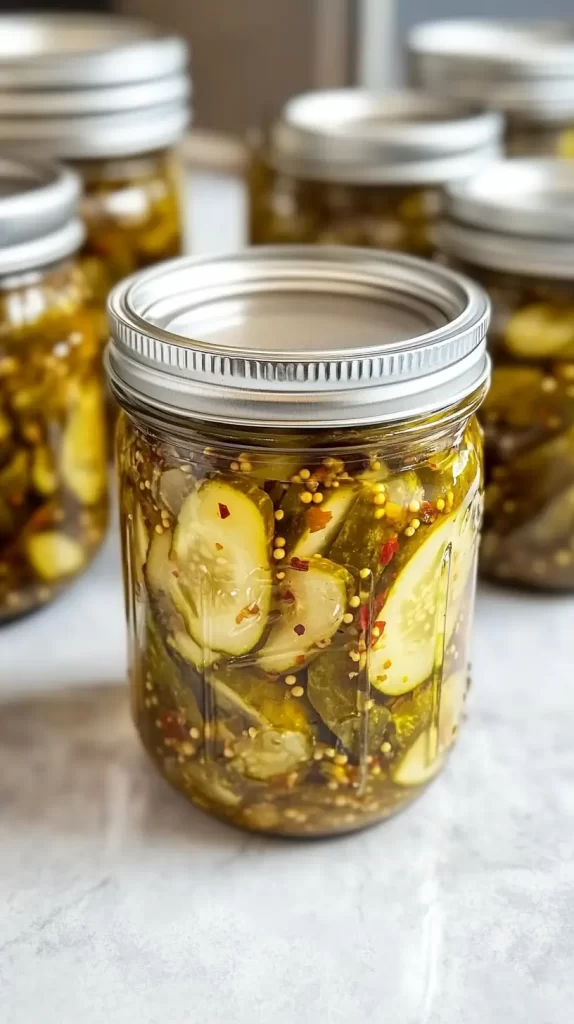
- Seal with a lid.
5. Chill in the fridge.
- Let them sit for at least 24 hours.
- They taste best after 48 hours.
- They’ll keep for about three weeks in the fridge.
That’s it. You’ve got yourself a fresh batch of homemade pickles.
They stay crisp. They’re full of flavor. And you didn’t even break a sweat. Now, let’s talk about ways to customize your pickles.

Easy Garlic Dill Homemade Pickles Recipe
If you’re a fan of the classic, salty crunch, this garlic dill version of homemade pickles is for you. It’s tangy, crisp, and has that strong dill flavor people can’t get enough of.
You’ll need:
- 4 small cucumbers, sliced into spears or rounds
- 1 cup white vinegar
- 1 cup water
- 1 tablespoon kosher salt
- 1 teaspoon sugar
- 2 garlic cloves, smashed
- 1 teaspoon whole peppercorns
- 4-6 fresh dill sprigs
- A pinch of red pepper flakes (optional)
Here’s how to make them:
- Wash the cucumbers well and cut off the ends.
- Slice them into spears or thick slices.
- Stuff them into a clean jar with garlic, dill, and peppercorns.
- In a small pot, combine vinegar, water, salt, and sugar.
- Heat just until the salt and sugar dissolve—no need to boil.
- Let the brine cool slightly, then pour it into the jar.
- Make sure cucumbers are fully covered.
- Tap the jar to remove bubbles, then seal the lid.
Pop them in the fridge. Wait at least 24 hours before snacking. I like them best after 2 or 3 days.
These garlic dill homemade pickles are perfect for sandwiches, burgers, or just eating straight out of the jar. They’re crisp, zesty, and simple to make with just a few pantry staples.
Want even more bite? Add extra garlic or more red pepper flakes. They’ll last up to three weeks in the fridge, but let’s be honest—they probably won’t make it that long.
Sweet Homemade Pickles You Can Make in a Jar
These sweet homemade pickles hit that perfect mix of tangy and sugary. If you like a milder, less sour taste, this recipe’s for you.
Here’s what you’ll need:
- 3 small cucumbers, thinly sliced
- 1 cup apple cider vinegar
- ½ cup white sugar
- 1 teaspoon kosher salt
- ½ teaspoon mustard seeds
- ½ teaspoon celery seeds
- ½ small onion, thinly sliced
- 1 clove garlic, smashed
- A clean 16 oz jar with lid
Let’s put it all together:
- Rinse cucumbers and slice them into thin rounds.
- Place them in the jar with onion and garlic.
- In a pot, combine vinegar, sugar, salt, mustard seeds, and celery seeds.
- Warm over medium heat until sugar and salt dissolve.
- Don’t let it boil—just heat until everything mixes.
- Carefully pour the warm brine into the jar.
- Make sure all the slices are covered.
- Let the jar cool on the counter, then refrigerate.
These sweet homemade pickles taste great on pulled pork sandwiches, in chicken salad, or on a snack board. They’re also great tossed into a green salad for a little zing.
Want them a little more savory? Add a bay leaf or reduce the sugar by a tablespoon. Want them spicier? Add a few slices of jalapeño to the jar before pouring in the brine.
They’re usually ready to eat after 24 hours, but the flavor gets stronger over a few days. These will stay fresh in the fridge for about two to three weeks.
This is a fun, flexible recipe. Try it once, then make it your own.

Bread and Butter Homemade Pickles That Actually Crunch
Bread and butter pickles are sweet, tangy, and a little zippy. They’re one of my favorite types of homemade pickles because they work with everything from burgers to barbecue.
Here’s what you’ll need:
- 4 small cucumbers, sliced into thin rounds
- ½ small yellow onion, thinly sliced
- 1 cup white vinegar
- ½ cup sugar
- 1 tablespoon kosher salt
- ½ teaspoon turmeric
- ½ teaspoon mustard seeds
- ½ teaspoon celery seeds
- ¼ teaspoon ground cloves
- 1 garlic clove, smashed
Instructions:
- Wash and slice your cucumbers and onions.
- Pack them tightly into a clean jar with the garlic.
- In a small saucepan, combine vinegar, sugar, salt, turmeric, mustard seeds, celery seeds, and cloves.
- Heat the mixture over medium heat until the sugar and salt dissolve.
- Stir gently but don’t let it boil.
- Pour the warm brine into the jar over the cucumbers and onions.
- Let the jar cool a bit before sealing it with a lid.
- Chill in the fridge for 24–48 hours.
These homemade pickles are delicious with grilled cheese, fried chicken, or even on a cracker with cream cheese. They’ve got that old-fashioned flavor that reminds you of picnics and backyard cookouts.
Want extra crunch? Make sure your cucumbers are fresh and keep your brine from getting too hot.
This recipe makes one jar. You can double it if you’re feeling fancy or want to share. Bread and butter pickles keep in the fridge for about three weeks, but they probably won’t last that long once you taste them.
Easy Ways to Customize the Flavor
This part is where it gets fun. Once you know the basic recipe, you can tweak it.
Want sweet pickles? Add more sugar. Like it spicy? Toss in some sliced chili peppers. You’re in charge of how your pickles taste.
Here are some simple ways to mix it up:
- Add spice: Use red pepper flakes, jalapeños, or even horseradish.
- Try sweet: Add more sugar and toss in cinnamon sticks or cloves.
- Use herbs: Add fresh thyme, rosemary, or bay leaves for a unique flavor.
- Get zesty: Add a slice of lemon or lime to the jar.
More ideas for variety:
- Use different types of vinegar like apple cider, rice vinegar, or white wine vinegar.
- Try adding ginger slices for a tangy twist.
- Add onion slices for extra flavor and color.
A good tip is to write down what you added each time. That way, when you find a combo you love, you can make it again.
If you’re making more than one jar, try a few different flavor combos. It’s fun to do side-by-side taste tests once they’ve had time to chill.
This is a low-risk, high-reward kitchen project. No pressure. Just play around and enjoy it.
How to Keep Your Pickles Crisp
Nobody wants a soggy pickle. Texture matters. Luckily, there are a few easy tricks to keep your homemade pickles crisp.
First, start with fresh cucumbers. They should be firm, not soft or rubbery. Smaller ones work best, like Kirby cucumbers or mini seedless ones.
Tips to keep them crunchy:
- Use cold cucumbers. Keep them in the fridge before slicing.
- Add grape leaves. If you have access to grape leaves, one in the jar can help. It contains tannins that keep things crisp.
- Don’t overheat the brine. Warm is fine, but don’t pour boiling liquid over your cucumbers.
- Use pickling salt. Table salt has additives that can make pickles soft.
Some people also add a pinch of alum, which is found in the spice aisle. But most of the time, you won’t need it if you follow the basics.
One thing to avoid: don’t reuse the brine more than once. Always make a fresh batch. Reused brine doesn’t keep things crisp and clean.
And store the pickles in the fridge. That’s what makes these “refrigerator pickles.” They’ll stay crunchy and fresh for weeks this way.
Now that your pickles are tasty and crisp, let’s talk about how to use them.
Simple Ways to Use Homemade Pickles
Once you’ve made a few jars, you might be wondering what to do with them. Other than eating them straight out of the jar (which is totally fine), there are so many ways to use homemade pickles.
Here are a few tasty ideas:
- Slice and add them to burgers or sandwiches
- Chop them into potato salad or egg salad
- Serve on a snack tray with cheese and crackers
- Toss into a pasta salad
- Use pickle juice in salad dressing or to marinate chicken
- Add to tuna salad or deviled eggs
- Eat them as a side with BBQ or grilled meat
- Add to a grilled cheese sandwich for extra zing
You can also make a quick relish by chopping them finely and mixing with a little mustard or mayo.
Don’t toss the leftover brine. It’s good for:
- Pickling other veggies like carrots or onions
- Making salad dressings
- Adding to Bloody Marys
- Marinating meat or tofu
Even if you’re not a big fan of cooking, this is one kitchen project that’s easy to love. It takes just a few minutes but adds a lot of flavor to meals.
Final Thoughts on Homemade Pickles
So let’s sum it up.
Making homemade pickles is one of those things that sounds harder than it really is. But once you try it, you’ll wonder why you didn’t start sooner.
Here’s what we covered:
- Why making your own pickles just makes sense
- The simple tools and ingredients you need
- A super easy step-by-step method to follow
- Fun ways to tweak the flavor
- Tricks for keeping them crisp and crunchy
- Smart ways to enjoy them in meals and snacks
These pickles are quick, affordable, and made with ingredients you recognize. You can go from idea to finished jar in under 30 minutes.
And the best part? You don’t need to be an expert. This is totally beginner-friendly.
If you’re sharing food ideas on Pinterest or planning meals for the week, this is one to pin. It checks all the boxes: easy, tasty, budget-friendly, and fun.
A few quick reminders before you go:
- Use firm cucumbers
- Don’t skip the salt
- Try new spice blends
- Let them chill at least 24 hours
- Eat within three weeks
Try a batch soon. You won’t regret it. Homemade pickles are one of those little wins that makes life tastier, one crunchy bite at a time.