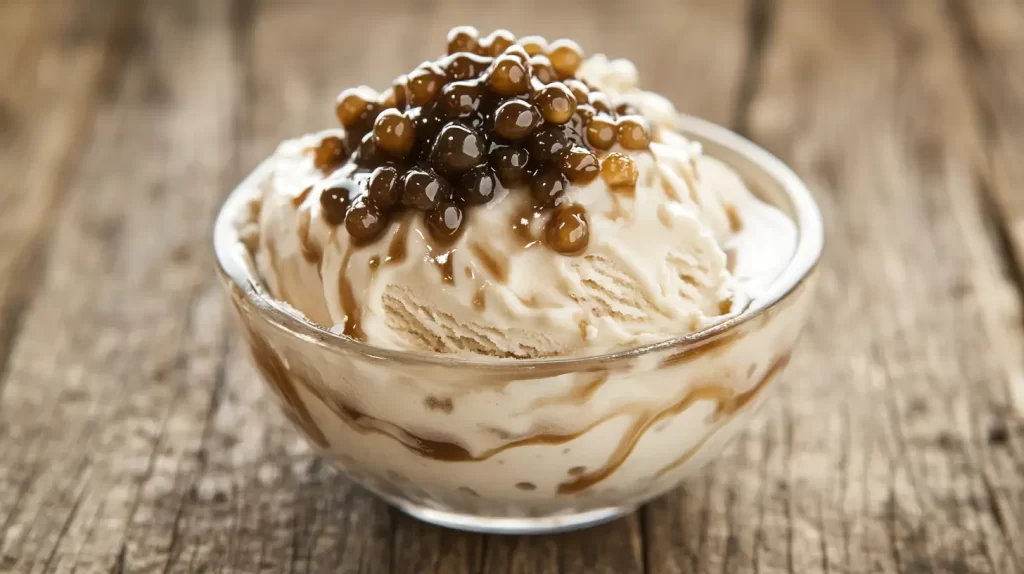
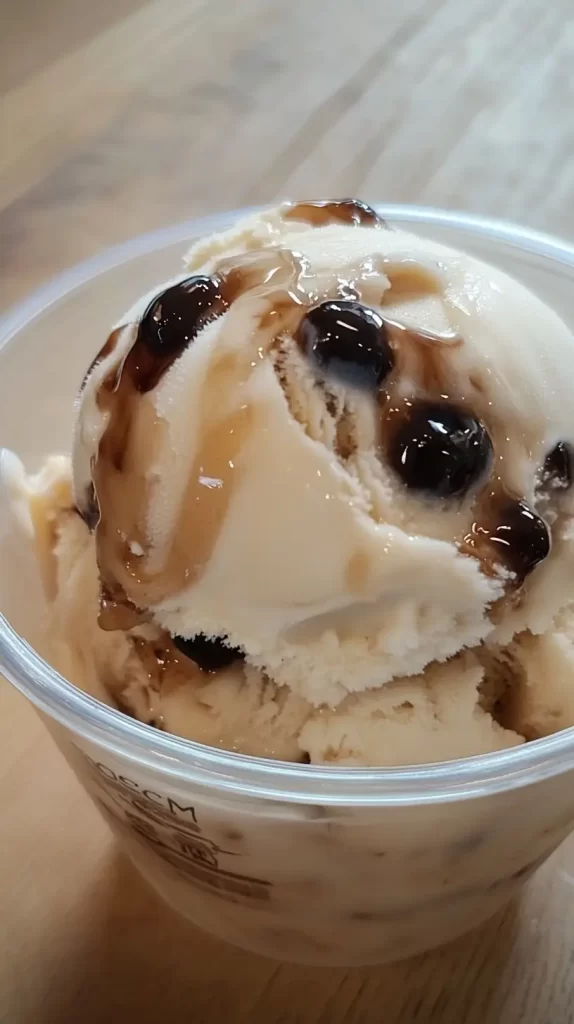
I’ve seen a lot of fun ice cream flavors popping up lately, but one really caught my eye—homemade ice cream with a brown sugar boba twist. That got me thinking. This flavor has everything going for it. Sweet. Creamy. Chewy. And a little fancy without being over the top. It’s different but not too weird. The kind of dessert that feels trendy but still hits that comforting spot.
In this post, I’m going to break it all down. If you’ve ever loved bubble tea, this is right up your alley. You’ll get that same brown sugar syrup vibe, but it’s cold, scoopable, and great for sharing. Or not sharing. Totally your call.
I’ll go over the base ingredients, how to make it with or without an ice cream machine, and how to prepare the boba. Plus, I’ve added tips to keep the texture creamy and the pearls chewy. You’ll also get a dairy-free version if you need it. And yes—I’ll cover what makes this recipe super budget-friendly compared to going out.
Even better, this is the kind of recipe that photographs really well. So, if you’re on Pinterest, this one’s going to turn heads. I’ll share ways to serve it too—cones, bowls, cups—you name it.
Let’s be real. We’re busy. But we still want to make something fun once in a while. If that sounds like you, this is it. This is the scoop that checks all the boxes. It’s sweet. It’s fun. And it’s surprisingly easy.
So, let’s talk brown sugar boba ice cream and how to make it happen at home.
This site includes affiliate links; you can check the disclosure for more details.
Why Brown Sugar Boba Homemade Ice Cream Just Works
There’s a reason this flavor has been showing up everywhere. Brown sugar boba is more than just a trend. It’s got that deep caramel-like sweetness with a little chew from the pearls. And when you turn that into homemade ice cream, something special happens.
Here’s why it works so well:
- Brown sugar syrup adds that rich, molasses-style flavor that feels cozy and bold.
- The boba pearls give each bite a little pop of texture.
- Vanilla ice cream base keeps it mellow and sweet but not too sweet.
- It’s fun to make and fun to eat.
Even better, people are already familiar with the flavor. It’s huge in bubble tea shops, so it doesn’t feel too out there. But making it into ice cream still feels fresh and different.
You also don’t need a lot of fancy stuff to make it. The base starts with simple ingredients you probably already have:
- Heavy cream
- Whole milk
- Brown sugar
- Vanilla
- Tapioca pearls
- Cornstarch (just a little to help with texture)
The pearls cook in syrup first, then get folded in at the end. You can swirl the brown sugar in too, or mix it into the whole batch. Either way, the flavor stands out.
And if you’re dairy-free, coconut cream works beautifully. It even adds a little extra richness.
This flavor just makes sense. It’s got balance. It’s got contrast. And it’s got that satisfying chew that makes every bite interesting.
How to Make the Brown Sugar Syrup
This syrup is the key. Without it, the flavor just isn’t the same. It’s what gives brown sugar boba its bold and syrupy goodness. Making it at home is super easy.
You only need two things:
- Brown sugar
- Water
Here’s how I make it:
- Use one cup of brown sugar and a half cup of water.
- Put them in a small pot over medium heat.
- Stir until it comes to a boil.
- Let it simmer for 5 minutes to thicken slightly.
- Turn off the heat and let it cool.
That’s it. Simple. Fast. You can double it if you want extra for drizzling. This syrup keeps in the fridge for up to a week in a jar.
Here’s how to use it:
- Stir a little into your homemade ice cream base before freezing.
- Swirl it into the ice cream right before it sets.
- Spoon it over the top when you serve it.
- Use it to soak your boba pearls after cooking.
If you want a thicker syrup, just simmer it a little longer. But don’t let it get too thick or it won’t blend well into the ice cream.
This step brings the whole recipe together. It gives the ice cream its rich flavor. Without it, you’re just making vanilla with boba. So don’t skip it. You’ll be glad you made it from scratch.
Cooking Boba the Right Way
Let’s talk boba pearls. You’ve got to cook them right or they’ll turn out too hard or too mushy. The good news? It’s not hard once you get the hang of it.
Use quick-cooking tapioca pearls. They’re the easiest for homemade recipes.
Here’s how to do it:
- Boil 5 cups of water.
- Add 1 cup of quick-cooking boba pearls.
- Stir gently and cook for 5 minutes.
- Turn off the heat, cover the pot, and let it sit for 5 more minutes.
- Drain the pearls and rinse with cold water.
Once they’re cooked and cooled, soak them in the brown sugar syrup. This gives them flavor and keeps them soft.
Here are some extra tips:
- Use them the same day you make them.
- Don’t freeze the boba before mixing into the homemade ice cream.
- If they get too firm, warm them gently with syrup before adding.
Adding the boba too early can make them hard. Wait until the ice cream is almost done churning. Fold them in at the very end. This keeps them chewy, not icy.
It may take a try or two, but once you get it, it’s easy. And it’s worth it. That chewy boba in cold, creamy ice cream? Yes, please.
Making the Ice Cream Base from Scratch
You don’t need a bunch of weird ingredients. The base for this homemade ice cream is simple and smooth. Think soft, creamy, and easy to scoop.
Here’s what you need:
- 2 cups heavy cream
- 1 cup whole milk
- 1/2 cup brown sugar
- 1/4 cup white sugar
- 2 teaspoons vanilla extract
- 1 tablespoon cornstarch (helps thicken)
To make the base:
- Mix milk and both sugars in a saucepan.
- Heat gently and stir until the sugar dissolves.
- In a small bowl, mix cornstarch with a splash of cold milk.
- Stir that into the warm milk mixture.
- Simmer for 3 minutes until slightly thick.
- Remove from heat, stir in vanilla and heavy cream.
- Chill the mixture for 4 hours or overnight.
This step makes a huge difference. If the base is cold, it’ll freeze better. And you’ll get smoother ice cream.
When you’re ready, pour it into your ice cream maker. Churn according to the machine’s directions. Usually around 20 to 30 minutes.
Fold in the boba pearls during the last 5 minutes. If you want to swirl in more brown sugar syrup, this is the time.
If you don’t have a machine, freeze the base in a shallow dish. Stir it every hour for four hours to break up ice crystals. It’s not as creamy, but it still works.
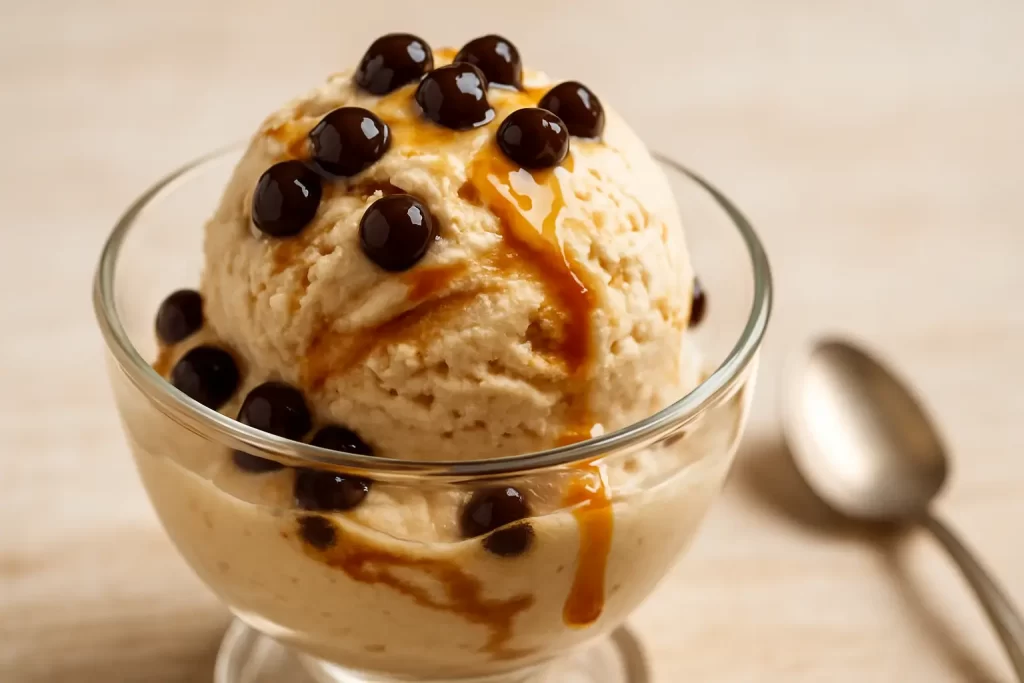
Either way, you’ll get rich, smooth brown sugar ice cream with chewy boba pearls in every scoop.
Serving It Up: Fun Ways to Eat It
Now comes the fun part—serving it up. This homemade ice cream is a showstopper, so why not make it look as good as it tastes?
Here are some ideas:
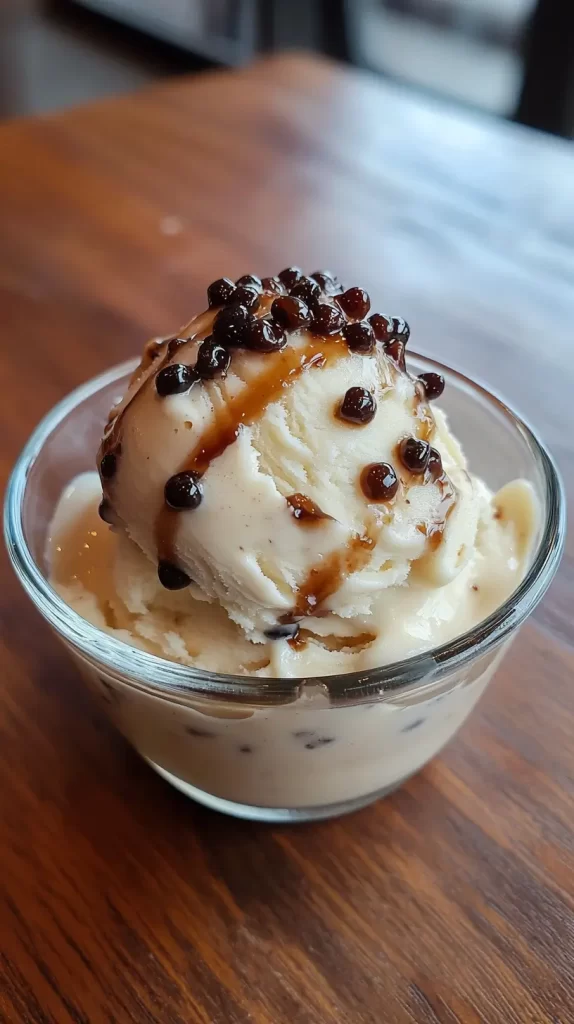
- Scoop into clear cups so the pearls show through.
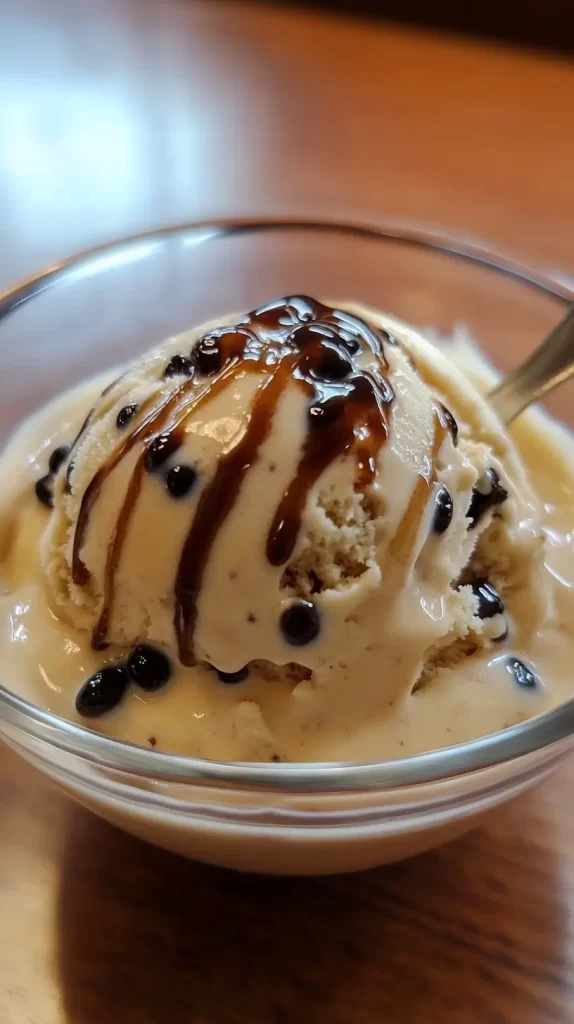
- Drizzle more brown sugar syrup on top.
- Add whipped cream and a sprinkle of cinnamon.
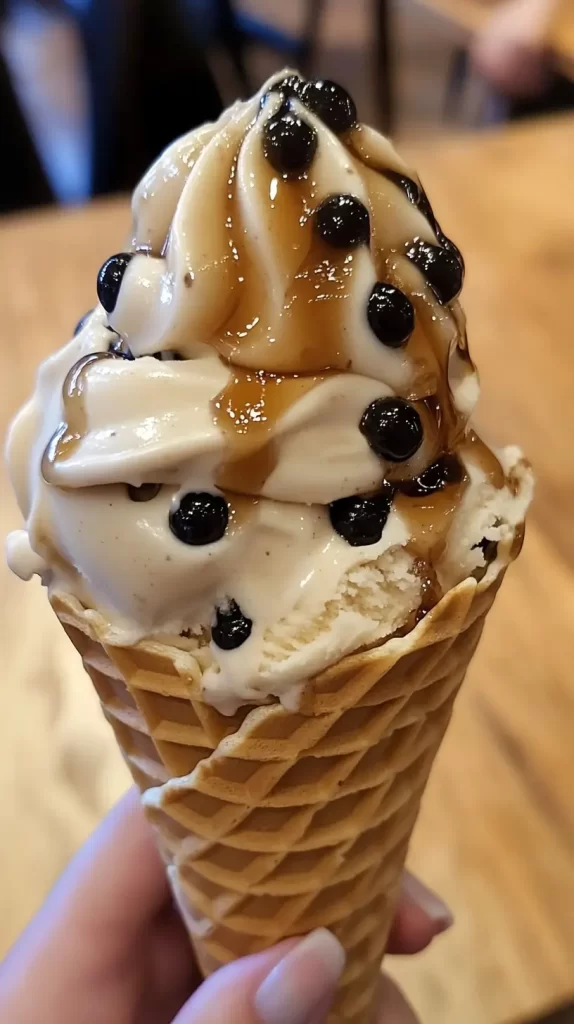
- Serve in waffle cones for extra crunch.
- Layer with crushed cookies or graham crackers.
- Make a “bubble tea sundae” with a straw and spoon.
For parties, you can:
- Set up a DIY ice cream bar.
- Offer mini scoops in cupcake liners.
- Pair it with other Asian-inspired desserts like mochi or matcha cookies.
Want to dress it up?
- Add edible glitter for a shiny finish.
- Serve in mason jars tied with string.
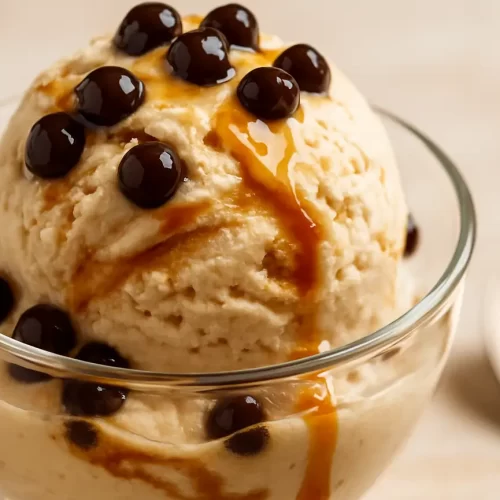
- Garnish with a few extra cooked pearls on top.
This flavor stands on its own, but a little extra never hurts. The look is half the fun—especially if you plan to post it on Pinterest.
One more idea: scoop it into frozen milk tea cups. Instant tea shop vibe right at home.
However you serve it, don’t be surprised if everyone wants seconds.
Budget Tips for Making It Affordable
Making your own homemade ice cream doesn’t have to cost a fortune. In fact, this version can be way cheaper than hitting the boba shop every week.
Here are some ways to save:
- Buy boba pearls in bulk online.
- Use store-brand dairy products.
- Reuse leftover brown sugar syrup in coffee or oatmeal.
- Skip the cones and serve in small cups.
- Freeze leftovers in popsicle molds.
Look at it this way:
- One pint of trendy boba ice cream can cost $7 at the store.
- One cup of bubble tea might be $5 or more.
- Making your own batch at home? Under $4 for the whole thing.
You also get more control. Less sugar if you want. No weird preservatives. And it’s fun to make with older kids or teens.
Keep it simple:
- Don’t buy special tools unless you’ll use them again.
- Use a metal loaf pan to freeze instead of buying containers.
- Double the batch and store extra in the freezer.
Want to make it dairy-free and still save? Use full-fat canned coconut milk. It’s often cheaper than cream and still gives great texture.
This is one of those recipes where a little effort goes a long way. And your wallet will thank you.
Why This Ice Cream Fits a Frugal Living Lifestyle
Let’s talk money for a second. Making homemade ice cream with a brown sugar boba twist isn’t just about having fun in the kitchen. It’s a smart choice if you’re trying to live more frugally. It checks all the boxes—affordable, low-waste, and budget-friendly.
Here’s how it saves money:
- One batch makes a lot more than store-bought
- You control portion sizes, so there’s less waste
- Leftover syrup can be reused for coffee or toast
- Extra boba can be frozen and used in drinks or desserts
- No impulse buys at the ice cream shop or bubble tea place
When you break down the cost, you’re getting way more for your money. A tub of fancy boba ice cream at the store? Easily $6–8. One scoop at a trendy shop? About $5. Making it at home? Roughly $3–4 for the whole batch, and you get several servings.
And you don’t need a bunch of special tools. A pot, a spoon, and a freezer-safe container work just fine. If you do have an ice cream machine, that’s great—but you don’t need one to make this recipe work.
Budget-friendly tips that help even more:
- Use generic brands of dairy and sugar
- Split a bulk pack of tapioca pearls with a friend
- Make this as a weekend treat instead of buying snacks
- Serve in reusable cups to save on disposables
Living frugally doesn’t mean missing out on fun things. It means being smart with what you spend. This recipe lets you enjoy something trendy, tasty, and totally Pinterest-worthy without spending a ton. That’s the kind of win I look for when I’m trying to save money and still enjoy the little things.
Brown Sugar Boba Homemade Ice Cream
Ingredients
- 2 cups heavy cream
- 1 cup whole milk
- 1/2 cup packed brown sugar
- 1/4 cup white sugar
- 2 teaspoons vanilla extract
- 1 tablespoon cornstarch
- 1 cup quick-cooking tapioca pearls boba
- 5 cups water for boiling boba
- 1 cup brown sugar for syrup
- 1/2 cup water for syrup
Instructions
- In a medium saucepan, combine the whole milk, brown sugar, and white sugar.
- Warm the mixture over medium heat, stirring until the sugars fully dissolve.
- In a small bowl, mix the cornstarch with 2 tablespoons of cold milk to make a slurry.
- Stir the cornstarch slurry into the warm milk mixture.
- Bring the mixture to a gentle simmer and stir for 2–3 minutes until slightly thickened.
- Remove the pan from heat and stir in the heavy cream and vanilla extract.
- Transfer the mixture to a bowl and refrigerate for at least 4 hours, or until completely cold.
- While the base chills, make the brown sugar syrup by combining 1 cup brown sugar and 1/2 cup water in a saucepan.
- Bring the syrup to a boil over medium heat, then simmer for 5 minutes until slightly thickened.
- Remove from heat and let cool completely.
- To cook the boba pearls, bring 5 cups of water to a boil in a separate saucepan.
- Add 1 cup of quick-cooking tapioca pearls to the boiling water.
- Cook the pearls for 5 minutes, stirring gently.
- Turn off the heat, cover the pot, and let the pearls sit for another 5 minutes.
- Drain the boba and rinse under cold water.
- Transfer the cooked pearls to a small bowl and cover with 3 tablespoons of the brown sugar syrup. Let them soak until ready to use.
- Once the ice cream base is fully chilled, pour it into your ice cream maker and churn according to the manufacturer’s instructions (usually 20–30 minutes).
- In the last 5 minutes of churning, gently fold in the soaked boba pearls.
- Swirl in an extra few spoonfuls of brown sugar syrup if desired.
- Transfer the finished ice cream to a freezer-safe container and freeze for at least 2 hours to firm up before serving.
- Scoop and serve in a bowl, cone, or cup, and drizzle with more brown sugar syrup if desired.
Final Thoughts
This brown sugar boba homemade ice cream is a total win. It checks every box—fun to make, tasty, trendy, and affordable.
Let’s recap what you’ll get when you try this recipe:
- A creamy, rich ice cream base that’s easy to make
- Sweet brown sugar syrup with caramel vibes
- Chewy tapioca pearls cooked just right
- A dessert that feels fresh but familiar
- An option to go dairy-free without losing flavor
It’s also a fun recipe to play with. You can:
- Add matcha or instant coffee to the base
- Swirl in different syrups
- Serve it different ways for parties or quiet nights in
You don’t need a fancy machine to make it work or even need a lot of time. Just a little prep and some fridge space.
Plus, it’s super photo-friendly. So if you’re into Pinterest or just love sharing fun food pics, this one is worth making. It’ll stand out in your feed for sure.
And let’s be honest—anything that feels a little fancy but doesn’t break the bank? That’s a win in my book.
This isn’t just a dessert. It’s a new favorite waiting to happen. So give it a try. Grab your spoon, scoop it up, and enjoy every chewy, creamy bite.