If you’ve ever searched for a gluten free banana bread that actually tastes good and won’t break the bank, you’re in the right spot. This post is packed with everything you need. I’m sharing how to make your own version of this classic bread—without the usual price tag or stress.
I know a lot of gluten-free options at the store are expensive. Some aren’t even that tasty. And let’s be honest—baking gluten-free can feel like a guessing game. But it doesn’t have to be. I’ve learned how to keep it simple, easy, and affordable. And now I’m laying it all out.
From which flours to keep in the pantry, to what bananas are best to use, I’m covering it all. You’ll find tips on saving money, ideas for what to swap in or out, and even a few fun ways to make it your own. Plus, I’ll show you how to store it so not a crumb goes to waste.
This post isn’t about being fancy or perfect. It’s about practical ways to feed your family, save money, and still enjoy something homemade. It’s written for busy women who just want it spelled out. If that sounds like you, keep reading.
I don’t believe in wasting time or money in the kitchen. So if you want a gluten-free recipe that works every time, and helps stretch your grocery budget, you’re going to love what’s ahead.
Let’s look at what you really need, what you don’t, and how to make it taste amazing—even without gluten. Ready to bake smarter, not harder?
Here’s how I do it.
This site includes affiliate links; please take a look at the disclosure for more details.
Why Gluten-Free Banana Bread Works For Budget Bakers
Gluten free banana bread might sound like it’s going to cost more. But it doesn’t have to. When you plan it right, it can actually save you money.
Bananas are one of the cheapest fruits at the store. And the best part? This recipe works best when they’re too ripe to eat. Those brown bananas no one wants? Perfect for banana bread. You’re basically turning something you might toss into something your whole family will eat.
Most gluten-free baking flours are more affordable in bulk. Look for these:
- Almond flour (buy from warehouse stores or online)
- Oat flour (make your own by grinding oats in a blender)
- Rice flour (cheap and found at many discount stores)
- Gluten-free all-purpose blends (great with coupons or on sale)
You don’t need all of them. Just pick one that fits your budget and store it in the freezer to last longer.
There’s no need to buy fancy ingredients. You can skip:
- Xanthan gum (many recipes don’t actually need it)
- Coconut sugar (use brown sugar instead)
- Maple syrup (sub in regular sugar or honey if that’s cheaper)
Another money-saver? Bake two loaves at once. It uses the same oven time but gives you one to freeze or share. If you’ve got a freezer stash of bananas, pull them out and bake when you’ve got time.
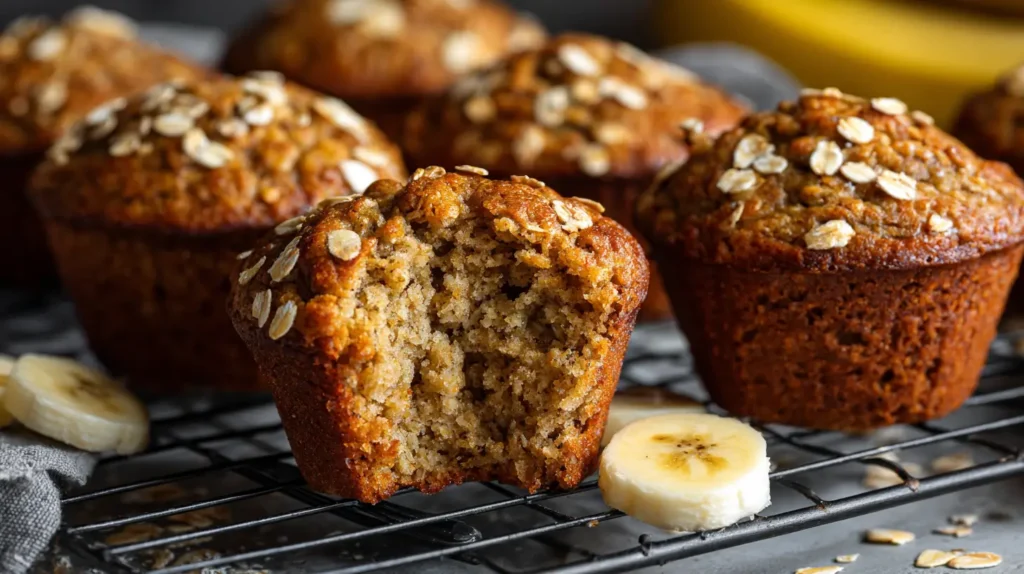
Don’t forget to reuse what you already have. Muffin tins? Use them. No need to buy a new loaf pan. Make banana muffins instead.
The goal here is simple: eat well, spend less. Gluten free banana bread fits perfectly with that.
Pantry Staples To Keep Gluten-Free Baking Simple
Gluten-free baking gets easier when your pantry is stocked. That doesn’t mean filling it with expensive mixes. It just means having the basics ready so you can bake when bananas go soft.
Start with these go-to pantry items:
- Baking powder and baking soda (cheap and long-lasting)
- Vanilla extract (look for store brands)
- Salt (table salt is just fine)
- Cinnamon and nutmeg (optional, but adds great flavor)
- Brown or white sugar (use what’s on hand)
- Oil or butter (both work well)
- Eggs (or flax eggs for allergy-friendly)
For gluten-free flour, keep it simple:
- Oat flour: Just blend old-fashioned oats in a blender.
- Almond flour: Great for texture, but more expensive.
- Store-brand gluten-free blends: Handy and already mixed.
You don’t need a huge collection of flours. Stick with one or two and get used to how they bake. If you want to experiment, try mixing almond flour with oat flour for moisture and structure.
Freeze your bananas when they start to brown. Just toss them in the freezer with the peel on. When you’re ready, thaw and squeeze them right out of the skin. Easy and no waste.
Keep a small stash of mix-ins, too:
- Chocolate chips (check for gluten-free label)
- Chopped nuts (buy in bulk or use leftovers)
- Raisins or dried fruit (great if you need extra sweetness)
Baking gluten free banana bread becomes second nature when your pantry is ready. It’s one less trip to the store and one more way to save.
How To Make It Taste Amazing Without Gluten
Let’s be honest. Some gluten-free recipes taste like cardboard. That’s not what we’re going for here. You can make banana bread that tastes just as good—maybe better—than the regular kind.
It starts with the bananas. The browner, the better. They add moisture and flavor. You want them soft and sweet. If they’re black on the outside, they’re perfect.
Here’s what helps your bread taste great:
- Use oil for moisture. Vegetable, canola, or melted coconut oil work.
- Add a splash of vanilla for richness.
- Don’t skip the salt. It balances the sweet.
- Use eggs or an egg substitute for texture.
If you like extras, try these:
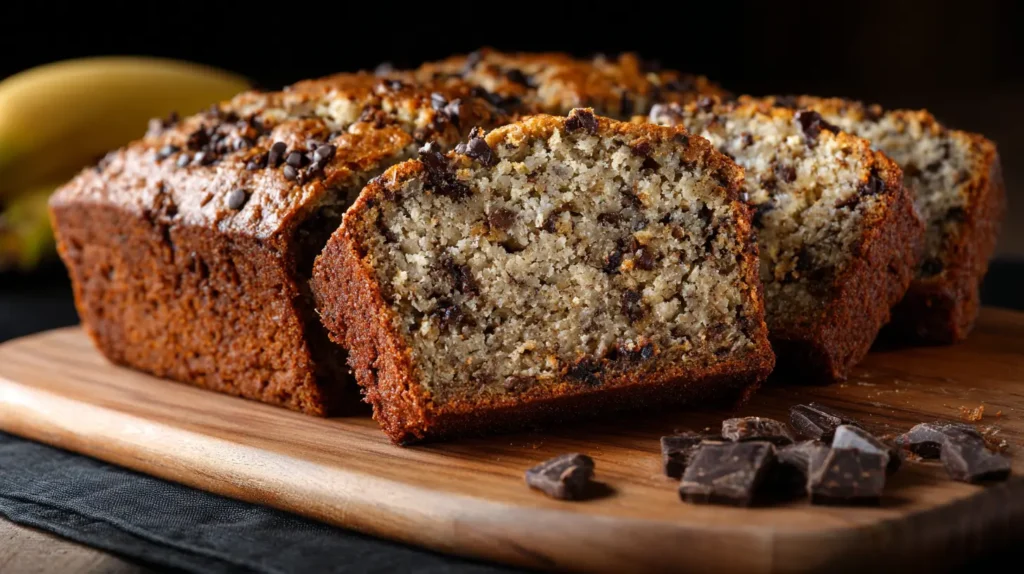
- Chocolate chips (adds sweetness and fun)
- Chopped walnuts or pecans (for crunch)
- A sprinkle of cinnamon (for warmth)
If your gluten-free flour seems dry, don’t worry. Bananas help with that. You can also add a spoonful of yogurt or sour cream to boost the moisture. Don’t overdo it. Just one to two tablespoons.
Always taste the batter. It should be sweet but not too much. If it tastes flat, add a pinch of salt or more vanilla.
The keyword to remember is balance. Banana, flour, and fat need to work together. If the mix feels too thick, a splash of milk helps.
Bake it low and slow. Around 325°F to 350°F is perfect. Gluten-free loaves need time to bake through. Cover the top with foil if it browns too fast.
This gluten free banana bread will taste like the real deal—and you won’t even miss the gluten.
How To Keep It Budget-Friendly Every Time
Keeping this recipe frugal isn’t hard. It just takes a little planning. You can skip the specialty store and use what’s already in your kitchen.
Here’s how to stretch your dollar:
- Buy bananas in bulk when they’re on sale.
- Freeze ripe bananas instead of tossing them.
- Make your own oat flour at home.
- Use coupons or store apps for baking items.
- Shop store brands for basics like sugar and oil.
Don’t forget to bake in batches. If the oven is already on, double the recipe. You can:
- Freeze a second loaf
- Slice and store for easy breakfasts
- Wrap slices in foil and tuck into lunchboxes
Use what you’ve got. That’s the heart of budget cooking. Got leftover chocolate chips? Toss them in. Have a bit of applesauce? Sub it for oil.
No need for expensive mix-ins. Stick with classics like cinnamon or nuts. If you want extra sweetness, a drizzle of honey works better than pricey syrups.
Skip the packaged gluten-free breads at the store. They’re usually small and expensive. This recipe makes a full loaf at a fraction of the cost.
Store it right, too. Wrap in foil or plastic wrap and refrigerate. You can even freeze slices with parchment paper between them. Pop one in the microwave for a quick snack.
Frugal living doesn’t mean boring food. It means smart food. And gluten free banana bread checks every box.
Easy Gluten Free Banana Bread Recipe (No Fuss!)
Let’s get to the part you’ve probably been waiting for—the actual recipe. This gluten free banana bread is simple, budget-friendly, and turns out every time if you follow these steps. You don’t need anything fancy. Just a few pantry staples and some ripe bananas.
Here’s what you’ll need:
- 3 ripe bananas (the browner, the better)
- 2 large eggs
- 1/3 cup oil (any kind you have—vegetable, canola, or melted coconut)
- 1/2 cup sugar (white or brown)
- 1 teaspoon vanilla extract
- 1 1/2 cups gluten-free flour blend (store brand works!)
- 1 teaspoon baking soda
- 1/2 teaspoon salt
- Optional: 1/2 teaspoon cinnamon
- Optional: 1/2 cup chocolate chips or chopped nuts
Now here’s how to do it:
- Preheat your oven to 350°F.
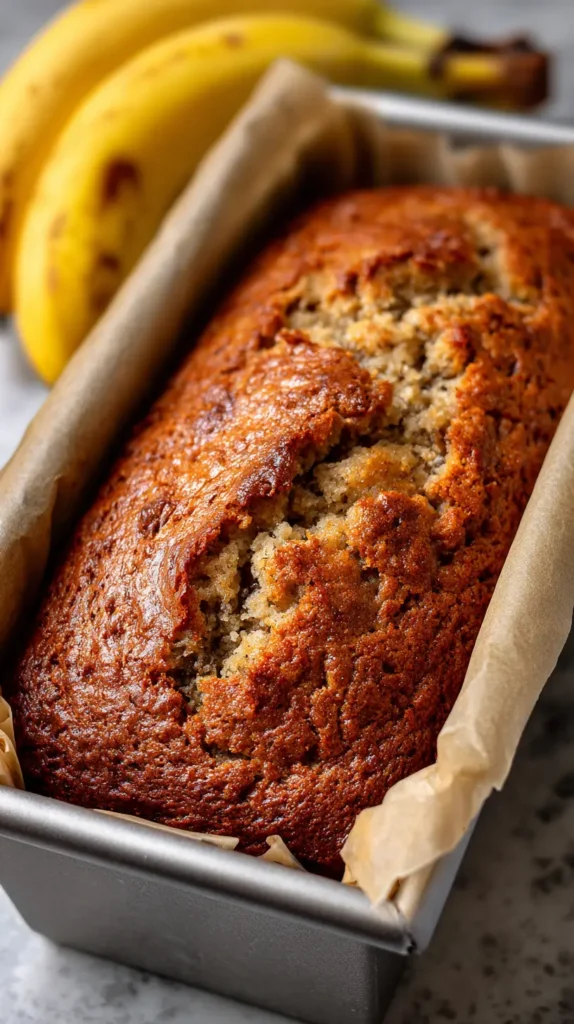
- Grease a loaf pan or line it with parchment paper.
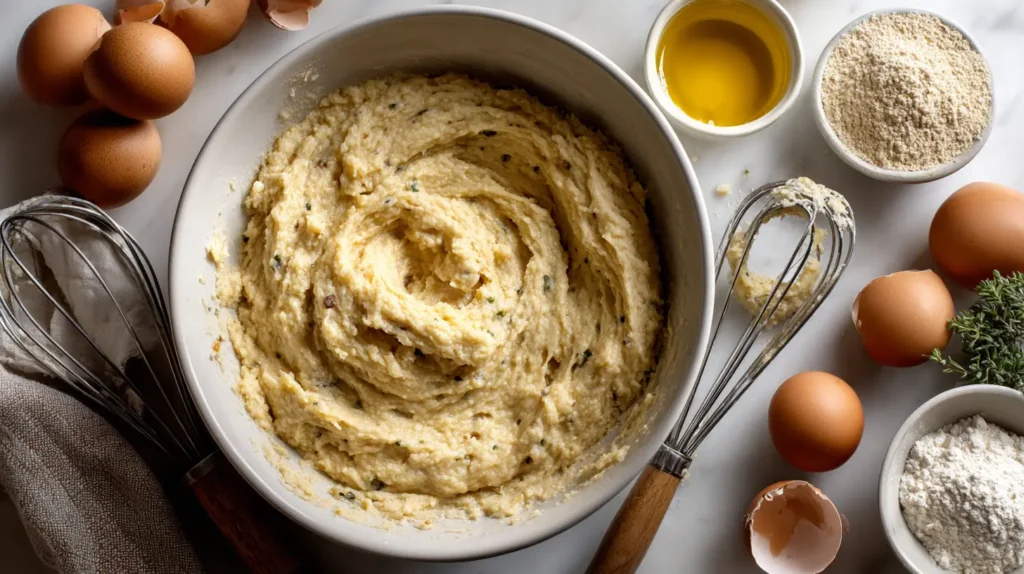
- In a large bowl, mash the bananas with a fork.
- Add eggs, oil, sugar, and vanilla. Stir until smooth.
- Add in the flour, baking soda, salt, and cinnamon.
- Mix until just combined. Don’t overmix.
- Fold in any extras like chocolate chips or nuts.
- Pour into your prepared pan and smooth the top.
- Bake for 50–60 minutes. A toothpick should come out clean.
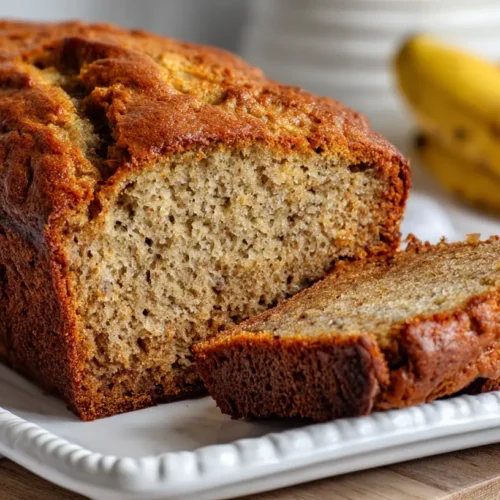
- Let it cool for 10 minutes before slicing.
That’s it! This recipe is easy, forgiving, and super adaptable. It works great with oat flour or almond flour too, if that’s what you’ve got on hand.
And yes—it freezes like a dream. This gluten free banana bread is a keeper.
Ways To Change It Up (Without Spending More)
One of my favorite things about this recipe? It’s easy to change up. You don’t need to buy extra ingredients. Just use what you have.
Here are some ideas that cost little to nothing:
- Stir in leftover fruit like chopped apples or blueberries
- Swap in pumpkin for some of the banana
- Use applesauce or yogurt if you’re low on oil
- Add a handful of oats on top for texture
Get creative with spices:
- Try cardamom or ginger for a fall twist
- Add cocoa powder for a chocolate loaf
- Sprinkle cinnamon sugar on top before baking
Even the pan you use can change things up:
- Make mini loaves for lunchboxes
- Use a muffin tin for quick snacks
- Try a bundt pan if you want to feel fancy
Add-ins don’t have to be expensive:
- A spoonful of peanut butter adds protein
- Crushed cereal adds crunch
- A mashed sweet potato adds moisture
Use what’s in your fridge or pantry. That’s the best way to make it your own and save money.
And don’t forget, this loaf makes a great gift. Wrap it up with a handwritten label, and you’ve got a thoughtful, homemade present—without spending a dime.
Once you make it your way, you’ll find yourself coming back to this recipe again and again.
How To Store It Right (And Keep It Tasting Fresh)
Once you’ve baked your gluten free banana bread, the next step is storing it the right way. Doing this well makes every slice taste just as good days later. It also keeps you from tossing out leftovers, which helps stretch your grocery budget even more.
Here’s how I keep mine fresh:
- Let it cool completely before wrapping
- Wrap tightly in foil or plastic wrap
- Store on the counter for 2–3 days
- Move to the fridge after that
Refrigerating helps it last up to a week. Just make sure it’s sealed so it doesn’t dry out. Want to keep it even longer? Freeze it.
Freezing is a smart move, especially if you baked extra. You can:
- Wrap individual slices with parchment paper between them
- Place the wrapped slices in a freezer-safe bag
- Label with the date (so you don’t forget what it is)
- Freeze for up to 3 months
When you’re ready to eat it, thaw on the counter or warm it in the microwave for 20–30 seconds. It’ll taste just like fresh-baked.
This also makes mornings easier. If you freeze slices ahead of time, breakfast is as simple as heating one up. No stress. No mess.
Here are a few more storage tips:
- Avoid storing in the pan—it traps moisture and turns it soggy
- Don’t slice the whole loaf unless you need to
- Keep it away from heat or sunlight if left out
Storing gluten free banana bread the right way means fewer crumbs in the trash and more food in your belly. It’s an easy win when you’re trying to save money and avoid waste. A little prep goes a long way.
And honestly? It’s kind of nice having a slice ready when the craving hits.
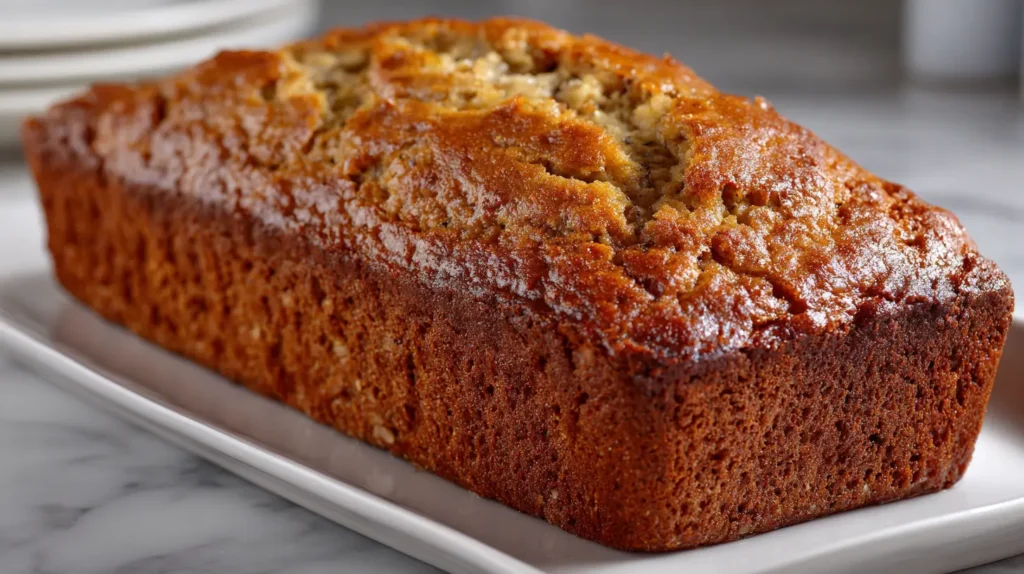
Gluten Free Banana Bread
Ingredients
- 3 ripe bananas
- 2 large eggs
- 1/3 cup oil vegetable, canola, or melted coconut
- 1/2 cup sugar white or brown
- 1 teaspoon vanilla extract
- 1 1/2 cups gluten-free flour blend
- 1 teaspoon baking soda
- 1/2 teaspoon salt
- 1/2 teaspoon cinnamon optional
- 1/2 cup chocolate chips or chopped nuts optional
Instructions
- Preheat your oven to 350°F.
- Grease a 9×5-inch loaf pan or line it with parchment paper.
- In a large bowl, mash the ripe bananas with a fork until smooth.
- Add the eggs, oil, sugar, and vanilla extract to the mashed bananas.
- Stir until the wet mixture is well combined.
- Add the gluten-free flour blend, baking soda, salt, and cinnamon if using.
- Stir until just combined, being careful not to overmix.
- Fold in chocolate chips or nuts, if using.
- Pour the batter into the prepared loaf pan and spread it evenly.
- Bake for 50 to 60 minutes, or until a toothpick inserted in the center comes out clean.
- Let the bread cool in the pan for 10 minutes.
- Remove from the pan and transfer to a wire rack to cool completely.
- Slice and serve, or store as needed.
Final Thoughts On Gluten Free Banana Bread That’s Easy And Frugal
So here’s what we covered in this post.
Making gluten free banana bread doesn’t have to be complicated or expensive. In fact, it’s one of the easiest ways to use up leftovers and save money.
We talked about:
- How to use brown bananas you already have
- What pantry staples help you bake on a budget
- The best ways to make it taste good without gluten
- Tricks to keep costs low every time you bake
- Easy, low-cost ways to change things up
You don’t need a fancy kitchen or expensive ingredients. You just need a few basics and a plan.
Buying gluten-free bread at the store adds up fast. But when you bake it yourself, you save money and know exactly what’s in it.
This kind of smart, simple recipe fits right into a frugal living lifestyle. You’re avoiding waste, using what you already have, and making something that actually tastes good.
If you’re already using Pinterest to collect gluten-free recipes or budget meal ideas, go ahead and pin this one too. It’s worth saving.
Every slice is a little reminder that saving money doesn’t mean sacrificing flavor or joy.
Now that you know how easy this can be, there’s no need to let old bananas go to waste.
So grab your flour, mash those bananas, and start baking smart.