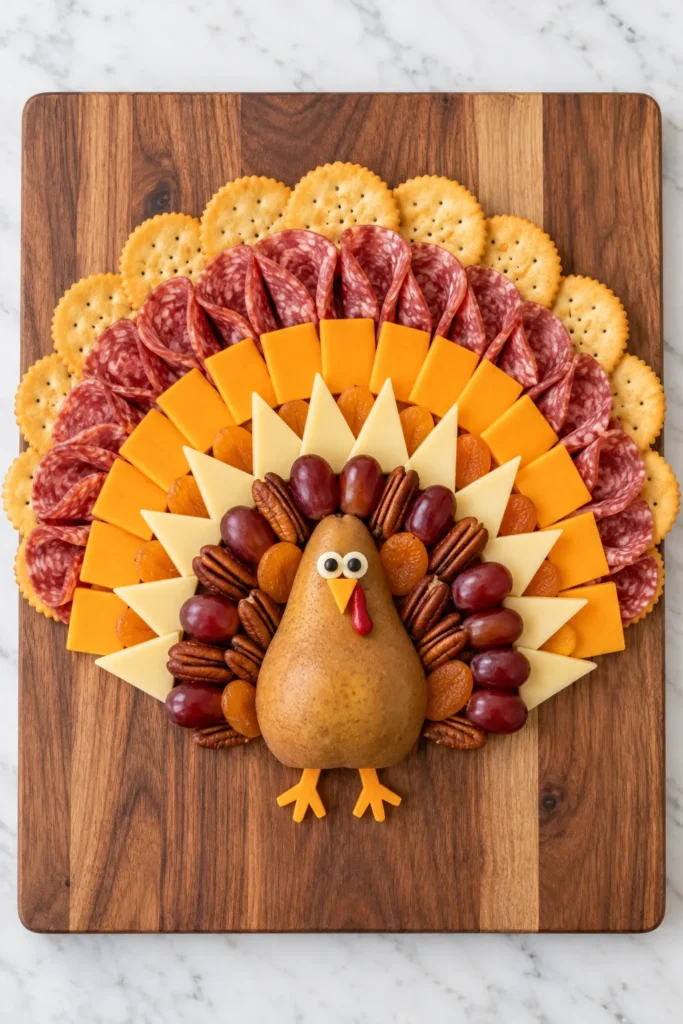
Friendsgiving season sneaks up on me every single year. One text says “we should do a friend dinner,” and suddenly twelve people confirm. I panic about what to serve everyone. That’s when a friendsgiving charcuterie board saves the whole plan. It looks impressive, costs less than a full dinner, and keeps me out of the kitchen. No stress, no fuss, just really good snacking.
I live in Orlando, and Friendsgiving weather never looks like fall here. Shorts and iced coffee show up every November, without fail. So my hosting style stays casual, snacky, and low stress. Sweating over a turkey dinner in eighty-degree heat sounds miserable. A big board of cheese, crackers, and little bites fits that vibe perfectly.
Here’s the thing nobody mentions about these boards. Feeding a crowd without blowing your grocery budget takes a little strategy. Grab the wrong cheese, or overbuy on fancy meats, and costs climb fast. Suddenly your “budget-friendly” gathering costs more than takeout for everyone. I’ve found that a few smart swaps change everything. Skip that trap, and the whole spread looks effortless.
So grab your biggest cutting board (or a clean piece of wood, no judgment). Let’s build something your friends will remember. I’m walking through ingredients, layout tricks, and serving ideas. Plus, there’s one mistake I see people make constantly. That mistake is probably already sitting in your cart. Stick around for the ingredient list, because it’s shorter than you’d expect.
Some of the links on this page are affiliate links, which means I may earn a small commission if you purchase through them. It never costs you extra. You can always peek at my full disclosure if you’d like the details.
Why Everyone Needs A Friendsgiving Charcuterie Board This Year
Every Friendsgiving invite text starts the same way: “What should I bring?” My answer never really changes. Skip the sad veggie tray and build a friendsgiving charcuterie board instead. It does all the heavy lifting for you.
Here’s my hot take: a big spread beats a sit-down dinner almost every time. Nobody has to cook a whole turkey. Coordinating six side dishes turns into a scheduling nightmare fast. You just build one big, gorgeous board and let everyone graze.
A few reasons this format wins for a group of friends:
- It feeds a crowd without anyone standing over a stove for hours
- It works for picky eaters, vegetarians, and that one friend who “doesn’t do onions”
- It photographs beautifully for the group chat (someone’s definitely posting it)
- It stretches your grocery budget further than a full sit-down meal
- It keeps the host part of the party instead of stuck in the kitchen
- It travels well if a friend hosts and you’re just bringing a dish
I tend to notice boards solve the timing problem, too. Dinner needs a specific start time, but a board just waits, looking pretty. A late friend faces zero stress. An early friend gets first pick of the good cheese. Even a two-hour delay barely changes how the spread looks or tastes.
This isn’t really about being lazy, either (though, fair, that’s part of the appeal). It’s about hosting smarter instead of harder. When your goal is connection over perfection, this format fits the whole mood of Friendsgiving anyway. Nobody remembers a perfectly plated dinner. They remember laughing around a table full of snacks. That’s the whole point of the holiday, if you ask me.
Everything You Need For This Friendsgiving Charcuterie Board
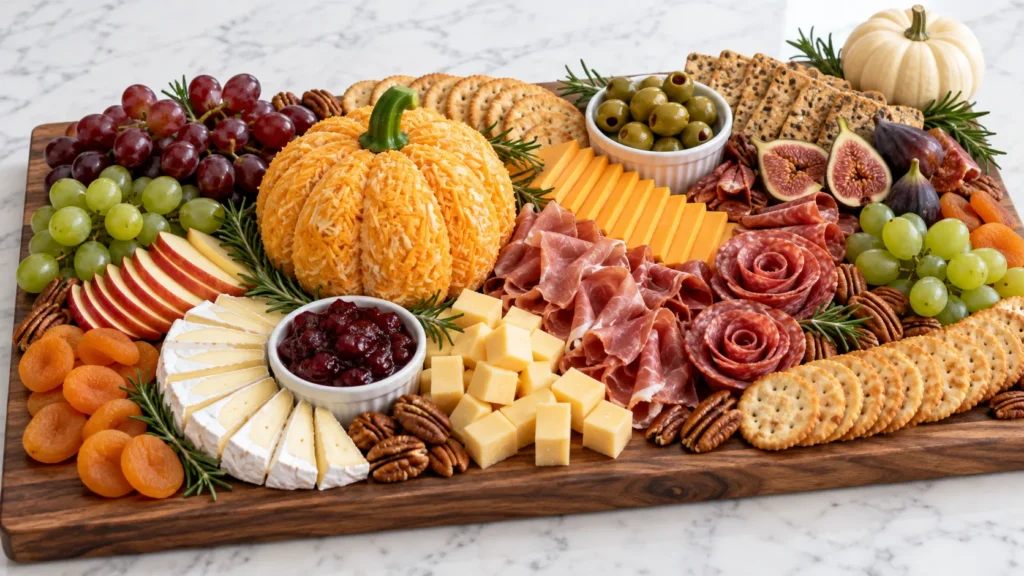
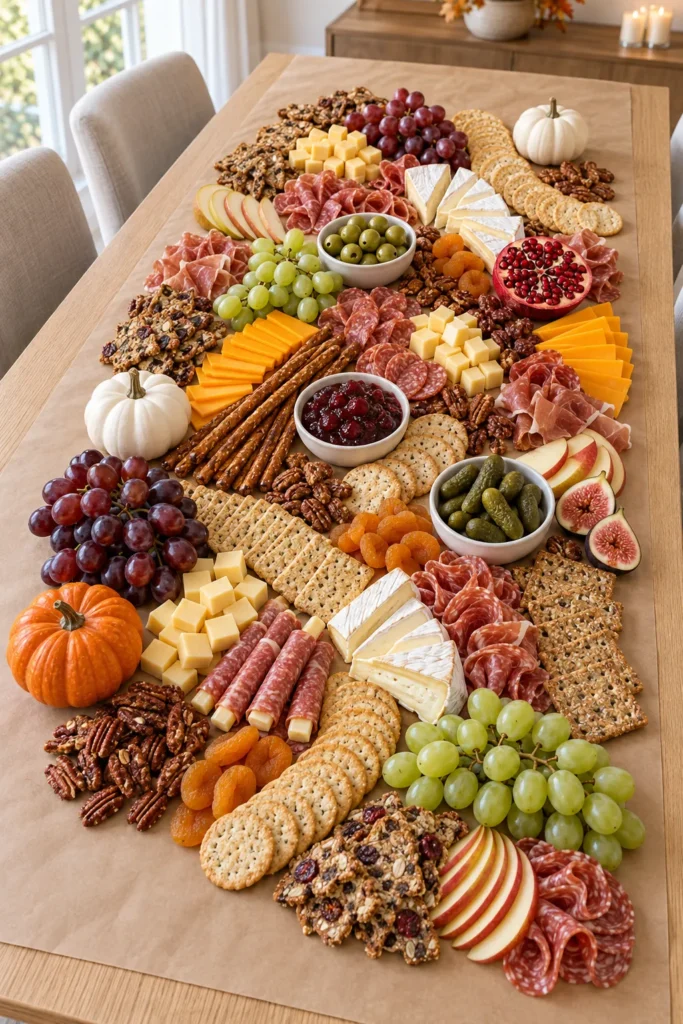
Let’s talk ingredients, because this is where people either save money or overspend. My approach: pick one hero cheese, a couple of budget meats, and fill gaps with cheap, colorful extras. This board comfortably feeds eight to ten people as a shared appetizer.
Here’s what I grab for a full-size friendsgiving charcuterie board:
- 8 oz sharp cheddar, cubed or sliced
- 8 oz brie or herbed goat cheese
- 6 oz mozzarella pearls or sliced string cheese
- 6 oz salami, folded into little ribbons
- 4 oz prosciutto or thin deli ham
- 4 oz pepperoni slices
- 1 box (8.8 oz) water crackers
- 1 box (6.5 oz) whole grain crackers
- 1 baguette, sliced and lightly toasted
- 1 cup mixed nuts (almonds, cashews, or pecans)
- 1 cup grapes, left on the stem
- 1 apple and 1 pear, thinly sliced
- 1/2 cup dried apricots or figs
- 1/2 cup olives, any kind you like
- 1/4 cup honey, for drizzling
- 1 small jar (8 oz) fig jam or apricot preserves
- Fresh rosemary or thyme sprigs, for filling gaps
Swap anything based on what’s on sale that week. I’ve found store-brand cheese tastes almost identical once it’s sliced thin. Surround it with other flavors, and nobody notices the difference. Nobody at Friendsgiving checks labels; they grab a cracker and move on. Buying a little extra of everything also gives you backup for refilling later.
Don’t stay locked into this exact list, either. Swap goat cheese for feta, or trade grapes for sliced pears if that’s what’s cheap. The formula matters more than the specific brands you choose. Cheese, meat, crunch, fruit, and something sweet: hit those categories, and the friendsgiving charcuterie board basically builds itself.
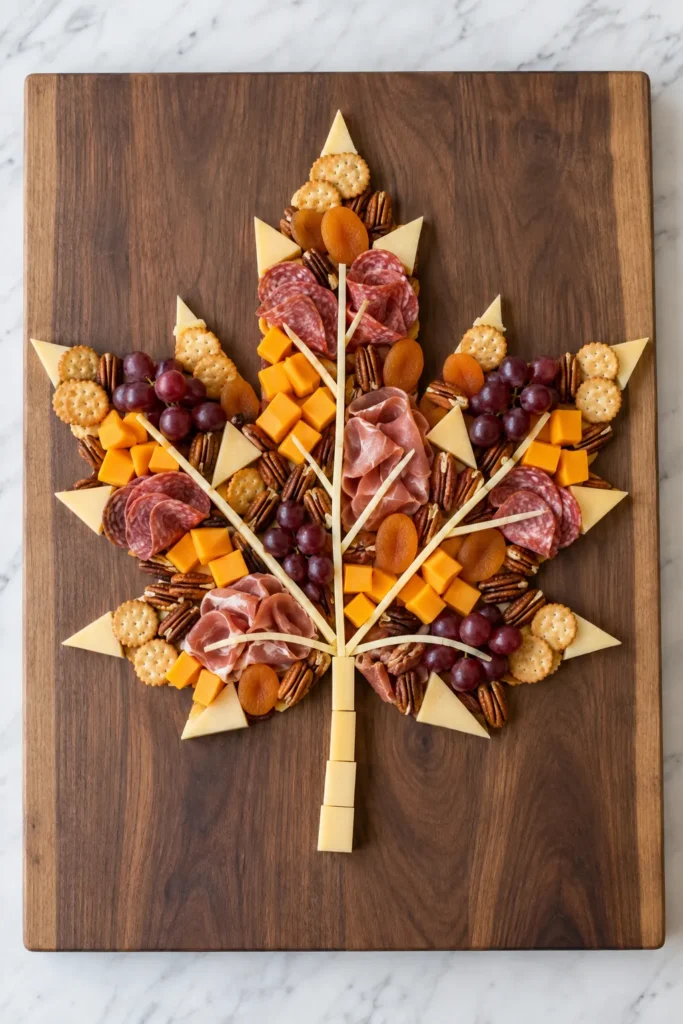
How I Build The Board, Step By Step
Building the board seems intimidating until you break it into steps. I start with anchors first, then fill gaps like a puzzle. Do it once, and it becomes second nature. I promise it gets faster every single time you build one.
Here’s the order that works every time:
- Place small bowls for jam, honey, and olives on the board first.
- Add the cheeses next, tucking them near their own bowl.
- Fold the salami and prosciutto into ribbons, then tuck them into open spaces.
- Fan the crackers and toasted baguette slices in small rows.
- Add grapes in little clusters, since they fill gaps fast.
- Tuck apple and pear slices between the meats so they don’t brown.
- Scatter nuts, dried fruit, and olives into leftover gaps.
- Fill tiny remaining spaces with rosemary sprigs for color.
Working from the bowls outward keeps everything balanced instead of lopsided. I tend to notice boards look messiest when crackers go in first. Cheese gets squeezed in later, and the whole layout suffers. Save delicate items, like fruit and herbs, for last. They bruise and wilt fast if you handle them too early. This order also keeps your hands cleaner, which matters more than you’d think.
One trick changed my whole approach to building a friendsgiving charcuterie board. Group colors instead of scattering them randomly across the surface. Reds sit near reds, greens near greens. It sounds fussy, but it takes zero extra time. The result looks professionally styled in minutes flat (no design degree required, promise). Once you see it done this way, you’ll never build a messy board again.
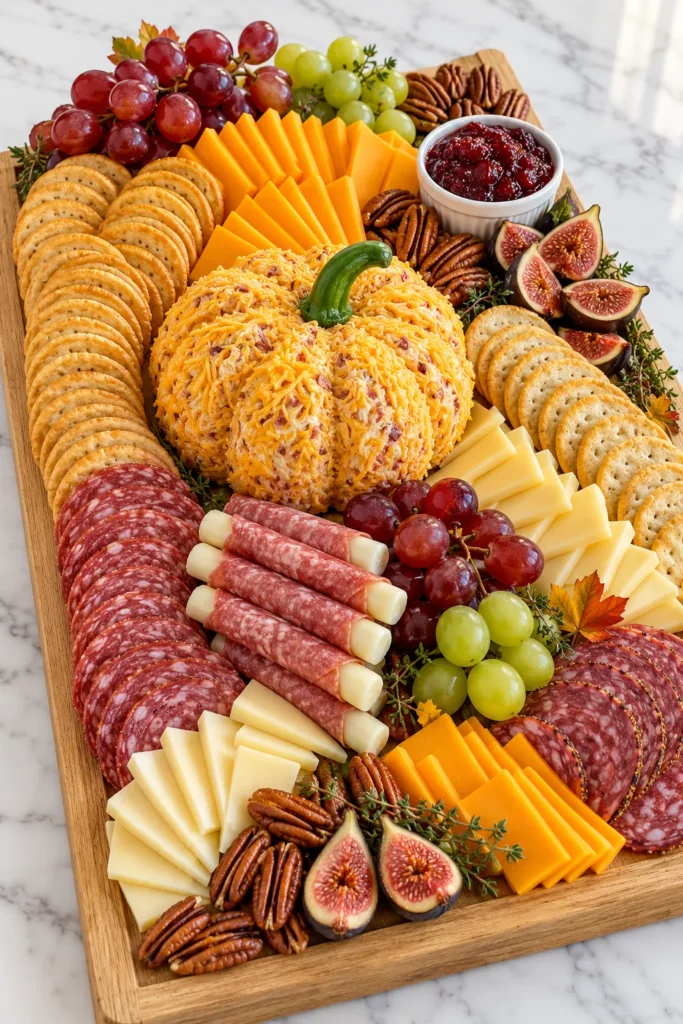
The Budget Trick Nobody Talks About
Here’s where I get a little opinionated: most tutorials assume a fancy grocery budget. Mine doesn’t, and yours probably doesn’t either around the holidays. Let’s talk about stretching this thing without anyone noticing.
The biggest cost driver on any board is meat, hands down. Cured meats add up fast, especially the imported stuff with a cute ribbon on top. Swap half your meat for something cheaper, like basic deli ham. Nobody clocks the switch once it’s fanned out next to everything else.
Cheese works the same way. A wedge of imported brie costs three or four times more than a store-brand version. Once cheese sits surrounded by crackers, fruit, and jam, the brand name stops mattering. Your friends build bite combinations; they aren’t running a blind taste test.
Buy fruit and nuts in bulk whenever they go on sale. Portion out what you need, then freeze the rest for smoothies later. Nothing goes to waste that way. Warehouse stores work shockingly well for this, especially right before a busy holiday weekend.
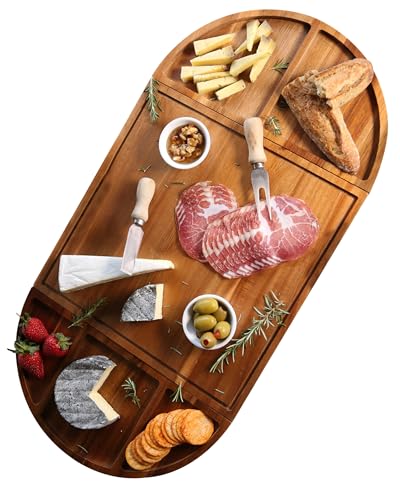
Here’s my final money tip: skip buying a fancy board entirely. A clean cutting board, a large tray, or even a marble slab works fine. Nobody judges the surface when the food already looks this good. Save that extra cash for the good cheese instead.
I also skip pricey jam brands and thin out a cheaper jar with warm water instead. It stretches further and drizzles more smoothly over the cheese. Small swaps like this add up fast across a whole Friendsgiving budget. You end up with more food, less guilt, and money left for the fun stuff.
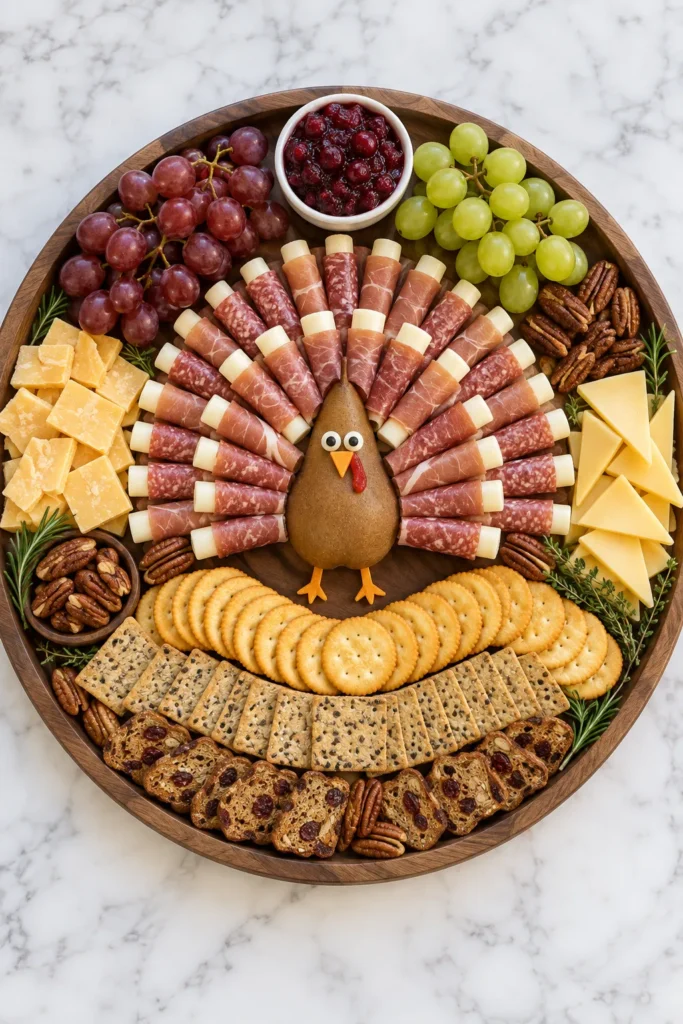
My Best Tips For A Friendsgiving Charcuterie Board That Doesn’t Flop
Let’s talk about the small stuff that makes a huge difference. I’ve made every mistake possible here, so learn from me. These tips come from real trial and error, not some textbook.
First, let cheese sit out for twenty to thirty minutes before serving. Cold cheese straight from the fridge tastes flat and cuts poorly. Room temperature cheese slices cleaner and tastes noticeably better.
Second, don’t slice fruit too early in the process. Apples and pears brown fast, even with lemon juice slowing things down. I prep everything else first, then slice fruit right before guests arrive.
Third, leave a few gaps on purpose while building. New hosts tend to pack every inch immediately, leaving no room for finishing touches. A board with open pockets for herbs looks intentional, not empty.
Fourth, keep a backup stash of crackers and cheese hidden in the kitchen. Boards get demolished faster than most people expect, especially by hour two. Quietly refilling gaps keeps the whole spread looking full all night.
Finally, don’t overthink the arrangement. Perfectionism steals the fun part of hosting anyway. A slightly imperfect friendsgiving charcuterie board still tastes exactly the same. It photographs beautifully, too, regardless of a stray grape rolling off the edge.
One more thing worth knowing: bigger isn’t always better here. A packed, medium-sized board photographs better than a huge, sparse one. I’d rather refill a smaller board twice than stare at empty gaps all night. Guests notice a full board way more than they notice its actual size.

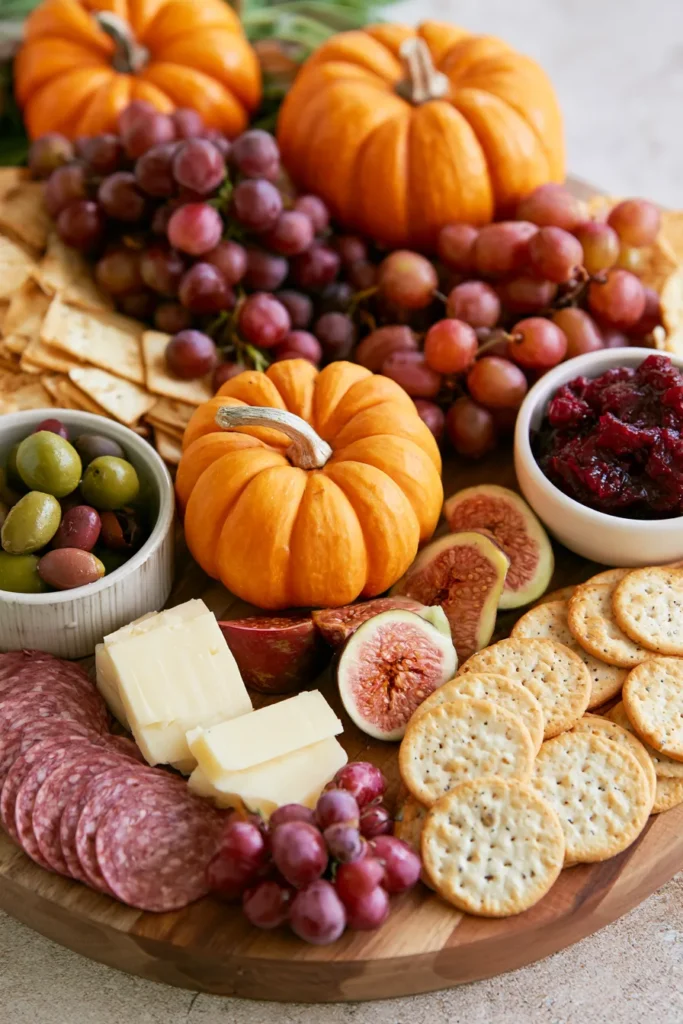
The Friendsgiving Charcuterie Board Serving Suggestions Everyone Asks For
People always ask what to serve alongside the board. It’s rarely the only thing on the table, after all. My answer depends on the group size and how hungry everyone claims to be beforehand.
For a smaller gathering, the board works fine as the entire meal. Add a simple green salad and maybe a pitcher of cider. Nobody leaves hungry, and cleanup takes about five minutes total.
For a bigger crowd, pair the board with one or two easy sides. A warm soup, a pot of chili, or a simple pasta bake rounds things out. These options stay cheap and filling without demanding constant attention.
Drinks matter more than most people think going in. A signature cocktail or mocktail adds personality without costing much. Sparkling apple cider with a cinnamon stick garnish reads as festive and costs almost nothing per serving.
For dessert, keep things light and simple. A pie, a batch of cookies, or chocolate-covered pretzels rounds out the spread. Guests tend to graze on the board all night anyway, so dessert becomes more of a bonus.
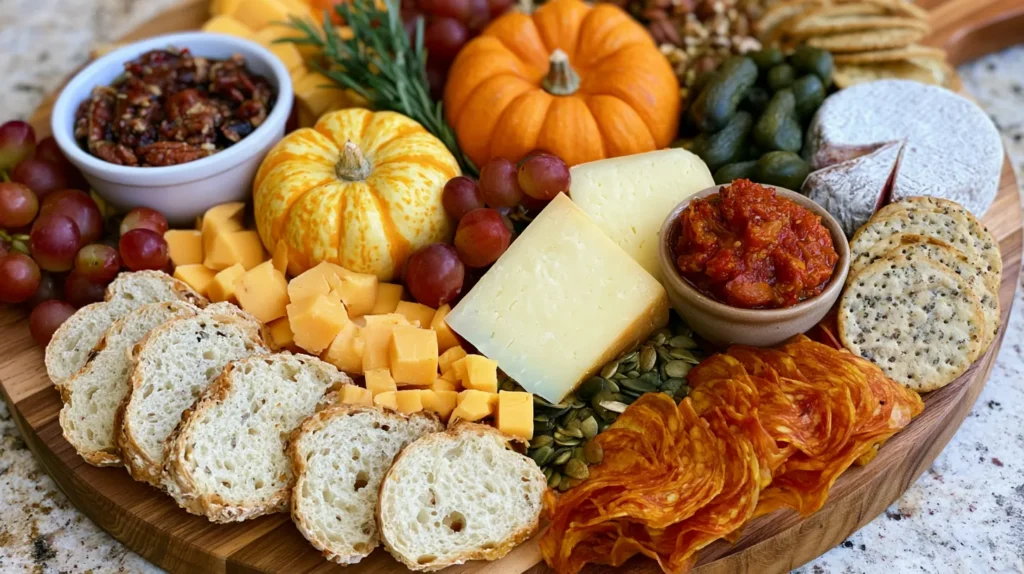
If you want a theme, lean into fall flavors across every course. Cinnamon, apple, maple, and fig all tie back naturally to what’s already on your friendsgiving charcuterie board.
Coffee works well after the meal, too, especially for a laid-back crowd. Set out a small dessert tray next to the coffee station for easy grazing. Little touches like that keep people lingering at the table instead of scattering right after eating.

Making It Ahead Of Time (Because Nobody Has Time)
Friendsgiving usually happens on a weeknight or a packed weekend, so timing matters. I like knocking out most prep the day before. Party day then stays calm instead of chaotic.
Here’s what you can prep ahead, and how far ahead:
- Slice cheese and store it wrapped tightly in the fridge, up to 2 days ahead
- Portion nuts, olives, and dried fruit into containers, up to 3 days ahead
- Fold and arrange meats on a plate, covered tightly, up to 1 day ahead
- Thin store-bought jam with a splash of warm water, up to 1 day ahead
- Wash grapes and pat them completely dry the morning of the party
What I don’t recommend prepping early: sliced fruit and the final layout. Apples and pears brown quickly, even in the fridge. Building the actual board more than two hours ahead also risks soggy crackers.
My real routine looks like this: prep everything else the night before. Then I assemble the friendsgiving charcuterie board about an hour before guests arrive. That timing keeps everything fresh, crisp, and colorful once people start grazing.
If you’re hosting solo, ask one friend to bring bread or crackers. It sounds small, but it frees up fridge space. Your grocery bill shrinks a little, too, without anyone feeling burdened.
I also keep a small cooler on hand for overflow ingredients on party day. It frees up fridge space for other dishes people bring along. This trick alone has saved more than one Friendsgiving from turning into a fridge Tetris disaster.

Little Touches That Make It Look Fancy
A few tiny details push a good board into a genuinely impressive one. None of them cost extra money, either. This is the part people skip, and it shows every time.
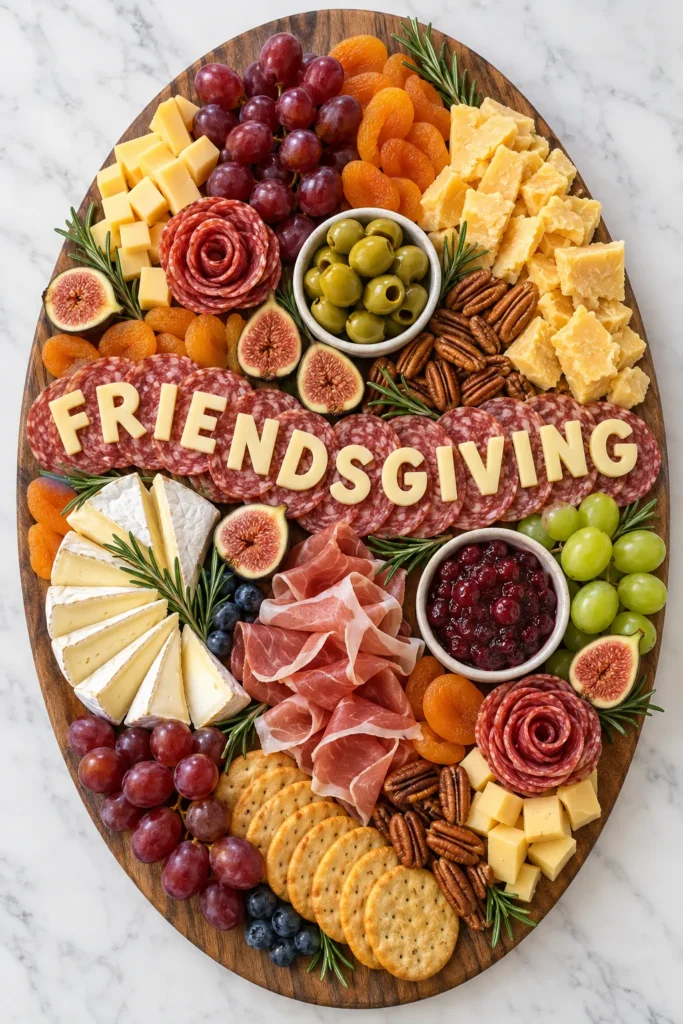
Fresh herbs do more work than people realize. A few sprigs of rosemary or thyme tucked between cheeses instantly makes everything look styled. It’s such a small step, but the visual changes immediately.
Height matters more than most hosts expect going in. Stack a few cheese cubes instead of laying everything flat. Prop crackers against a small bowl instead of scattering them across open space.
Color contrast pulls everything together, too. Dark grapes next to pale cheese, orange apricots against green herbs, all of it reads as intentional. A board with even color distribution looks styled by a professional, even after ten rushed minutes.
Right before serving, a drizzle of honey adds shine and unexpected sweetness. It photographs beautifully under warm lighting and takes about fifteen seconds to add.
Last tip: label a few items with tiny cards if you’ve got extra time. People love knowing what they’re eating, especially with unfamiliar cheeses. This small detail turns a casual friendsgiving charcuterie board into something that comes across as genuinely thoughtful.
None of these touches take real skill or a big budget. They just take a few extra minutes before guests walk through the door. I’d rather spend that time on styling than on a complicated recipe nobody remembers anyway.

FAQs
How far ahead can I make a Friendsgiving charcuterie board? You can prep most components one to three days ahead. Build the actual board about an hour before guests arrive.
How much food do I need per person? Plan for two to three ounces of meat and cheese per person. For a full meal, go closer to four ounces.
Can I make this vegetarian? Yes! Skip the meat and add more cheese, nuts, roasted veggies, and dips. Nobody will notice anything missing.
What’s the cheapest way to build a big board? Buy in bulk, choose store-brand cheese, and lean on fruit and crackers. Meat costs the most, so use less.
What size board or tray works best for a crowd? A tray around eighteen to twenty-four inches feeds eight to ten people. Use two smaller boards if needed.
Consider This Your Friendsgiving Cheat Code
I didn’t expect one board to change how I host, but here we are. A friendsgiving charcuterie board takes the pressure off everyone, including me. It somehow still looks like I tried really hard. Funny how that works out.
What I love most is how forgiving the whole process stays. Mess up the layout? Nobody notices once the honey starts dripping. Run short on one cheese? Swap in whatever’s left in your fridge, and the show goes on.
Living in Orlando means my “fall” gathering still happens in shorts weather most years. A snacky board fits that vibe better than any heavy dinner ever could. It’s casual, it’s colorful, and it lets me sit with my friends instead of hovering near the oven.
If you build one of these, save the idea to Pinterest for next year. Future you will genuinely thank present you for that. Friendsgiving comes around fast, and a saved plan beats scrambling every time.
At the end of the day, good food and friends don’t need a fancy spread to look special. They just need enough snacks to keep everyone talking past midnight. That’s the whole magic trick behind a good friendsgiving charcuterie board. Build the board, pour the cider, and let the rest take care of itself.