So here’s the thing nobody warns you about a kitchen garden. The fantasy is way prettier than the first attempt. You picture yourself snipping fresh herbs in a sunhat. Reality shows up instead, wearing gardening gloves. And holding a hose that never quite reaches far enough.
Living in Orlando means my growing season laughs at gardening calendars. Our summers turn brutal fast, and our soil runs sandy in most yards. Half the “easy” plants wilt the moment they meet my yard. Even so, I keep circling back to this idea. A well-planned kitchen garden can shrink a grocery bill fast. It works in a way that’s sneaky good, almost like cheating.
Here’s what surprised me most about all this. People rarely quit gardening because the plants are hard. They quit because nobody explains the planning part first. Space, sun, soil, and budget all seem overwhelming at first glance. Someone just needs to break it into smaller pieces. Once you see the pieces, the whole thing gets less scary.
That’s exactly what we’re doing here, piece by piece. Some mistakes along the way are mine, more than a few. Stick around for the small layout trick waiting near the end. It changed how I think about the whole setup completely. You might change your mind about a few things too. I certainly did, more than once.
Some of the links on this page are affiliate links, which means I may earn a small commission if you purchase through them. It never costs you extra. You can always peek at my full disclosure if you’d like the details.
Wait, What Even Is a Kitchen Garden?
A kitchen garden isn’t some grand farm-to-table production. Even though the name makes it sound that way. It’s just a small growing space near your back door. Filled with things you’ll really use at dinner. Think herbs, a few peppers, maybe one overly ambitious tomato plant.
Here’s an assumption I want to knock out early. Bigger doesn’t mean better here. It works best when it stays small. Small enough to walk past daily without dreading it. If you have to trek across the yard for basil, you’ll quit within a week. Ask me how I know that one.
The whole point is convenience, not spectacle. You want something close enough to step outside barefoot. Grab what you need, then get back inside before the mosquitoes find you. That’s not lazy. It’s just smart design, wearing a lazy costume.
People overcomplicate this because gardening content loves drama. Raised beds shaped like spirals. Elaborate trellises and color-coordinated rows. None of that is required, not even close. A kitchen garden can be five pots on a porch. And it still counts, completely. A single tomato in a bucket counts too.
What matters most is being close and useful. Grow what you cook with regularly. Skip cilantro if you hate cilantro, trendy or not. Grow the herbs you reach for constantly instead. The ones that make weeknight dinners taste like effort.
So before planning anything fancy, ask one question. What do you keep buying that you could grow instead? That answer is your starting point. It’s usually smaller and simpler than you’d expect. Mine turned out to be three herbs and one stubborn pepper plant. Nothing fancy, and that’s precisely the point.
Small Kitchen Garden Ideas for Tiny Spaces
If your yard is basically a postage stamp, a kitchen garden can still happen. Mine practically is one, for the record. Small spaces just need smarter choices, not more square footage. I’ve found that limitations make decisions easier. Fewer options means less time stuck deciding.
Here are a few small-space setups worth trying:
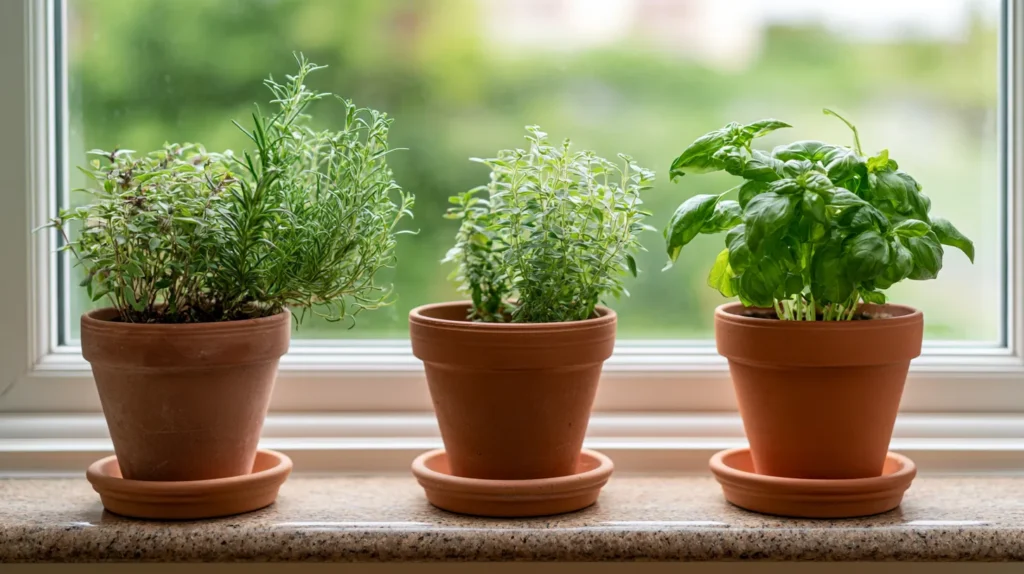
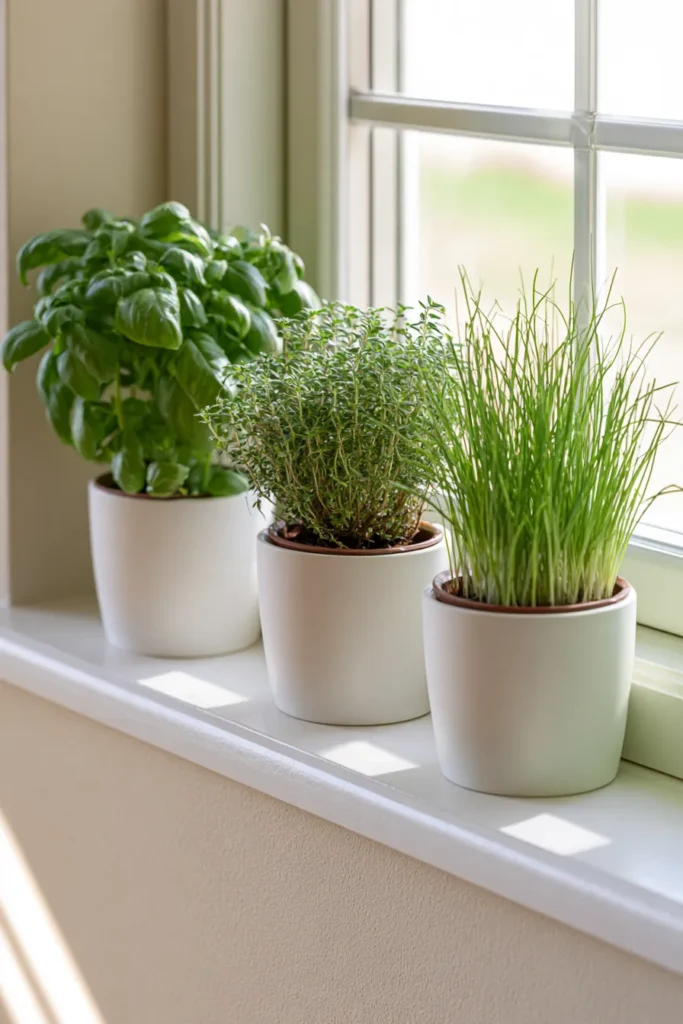
- A row of pots along a sunny windowsill for basil, thyme, and chives
- A vertical planter mounted on a fence for lettuce and strawberries
- Railing planters that hook onto a balcony edge for cherry tomatoes
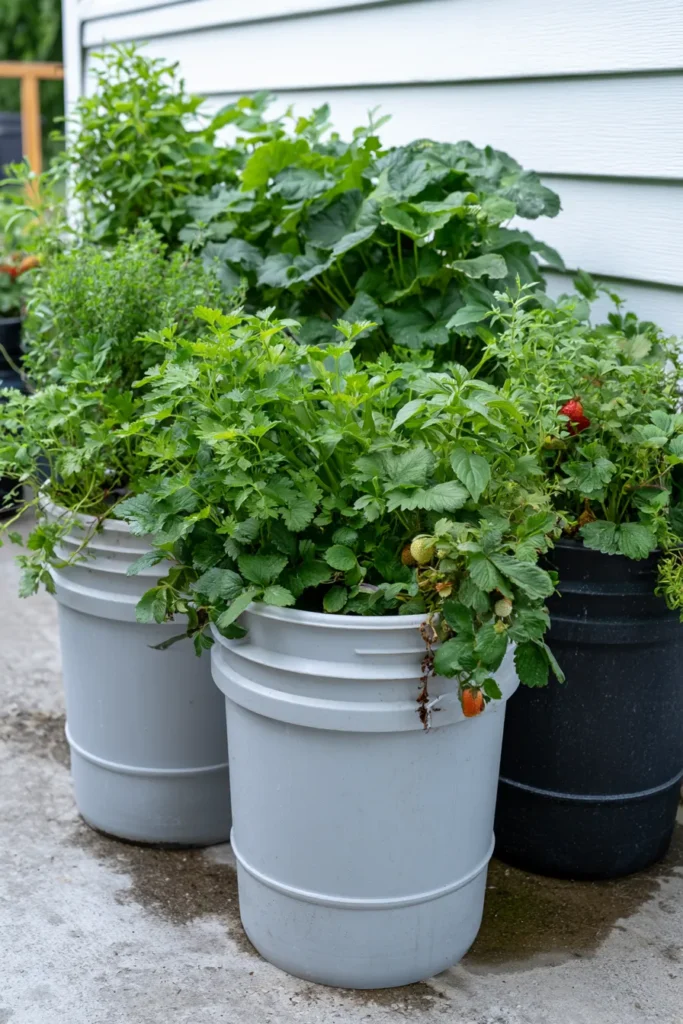
- Five-gallon buckets with drainage holes, tucked near your back door
- A single raised bed no bigger than a kiddie pool
None of these need a yard, a truck, or a weekend of construction. Most cost less than a nice dinner out. Which is basically the whole point of doing this anyway.
Renters benefit most from this approach, since nothing gets nailed down. Everything moves with you if a lease ends unexpectedly. That flexibility alone makes small setups worth trying, even short term.
Windowsill herbs count too, even without a single outdoor spot. A sunny kitchen counter works for basil and mint just fine. I keep one small pot going year-round, rain or shine.
The trick with small spaces is picking plants that don’t sprawl. Skip anything vine-heavy unless you’ve got a trellis ready. Stick with herbs, compact peppers, and leafy greens instead. These handle a little crowding without complaint.
Small also means faster payoff, and that matters more than people admit. A tiny setup that gets used beats a sprawling one that gets ignored by July. Start smaller than seems reasonable, seriously. You can always add pots later. But you can’t un-overwhelm yourself once a big garden turns into a chore.
Picking a Spot Without Overthinking It
Picking a spot trips people up more than it should. You don’t need a perfectly sunny, perfectly flat corner. Just look for somewhere with decent light. Somewhere that isn’t a hassle to reach daily.
Most beginner plants want around six hours of sun. Morning sun tends to be gentler than afternoon sun. Especially somewhere as hot as Florida gets by June. If your only option is partial shade, don’t panic. Herbs and leafy greens will still manage just fine.
Here’s the surprising part: water access matters more than sun. A gorgeous, sunny spot thirty feet from your hose becomes a chore. I learned this one the hard way, dragging hoses across the whole yard. Pick somewhere you can water without hauling equipment everywhere.
Being close to your back door is underrated too. The appeal of growing your own food disappears fast. Especially if reaching it turns into an actual expedition. Five steps from the door beats fifty steps. Every single time, no contest at all.
Skip anywhere near big trees, even shady ones. Roots compete for water and nutrients underground. Falling leaves also make a mess of small beds. A spot near the house, close to a hose, with decent light checks every box.
Don’t let the search for a “perfect” spot stall you out. Plenty of thriving setups sit in mediocre spots that just happen to be convenient. Convenient beats perfect nearly every time, especially once summer heat tests your patience.
One more thing worth mentioning: pay attention to wind, too. A breezy corner dries out soil faster than a sheltered one. Neither ruins your chances, but it helps to know going in.
Kitchen Garden Design on an Actual Budget
Design sounds fancy, but a budget-friendly kitchen garden just means using what you’ve got. I tend to notice the prettiest garden photos online cost way more than they let on. You don’t need any of that spending.
A few ways to design cheap without it looking cheap:
- Use cinder blocks as raised bed walls, often free from a neighbor’s leftover project
- Repurpose old buckets, crates, or even a broken dresser drawer as planters
- Ask around for free mulch from local tree services instead of buying bags
- Swap seeds and cuttings with neighbors instead of buying new starts each season
- Skip decorative edging entirely; a simple mowed border looks tidy for free
Layout doesn’t need to be Pinterest-perfect to function well. Straight rows, curved beds, random clusters: plants genuinely don’t care. What matters is spacing them enough to avoid overcrowding.
I’d rather spend money on decent soil than fancy structures. Soil quality affects whether anything grows at all. A cute trellis only affects how things look while dying. Priorities matter more here than aesthetics, at least at first.
One more budget trick worth knowing: start with seeds instead of starter plants. Seeds cost pennies compared to nursery starts. They just take a little longer to produce anything edible. If you’re not in a rush, that price difference adds up fast across an entire season of growing. Multiply a few packets by every plant you want, and the savings become obvious quickly.
Composting kitchen scraps cuts costs even further, completely free of charge. Vegetable peels and coffee grounds turn into rich soil over time. It takes patience, but the payoff shows up eventually in healthier plants.
What to Grow First (So You Don’t Give Up)
Picking your first plants matters more than people expect. Choose the wrong ones, and you’ll quit before summer starts. Pick the right ones instead, and you’ll feel like an accidental expert within weeks.
Herbs are the easiest win by far. Basil, mint, and chives forgive almost every beginner mistake. Even if you forget to water for a few days, most herbs bounce right back.
Leafy greens come in second place for beginner-friendly options. Lettuce, spinach, and kale grow fast enough to show progress within weeks. That quick feedback loop matters more than people realize. Especially when your motivation still feels fragile and new.
I’d hold off on tomatoes at first, even though everyone wants them immediately. Tomatoes are needy, particular about watering, and prone to confusing problems. Save them for round two, once you’ve built a little confidence.
Peppers sit somewhere in the middle of that spectrum. Not as fussy as tomatoes, not as forgiving as herbs. They’re a solid choice once you’ve had a couple easy wins already. Bell peppers especially reward patience without demanding constant attention from you.
Here’s a moment worth rethinking entirely. Most people think success means growing something impressive. Real success, especially early on, just means growing something you don’t kill. Start there instead. The impressive stuff comes later, once quitting isn’t so tempting anymore.
One underrated first plant: green onions regrown from kitchen scraps. Drop the roots in water, and they regrow within days. It’s a tiny, satisfying win before you’ve even planted anything new.
Radishes deserve a mention too, since they mature shockingly fast. Some varieties are ready within three weeks of planting. That kind of speed keeps momentum going during the slow early days.
Kitchen Garden Layout Tricks Nobody Mentions
Layout gets overcomplicated online, but a few small tricks make a real difference. Nobody really talks about these, probably because they sound too simple. They matter anyway, more than most people admit.
A few layout tricks worth stealing:
- Group plants by water needs, not just by type, so nothing gets over-watered
- Put taller plants on the north side so they don’t shade shorter ones
- Leave a narrow path down the middle so you’re not stepping on soil
- Plant herbs near the edges since you’ll reach for them the most
- Use vertical space for vining plants instead of letting them sprawl sideways
Companion planting sounds intimidating, but it’s really just pairing helpful plants together. Basil near tomatoes supposedly repels certain pests. The science on that gets debated, but they taste great together regardless. That makes it a fairly low-risk experiment worth trying anyway.
Spacing trips up more beginners than almost anything else you’ll run into here. Seed packets list spacing for a reason. Crowding plants too close backfires every single time you try it. Give things room, even when it seems wasteful at first glance.
One layout trick caught me off guard: leave room to stand while harvesting. If you can’t reach a plant without crushing three others, adjust the layout. Function beats symmetry, especially once everything’s grown in by midsummer.
A path doesn’t need pavers or gravel to count. Mulch works fine, and it’s nearly free most seasons. Function matters far more than how tidy the edges look.
Labeling your rows helps more than it sounds like it would. A cheap popsicle stick works fine for this job. You’ll thank yourself later when seedlings all look identical.
Containers, Raised Beds, or Just Winging It
People treat this decision like it’s permanent, but it really isn’t. Containers, raised beds, and in-ground planting all work fine. It depends on your yard and your patience level. None of them is really “correct” here.
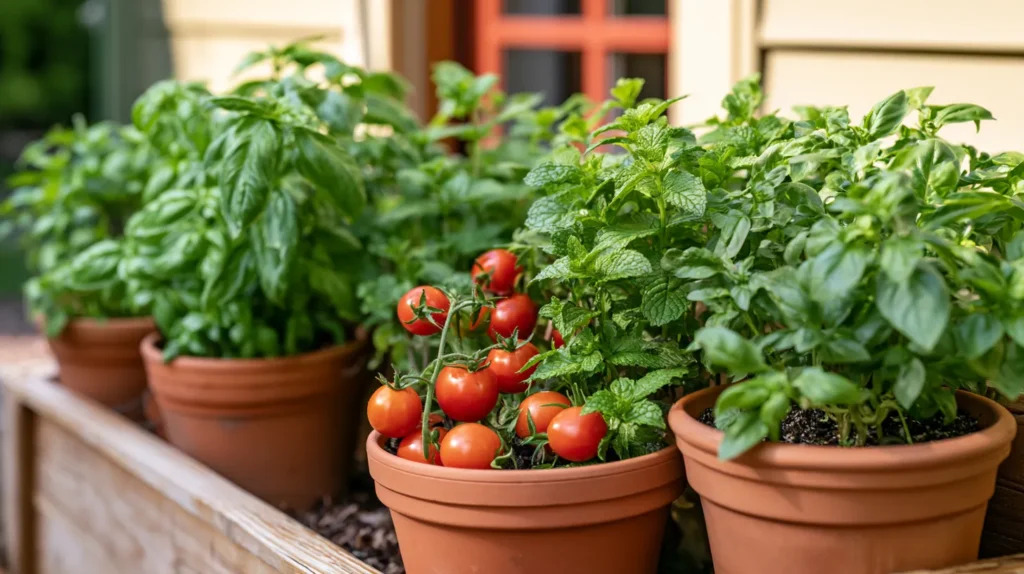
Containers win for renters, small spaces, or anyone unsure gardening will stick. They’re mobile, cheap to start, and forgiving about placement mistakes. The downside is more frequent watering, since containers dry out fast in heat.
Raised beds cost more upfront but solve several problems at once. You control the soil completely, which matters if your yard’s dirt is sandy. They also look tidy, which helps if a homeowners association cares about that.
In-ground planting is the cheapest option by far, assuming your existing soil isn’t a disaster. It takes more prep work initially. But there’s nothing to build or buy beyond seeds and a shovel. If your soil’s decent, this option stretches a budget the furthest.
Here’s my slightly unpopular opinion on the whole debate. Don’t overthink this choice as much as gardening blogs suggest. Start with whatever’s cheapest given your current setup, then adjust next season. A kitchen garden evolves anyway, so this year’s pick isn’t permanent.
I started with containers myself, mostly out of hesitation. Within a season, I’d added one small raised bed nearby. Nothing about that felt wasted, even the containers I eventually retired.
Whichever option you pick, keep the first year low-stakes. Treat it like a trial, not a lifetime commitment. You’ll know by August whether you want to expand or scale back.
Self-watering containers split the difference nicely for busy weeks. They cost a little more but forgive missed watering days. Worth considering if your schedule changes a lot some weeks.

Mistakes I’d Skip If I Started Over
Every kitchen garden comes with mistakes attached, so let’s skip pretending otherwise. I’ve made most of these myself, some more than once. A few are worth avoiding on purpose.
Mistakes worth skipping entirely:
- Buying every tool advertised as essential before planting a single seed
- Planting way more than you’ll realistically eat, water, or harvest in time
- Ignoring drainage, then wondering why every root system looks unhappy
- Skipping soil testing, then blaming the plants when nothing grows well
- Waiting for the “perfect” weekend instead of just starting small today
Overbuying tools might be the most common budget mistake I’ve noticed. A trowel, gloves, and a decent watering can cover most beginner needs. Everything else can wait until you know what’s missing.
Overplanting comes from excitement, which is understandable but still a mistake. Six tomato plants sound reasonable until you’re drowning in tomatoes. Giving them away to confused, slightly overwhelmed neighbors becomes a whole routine. Start smaller, then expand once you know your appetite and pace.
Drainage gets ignored constantly, especially in containers missing enough holes. Soggy roots kill plants faster than almost anything, including neglect or heat. A few extra holes, drilled before planting, save an entire season of confusion later.
If I could redo my first attempt, I’d skip the overthinking. And just start smaller than felt necessary at the time. Every mistake on this list taught me something useful eventually, even the expensive ones.
Ignoring your growing zone is another mistake worth naming here. Planting tomatoes in the wrong season wastes both time and money. A quick zone lookup online saves weeks of confusion later.

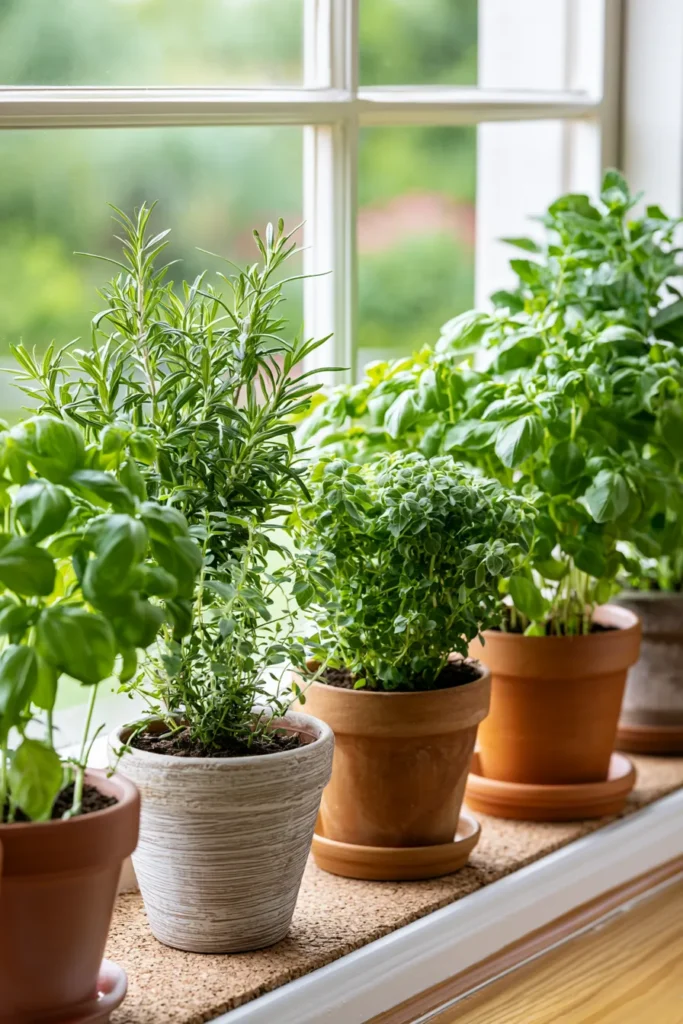
Indoor Kitchen Garden Ideas for Windowsills and Walls
Turns out plenty of people picture something entirely different when they hear kitchen garden. Not a bed out back, but herbs growing right on the counter. This version skips the yard altogether. Everything happens inches from where you cook, not somewhere across the yard.
A few setups show up again and again, and for good reason:
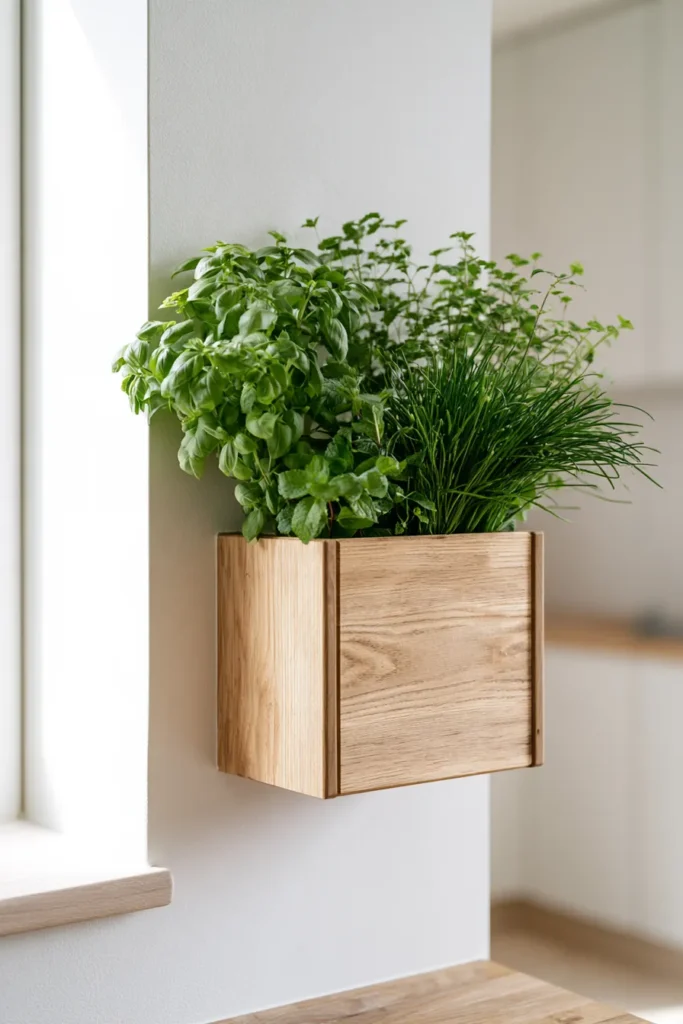
- A wall-mounted planter box above the counter or near the sink
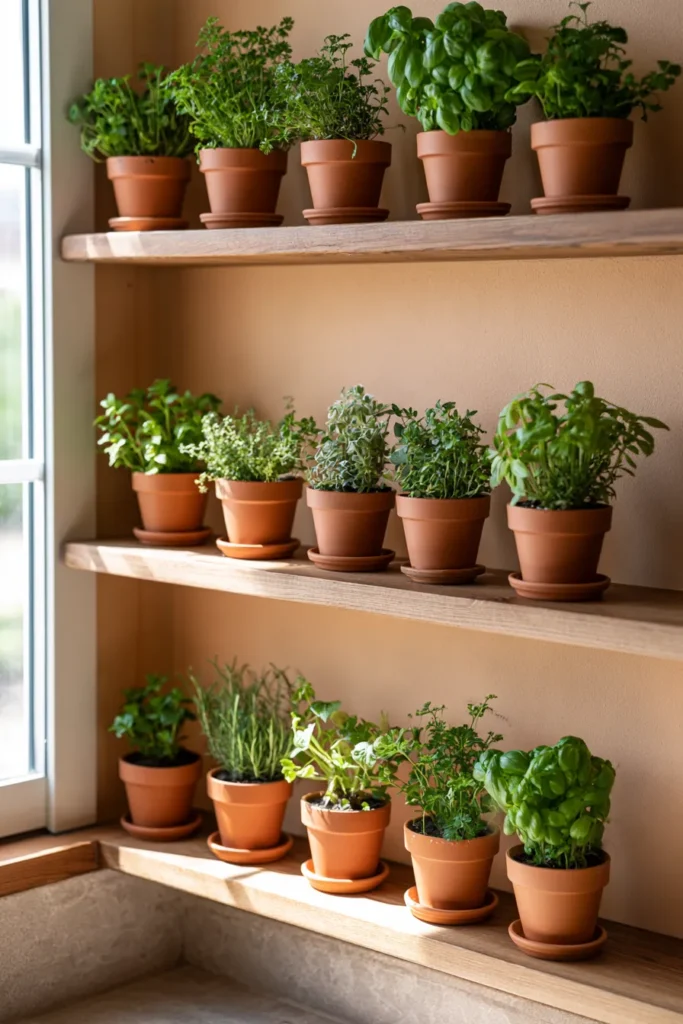
- Open wood shelves lined with small pots near a bright window
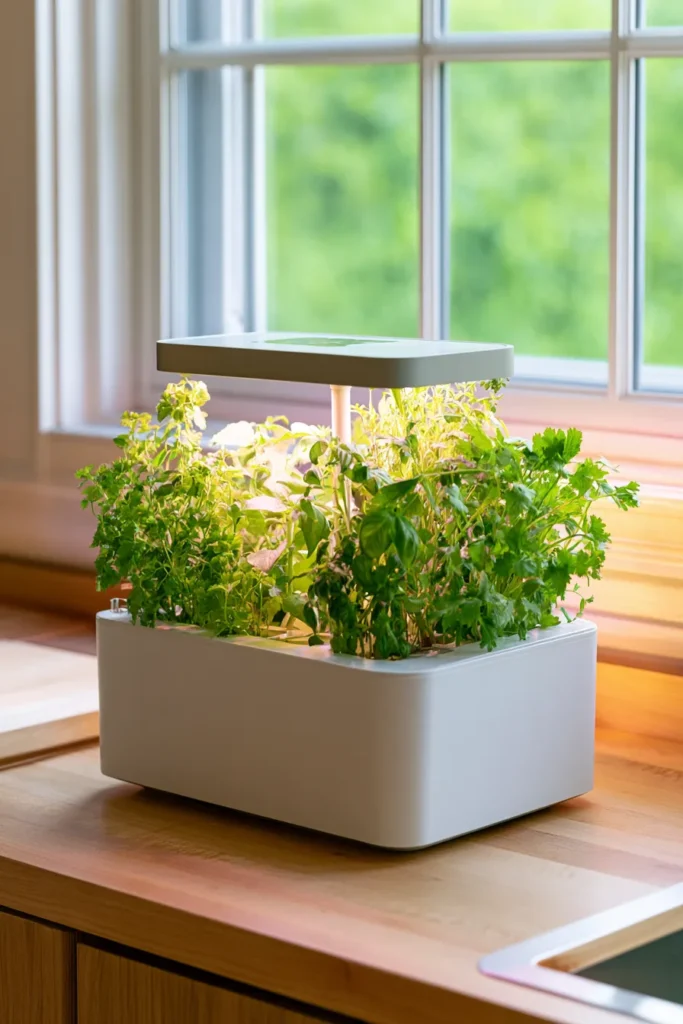
- A self-watering countertop unit with a built-in grow light
- A tiered stand tucked into an otherwise wasted kitchen corner
Each one solves the same basic problem: not enough yard, or not enough patience for one. I tend to notice these setups pop up most in small apartments and busy kitchens. Real estate is tight indoors, so plants go vertical instead of outward.
Renters especially lean toward this version of a kitchen herb garden. Nothing gets planted in the ground, so nothing stays behind at move-out. A bright east-facing window works well without harsh afternoon sun. If natural light is limited, a small grow light fixes that fast.
Basil, chives, and mint handle indoor life better than most herbs. Rosemary and thyme need a bit more sun to really thrive. Skip anything that wants full outdoor exposure, like most vegetables do. This stays a herb space first, with everything else as a bonus. A single pepper plant can squeeze in if the light allows it.
Here’s the part that surprised me most about all this. An indoor kitchen garden often outperforms an outdoor one for consistency. No wind, no frost, no forgotten watering schedule during a rainy week. It’s smaller, sure, but it rarely fails you completely.
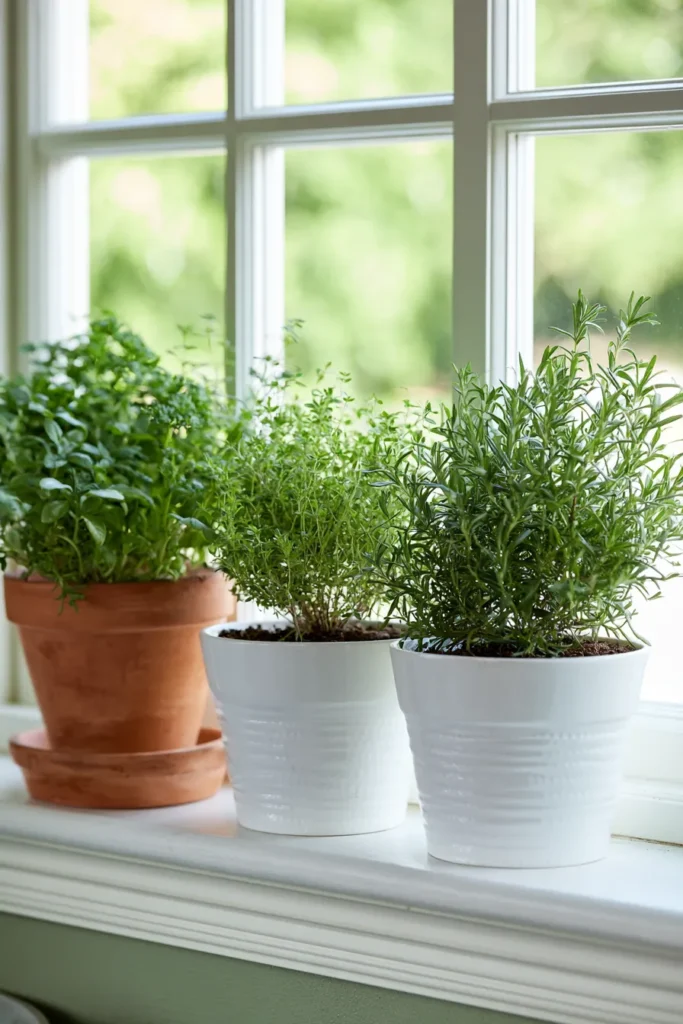
The Kitchen Garden Window Over the Sink (Yes, It’s a Thing)
If you’ve scrolled Pinterest lately, you’ve seen this exact setup. A kitchen garden window over the sink, herbs lined up in a neat little row. It’s not just a pretty backdrop for dishes. This spot is genuinely one of the smartest plant placements in the whole house.
Sink windows tend to get strong, consistent light most of the day. You’re standing right there multiple times daily anyway. Watering becomes a five-second habit instead of a chore. Nothing about this setup demands extra effort once it’s in place.
A simple shelf or small rail is usually all you need. Mount it low enough to reach without stretching every time. Pick pots with drainage trays, since sink counters don’t love standing water. Keep the row shallow so the window still opens and closes freely. A few inches of clearance saves you from knocking pots over.
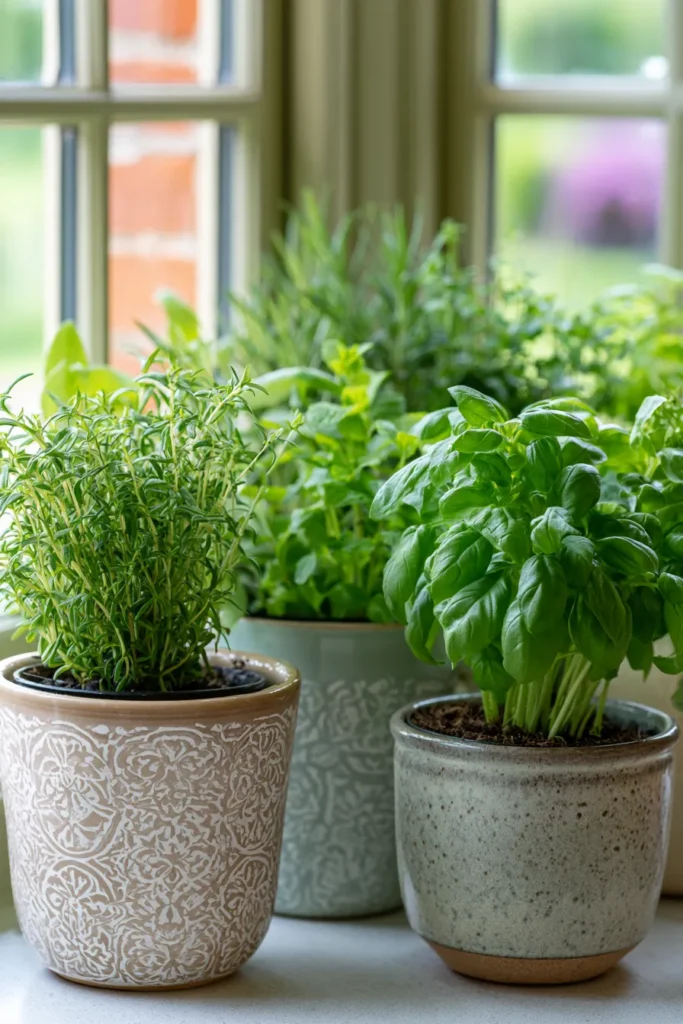
Basil and mint thrive here better than almost anywhere else indoors. Cilantro and parsley do well too, as long as light stays steady. Skip anything that grows tall or bushy fast. This spot rewards small, compact plants more than dramatic ones.
Style matters a little here too, since this spot is always on display. Matching pots look intentional without costing much extra. A row of mismatched jars works fine too, as long as they’re clean and tidy. Function first, looks second, though both matter over the sink.
I’ve found that this single window setup gets used more than any outdoor bed ever did. It’s right there during every meal, not tucked away outside somewhere. A tiny window setup like this can outperform a much bigger yard arrangement. Sometimes convenience really does beat square footage, every time.

FAQs
Do I need a big yard for a kitchen garden? Not even a little. Pots, railing planters, and small raised beds all work fine in tiny spaces.
How much sun does a kitchen garden actually need? Most vegetables want around six hours daily, though herbs and greens tolerate partial shade just fine.
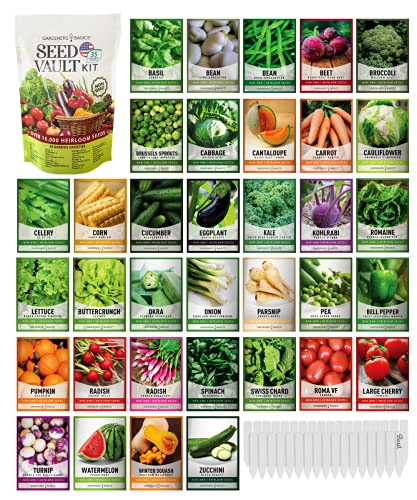
What’s the cheapest way to start one? Seeds instead of starter plants, repurposed containers, and free mulch keep costs low from day one.
Can I grow a kitchen garden in Florida heat? Yes, though summer requires shade cloth, extra water, and heat-tolerant plants like peppers and herbs.
What should beginners plant first? Herbs and leafy greens forgive mistakes best, giving new gardeners quick wins before tackling trickier plants.

The Real Payoff (Spoiler: It’s Not Just Tomatoes)
Starting a kitchen garden taught me something I didn’t expect. The food matters less than the habit does. Stepping outside daily, even for thirty seconds, changes how connected you feel to meals. That surprised me more than any harvest did.
Living in Orlando means I’ll never garden like people in cooler climates. Our seasons are weird, and our summers stay relentless. Half my plants clearly have opinions about that. I’ve stopped fighting the climate and started working with whatever it gives me instead.
Money-wise, the savings crept up slower than expected. But they added up faster than I predicted, too. A few dollars in seeds beats a wilted grocery store herb packet. Multiply that across a whole season, and the math works out.
If you’re hunting for layout inspiration, Pinterest genuinely helps here. Save a few pins, steal what fits your space, and skip the rest. Ignore anything demanding a bigger budget than you’ve got right now.
Here’s where I’ll leave you, plain and simple. Start smaller than seems reasonable. Pick plants you’ll use. Stop waiting for the perfect weekend to begin. Nothing about this needs to be impressive at all. It just needs to exist long enough for you to notice it working.
Go plant something small today. Future you, reaching for fresh basil instead of the car keys, will send a quiet thank-you your way.