So here’s the thing nobody warns you about. You buy a house, or you rent one with a scrap of yard, and suddenly you’re staring at a patch of sad grass thinking, “I could grow food there.” Then reality smacks you. The soil is basically concrete with delusions of grandeur, and the weeds have opinions. That’s the exact moment raised garden beds start whispering your name.
You’ve probably seen them all over Pinterest, tidy and photogenic, practically glowing with smug little tomatoes. And you think, “Sure, but those cost a fortune, right?”
I thought that too! For way too long, honestly.
Living in Orlando, I’ve watched my neighbors wage war on our chaotic sandy dirt for years. Some win. Most quietly give up and buy grocery store basil like the rest of us mortals. But the ones who win? They almost always went the raised route.
Now, I’m not here to sell you a $600 cedar kit that looks like patio furniture. Nope. I’m here for the scrappy, budget-friendly, “I have twelve dollars and a dream” version of this whole thing.
Because building beds cheaply is possible. It’s also weirdly fun. And there’s one mistake nearly everyone makes early on that quietly wastes their money… but we’ll get there.
Let’s dig in. (Pun fully intended, no apologies.)

Some of the links on this page are affiliate links, which means I may earn a small commission if you purchase through them. It never costs you extra. You can always peek at my full disclosure if you’d like the details.
Why Raised Garden Beds Beat Fighting Your Actual Dirt
Let me paint you a picture. You spend a whole Saturday tilling your yard. Your back screams. Your hands blister. And three weeks later, your carrots look like sad little worms because your native soil hates you.
I’ve found that most of us lose the war against our ground before we even start. The dirt was never the friend we hoped for.
Here’s the reframe that changed everything for me. You don’t have to fix bad soil. You can just skip it. That’s the whole magic trick, and it’s almost embarrassing how simple it sounds.
Raised garden beds let you build a fresh, fluffy world on top of whatever mess you inherited. Rocky ground? Doesn’t matter. Clay so thick you could throw a pot with it? Still doesn’t matter.
A few reasons I’m fully converted:
- Better drainage, so your roots don’t drown after every rainstorm
- Fewer weeds creeping in, since you’re starting with clean fill
- Warmer soil in spring, which means you plant sooner
- Way less bending, and your knees will send thank-you notes
Now, some folks argue that beds dry out too fast. That’s fair in hot climates. But a little mulch and smart watering fix that quickly.
The part that surprised me most? I stopped resenting my yard. I quit seeing it as a problem to conquer. Instead, I just built my garden on top and let the ground do its own weird thing underneath.
Turns out, the best fight is the one you refuse to have.
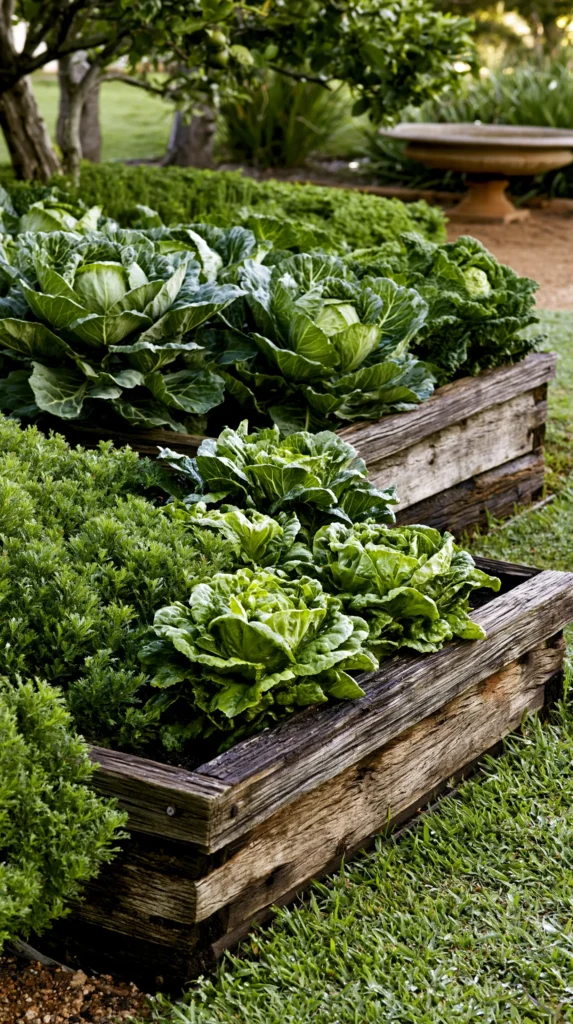
The Budget Truth About Raised Garden Beds Nobody Says Out Loud
Okay, real talk time. Those gorgeous kits you see online? They’re lovely. They’re also priced like small furniture, and that stings.
But here’s what the fancy brands don’t shout about. The bed itself barely matters. Your plants don’t care if the frame is cedar or scrap wood or a stack of old bricks. They care about the dirt inside.
I tend to notice that beginners spend all their money on the box. Then they run out of cash for the good soil. That’s backwards, friend. So backwards.
Where your dollars should actually go:
- Soil first, always, because that’s the part doing the real work
- Compost, which you can sometimes score free from your city
- Cheap or free framing materials, saved for last
A quick reset before we keep rolling. You do not need to buy anything Instagram-approved. Cinder blocks work. Untreated pallets work. Even a ring of logs works if you’re feeling rustic.
I built one bed using scrap boards from a neighbor’s fence project. Cost me nothing but a text message and a six-pack. And that bed grew more tomatoes than I knew what to do with.
The dramatic markup on “garden-specific” products is honestly a little rude. You’re often paying triple for a stamp that says outdoor. Meanwhile, the exact same lumber sits cheaper two aisles over.
So skip the guilt. Skip the premium. Your future zucchini won’t know the difference, and neither will your wallet. That’s the kind of secret I love sharing.
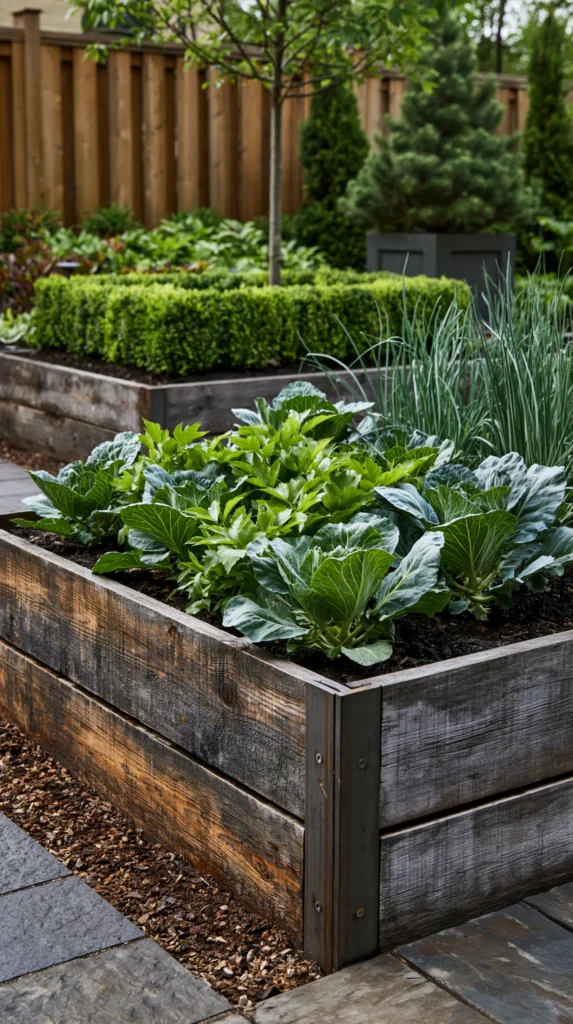
Cheap Materials That Actually Hold Up (I’ve Tested a Few)
Let’s talk about what you can build with, because options matter when you’re pinching pennies. I’ve messed around with several, and some clearly beat others.
Wood is the classic choice, and for good reason. It’s warm, it’s easy to cut, and it looks nice. Untreated pine is dirt cheap, though it rots faster. Cedar costs more but lasts years, so it’s a fair trade if you find it on sale.
Then there’s the scrappy stuff. Cinder blocks stack fast and never rot, which is a huge win. Plus, you can tuck herbs into the little holes, and that’s just delightful.
Some budget materials I’d genuinely recommend:
- Concrete blocks, cheap and basically immortal
- Reclaimed pallets, free if you ask nicely at stores
- Galvanized troughs, pricier but they last forever
- Old bricks, often free on local swap groups
Here’s a small warning, though. Avoid treated lumber near food crops. Some older treatments leach chemicals, and nobody wants seasoned kale.
I’ll admit I once tried building beds from thin plywood. Bad idea. Rain warped them within a season, and the whole thing sagged like a tired accordion.
The material that shocked me most was corrugated metal. I assumed it’d cook my plants in the Florida heat. Instead, with decent soil depth, it held up great and looked oddly chic.
My honest take? Start with whatever’s free or nearly free. You can always upgrade later once you’re hooked. And trust me, you’ll get hooked.
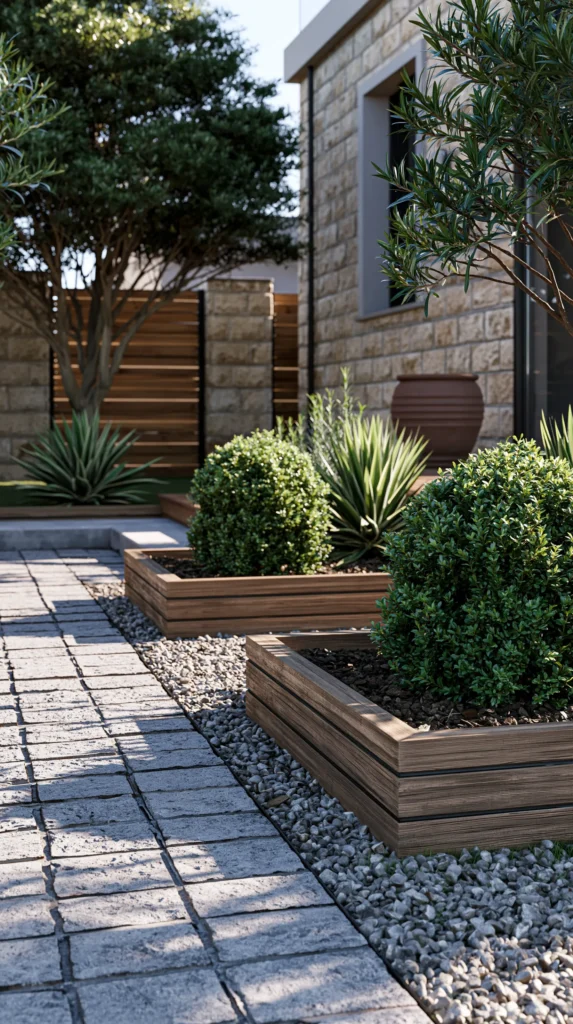
How I Fill My Raised Garden Beds Without Going Broke
Filling a big bed with bagged soil gets expensive fast. Like, “wait, why did I spend eighty dollars on dirt” expensive. I learned this the hard way.
So I stopped buying my way to the top. Instead, I started layering, and it changed my whole budget.
This trick has a fancy name, but the idea is simple. You fill the bottom with cheap or free stuff, then top it with good soil. Only the top layer needs to be premium, because that’s where roots live.
What I stuff in the bottom, gladly:
- Sticks and small logs, which break down slowly and add nutrients
- Cardboard, flattened to block weeds underneath
- Grass clippings and leaves, free from your own yard
- Old potting soil, recycled from last year’s pots
Then, near the top, I splurge a little. A blend of compost and quality garden soil goes in the final several inches. That’s the zone that actually matters.
Here’s the reframe. Dirt isn’t one solid thing you buy in bulk. It’s a layered system, and half of it can be stuff you’d otherwise toss.
I’ve found that this method cuts my soil costs nearly in half. Sometimes more, if my yard cooperates with enough leaves.
One gentle caution, though. Don’t use meat scraps or anything greasy down there. That invites critters, and critters throw wild parties you didn’t approve.
The first time I layered a bed like this, I felt like I’d cheated the system. Turns out I just gardened smarter, not richer. And that feeling? Absolutely worth it.

Where to Put Everything (Location Is Sneaky Important)
Placement seems boring until you get it wrong. Then it’s the only thing you think about. Trust me on this one.
Sunlight is the big boss here. Most veggies want six to eight hours of it daily. So before you build, watch your yard for a day or two.
I know, watching dirt sounds thrilling. But this little step saves you from moving a heavy, full bed later. And moving a full bed is a nightmare I wouldn’t wish on anyone.
A few placement things I’ve learned to check:
- Morning sun is gentler and helps dry off dew
- Afternoon shade can protect plants in brutal heat
- Nearby water access, so you’re not hauling cans forever
- Level ground, because tilted beds drain unevenly
Living in Orlando, I’ve discovered that too much sun is a real thing. My poor lettuce bolted the moment summer hit, and it was tragic.
So here’s my slightly rebellious opinion. A little shade isn’t the enemy. In hot climates, some afternoon relief keeps your greens happy longer.
Also, keep beds off soggy low spots. Water pools there after storms, and roots hate wet feet. I lost a whole round of peppers that way once.
The reframe I want to leave you with? Location isn’t about the prettiest corner. It’s about the smartest one. Function beats photo-op every single time, even if it hurts your aesthetic heart a little.
Pick your spot with intention. Your plants will absolutely notice.

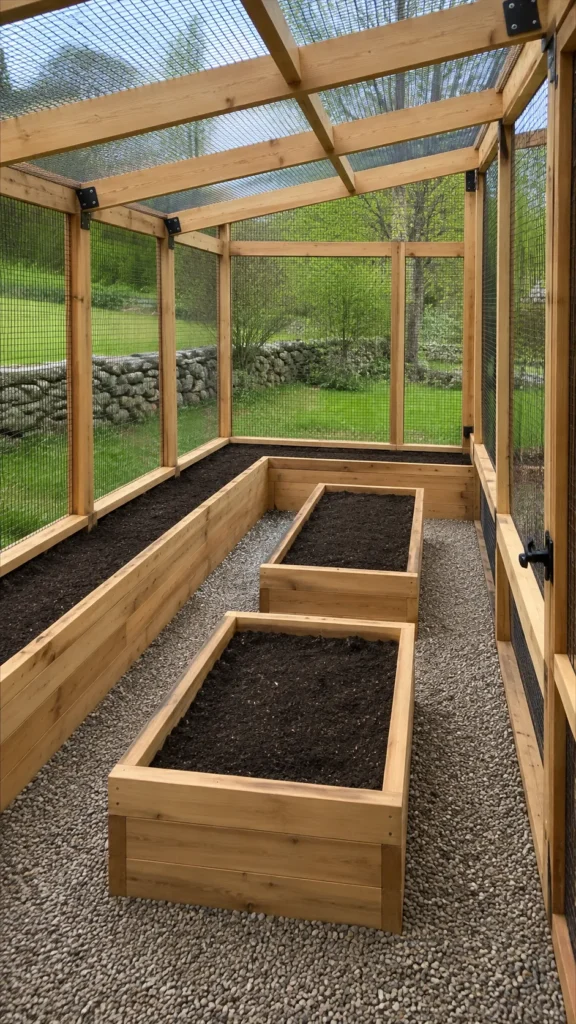
What to Plant in Your Raised Garden Beds
Okay, you built the thing. Now what goes in it? This is where a lot of us freeze up, staring at a seed rack like it’s a final exam.
Let me make it easy. Start with what you’ll genuinely eat. Growing gorgeous kohlrabi means nothing if nobody in your house touches it.
Beginner-friendly crops that rarely let me down:
- Lettuce and leafy greens, fast growers that forgive mistakes
- Cherry tomatoes, wildly productive once they get going
- Green beans, which basically grow themselves
- Radishes, ready in weeks, perfect for impatient gardeners
- Herbs like basil, endlessly useful and hard to kill
Here’s a little reframe. You don’t need variety to feel successful. Three crops you love beat twelve you’ll ignore, every single time.
I tend to notice that new gardeners overplant. So resist the urge to cram every seed packet in. Give each plant room to actually breathe and grow.
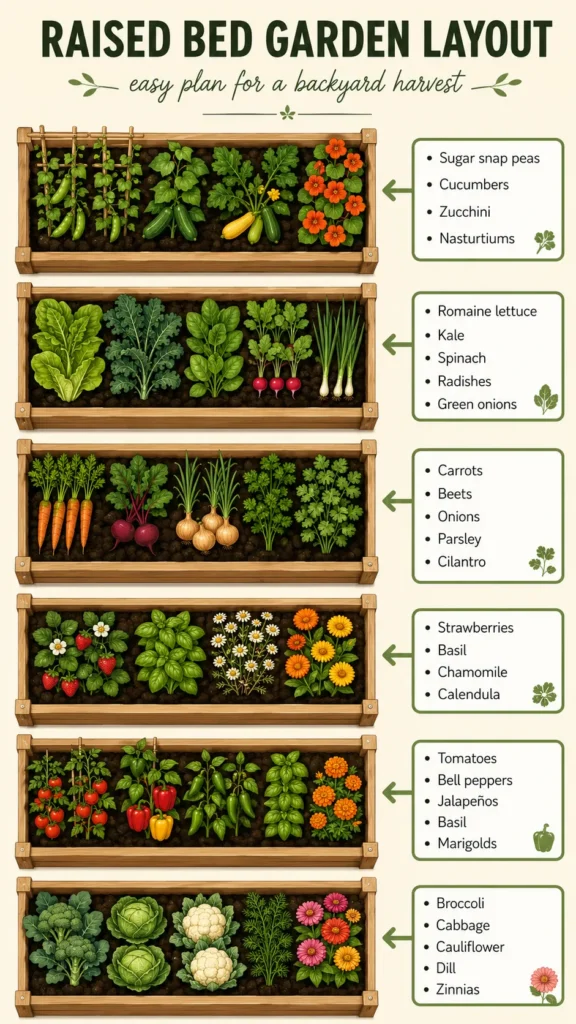
Grouping matters too. Tall stuff like tomatoes belongs on the north side, so it won’t shade the shorties. Low growers like lettuce tuck in front where they catch light.
One trick I love? Tucking marigolds among your veggies. They add color and quietly shoo away certain pests. Beauty and function, holding hands.
Don’t forget flowers you can actually use, either. Nasturtiums are edible and cheerful, and pollinators adore them. That’s a win stacked on a win.
Start with a handful of favorites this season. You can always expand once you know what thrives in your space. Growing food should feel exciting, not stressful. Pick a few winners and let them shine.
A Simple Seasonal Plan for Your Raised Garden Beds
Here’s something nobody tells beginners. You don’t plant everything at once and call it a year. Gardens work in seasons, and that’s actually the fun part.
Think of your beds as a rotating cast. Cool weather brings one crew, warm weather brings another. Once you get the rhythm, you’ll always have something growing.
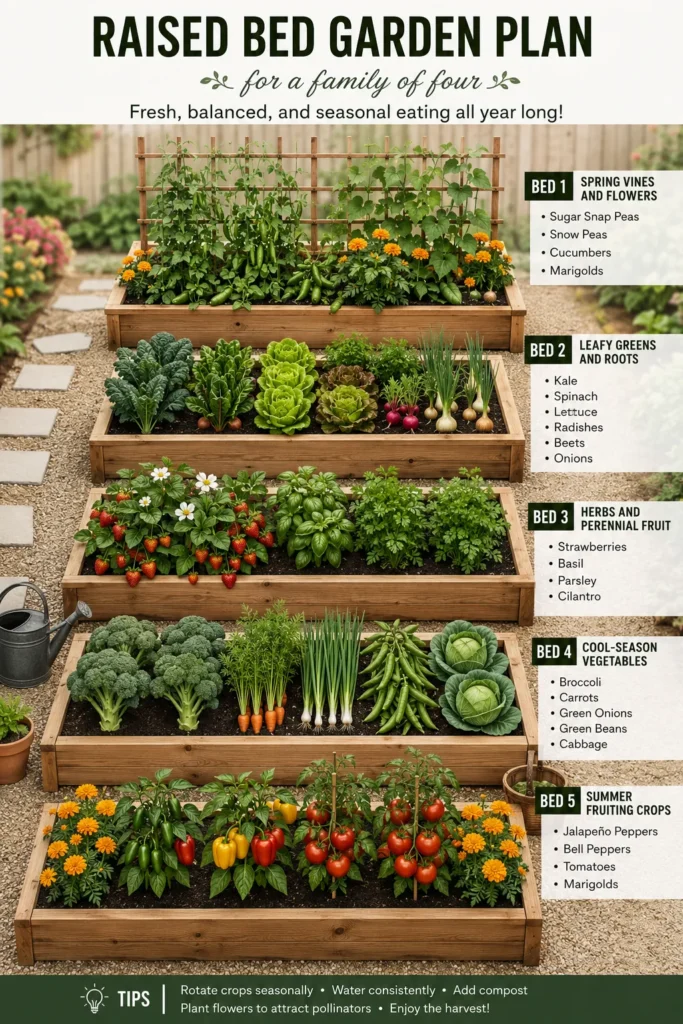
In the cooler months, I lean into the tough, leafy stuff. Kale, spinach, lettuce, and radishes love a chill. They’d rather shiver than sweat, so spring and fall suit them perfectly.
Then summer rolls in and the heat-lovers take over. Tomatoes, peppers, cucumbers, and beans thrive when it’s warm. They soak up long sunny days and reward you generously.
Here’s the reframe that helped me most. An empty bed isn’t a failure. It’s an intermission. You’re just setting the stage for the next round.
I’ve found that planning even two seasons ahead keeps my beds productive. As one crop finishes, another slides right in. Barely any downtime, way more food.
For a family, this seasonal shuffle stretches your harvest for months. You’re not drowning in fifty zucchini one week, then staring at bare dirt the next. Steady beats overwhelming.
A quick rhythm to follow, loosely:
- Early spring, plant greens and root veggies
- Late spring, start warm-season crops indoors
- Summer, transplant tomatoes, peppers, and beans
- Fall, circle back to hardy greens again
Don’t overthink your first year, though. Just watch what thrives and adjust next round. Every season teaches you something new. That slow learning curve is honestly the best part of the whole thing.
The Beginner Mistakes I Wish Someone Had Warned Me About
Let’s be honest, we all fumble the first attempt. I certainly did, and I’d love to save you some flailing. Consider this my gift.
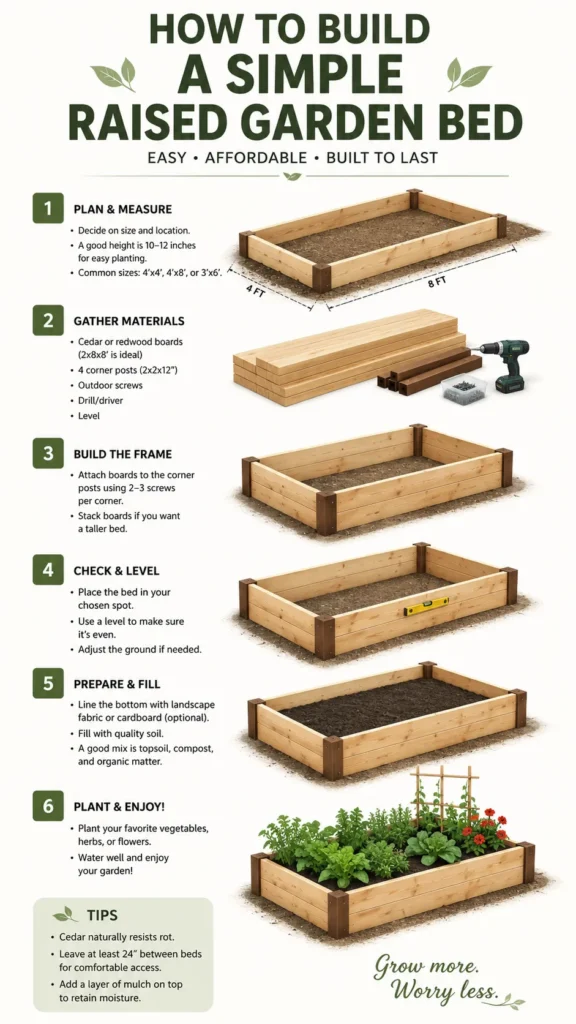
The biggest blunder? Making beds too wide. If you can’t reach the middle, you’ll trample your own soil constantly. Keep them about four feet across at most.
Another sneaky trap is going too deep for no reason. Most veggies only need around a foot of good soil. So don’t waste money filling a bottomless pit of premium dirt.
Mistakes I’ve personally made, so you don’t have to:
- Skipping mulch, which let my soil dry out fast
- Overcrowding plants, because tiny seedlings lie about their future size
- Ignoring drainage, then wondering why roots rotted
- Forgetting a path, so I had nowhere to stand
Here’s a reframe that stuck with me. More isn’t always better in a garden. Sometimes restraint grows the healthiest food, weird as that sounds.
I once packed a bed so tightly it looked like a tiny green mosh pit. Nothing thrived. Everything competed for light and lost, and I felt personally betrayed.
There’s also the watering rollercoaster. New gardeners either drown their plants or forget them entirely. Finding a steady middle takes a week or two, and that’s totally normal.
So give yourself grace. Your first bed won’t be perfect, and that’s genuinely fine. Mine looked like a lopsided sandbox, yet it still fed my family salads.
The real lesson? You learn by doing, not by overthinking. Just start, mess up, and adjust. That’s the whole secret nobody frames as freeing.

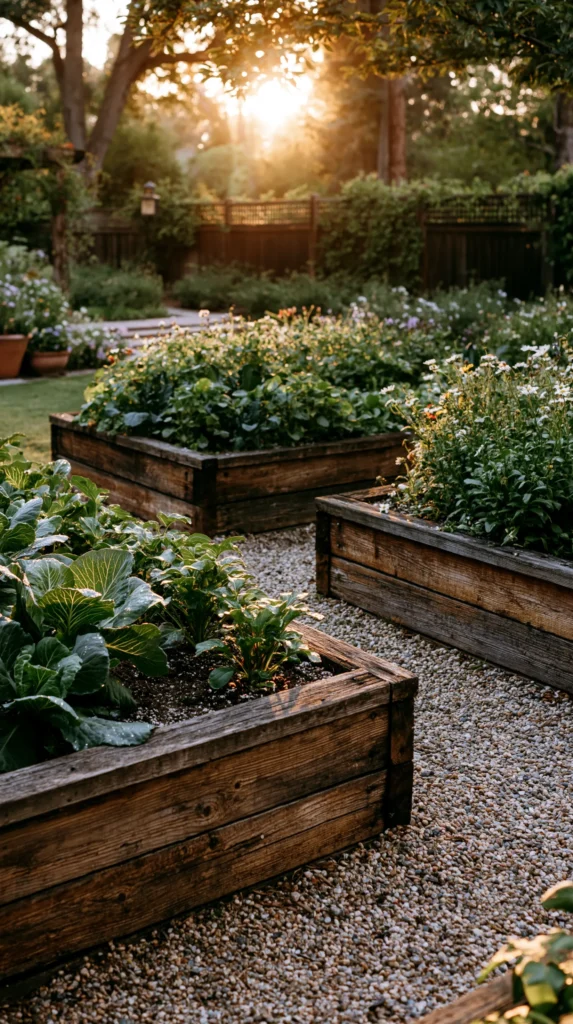
Making Raised Garden Beds Look Cute Without Spending More
Alright, function talk is over. Let’s chat pretty, because a garden should spark a little joy too. And you can absolutely do charming on a budget.
I used to think nice-looking beds required money. Wrong again! Charm comes from small touches, not big spending. That realization saved me from a lot of unnecessary purchases.
Little upgrades that cost almost nothing:
- A coat of leftover paint on the frame edges
- Painted rock labels instead of pricey plant markers
- Twine and stakes arranged in neat rows
- Reused jars as quirky little garden accents
Mulch does heavy lifting here too. A layer of straw or wood chips instantly tidies everything. Suddenly your beds look intentional instead of accidental, and it barely costs a thing.
Here’s a contrast that surprised me. Messy soil reads as neglect, but mulched soil reads as design. Same bed, totally different vibe, just one cheap layer apart.
I’ve found that grouping beds together also looks more polished. A little cluster feels planned, while one lonely box feels forgotten. So arrange them like they belong to each other.
Don’t sleep on flowers, either. Tucking a few marigolds among your veggies adds color and confuses pests. That’s beauty pulling double duty, and I’m always here for multitaskers.
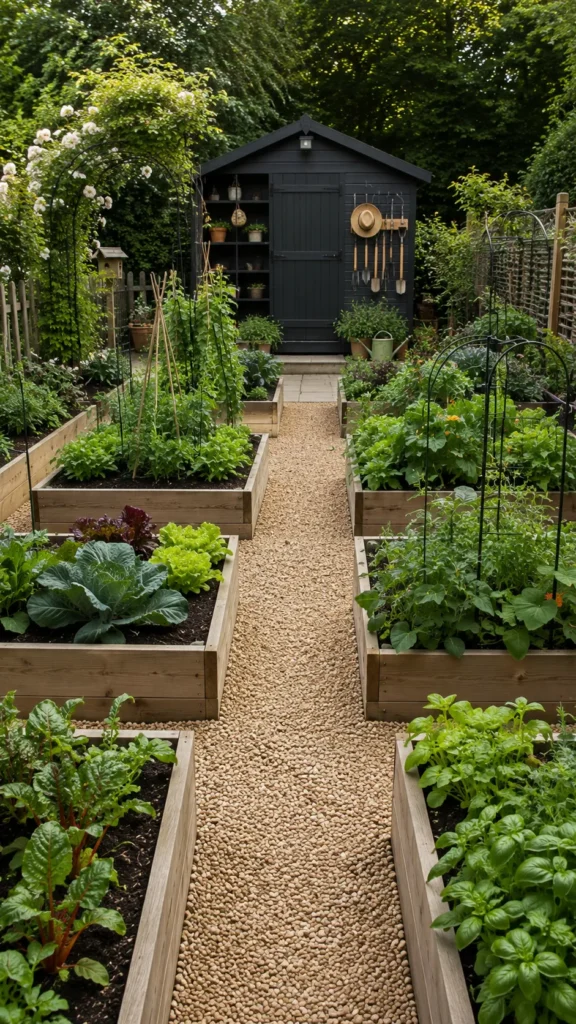
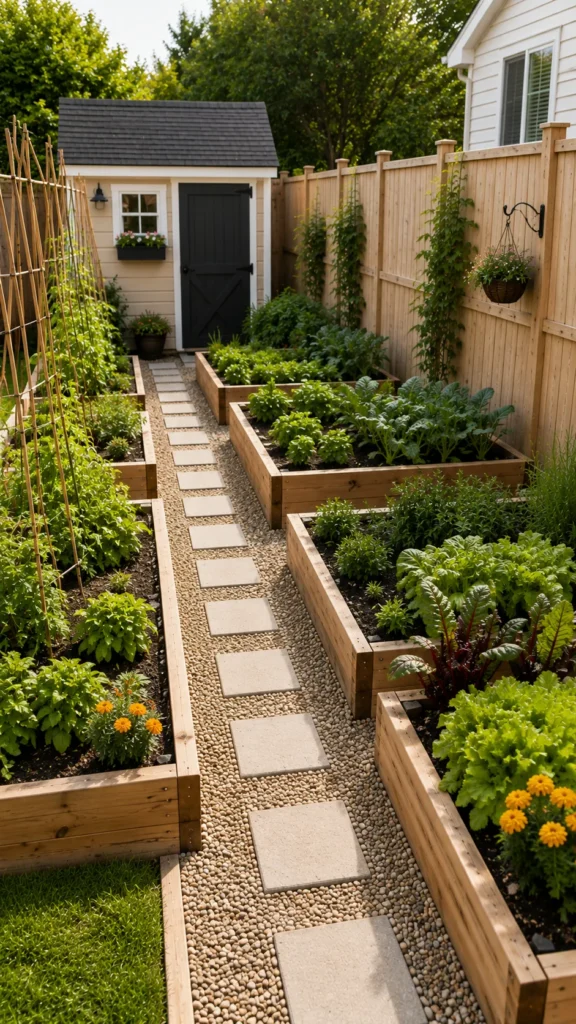
My favorite cheap trick? Curved gravel paths between beds. They cost pocket change yet make the whole space feel like a real garden. Guests always assume I spent more than I did.
Cute doesn’t mean costly. It means thoughtful. And thoughtful is free, last I checked.

Keeping Your Raised Garden Beds Alive Past Week Three
Here’s where dreams often quietly die. The beds get built, the excitement fades, and then… neglect. I’ve been there, staring at wilted greens with guilt.
But maintenance doesn’t have to be a chore. It just needs a rhythm. Once you find yours, it becomes weirdly soothing.
Watering is the daily heartbeat. Most beds want a deep soak a few times weekly, not daily sprinkles. Deep and occasional beats shallow and constant, every time.
Simple upkeep habits that keep things thriving:
- Check soil moisture by poking a finger in
- Pull weeds early, while they’re still tiny and weak
- Add compost every few weeks for a nutrient boost
- Watch for bugs, then squish or spray as needed
Here’s my slightly spicy opinion. Overwatering kills more plants than forgetting to water. Roots need air too, and drowning them is a real risk.
I tend to notice that beds ask for less than beginners expect. So resist the urge to fuss constantly. Sometimes the kindest thing is stepping back and letting them grow.
Mulch, once again, earns its keep. It locks in moisture and blocks weeds, cutting your workload noticeably. Lazy gardeners like me adore it, and I say that with pride.
One reframe worth holding onto. A garden isn’t a project you finish. It’s a relationship you tend. That mindset shift kept me showing up long after the novelty wore off.
Season after season, my beds get easier. The soil improves, the routine sticks, and the food keeps coming. That slow payoff? It’s honestly the best part.

FAQs
How much does it cost to build raised garden beds on a budget?
You can build a solid bed for under thirty dollars using scrap wood or blocks. Soil is usually your biggest expense. But layering cheap fill on the bottom cuts that cost down significantly.
What’s the best cheap material for raised garden beds?
Cinder blocks and reclaimed pallets top my list, since they’re often free or nearly free. Untreated pine works too, though it rots faster. Avoid treated lumber near food crops for safety.
How deep should raised garden beds be?
Most vegetables thrive in about twelve inches of good soil. Deeper isn’t always better, and it costs more to fill. So save your money and keep depth reasonable for what you’re growing.
Do raised garden beds need a bottom?
Nope, most don’t. Leaving the bottom open lets roots reach deeper and improves drainage. Just lay cardboard down first to smother weeds beneath your fresh soil.
How do I fill raised garden beds cheaply?
Layer free stuff like sticks, leaves, and cardboard on the bottom. Then top the final several inches with quality compost and soil. Only that top zone needs to be premium.
How much sun do raised garden beds need?
Most veggies want six to eight hours of daily sun. In hot climates, though, a little afternoon shade actually helps. Watch your yard before building to find the sweet spot.
Where All This Dirt Talk Actually Leaves You
So here we are, hands metaphorically filthy, hearts full of tomato dreams. I hope you feel a little braver than when we started. That was kind of the whole point.
When I built my first raised garden beds, I was broke, tired, and half convinced I’d fail. Spoiler: I sort of did, at first. But I kept adjusting, and eventually my scrappy little boxes started feeding my kid actual vegetables she’d eat.
That win, watching my daughter munch a cucumber she helped grow here in Orlando, still gets me. It’s silly and small and completely worth every splinter.
Here’s what I really want you to walk away knowing. You don’t need money to grow food. You need dirt, a little sun, and the nerve to just try. Everything else you figure out along the way.
I’ve saved a ridiculous number of ideas on Pinterest over the years. Some worked, some flopped gloriously, and all of them taught me something. So go build your board, then go build your beds.
Start smaller than feels impressive. One bed. One season. One imperfect, slightly crooked, wildly satisfying attempt at growing your own stuff.
Because the people with the lush gardens? They all started exactly where you are now, staring at a patch of dirt, wondering if it was worth it.
It is. Go get your hands dirty.