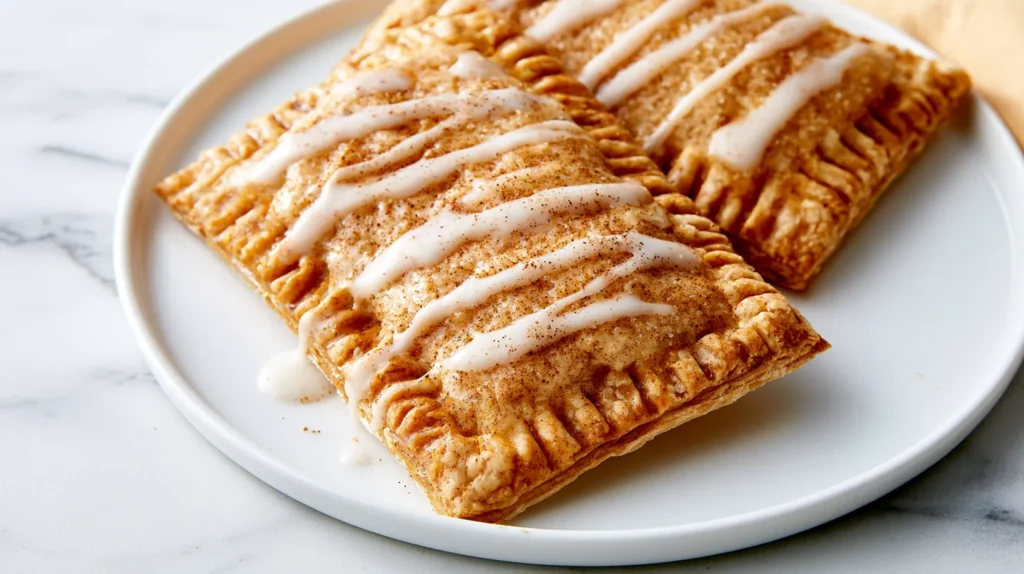
Fall in Orlando is basically a rumor. The temperature drops maybe five degrees, and everyone still acts like it’s sweater weather. So I lean hard into pumpkin pop tarts to fake the cozy vibes my house never really gets. They’re flaky, warmly spiced, and packed with real pumpkin filling instead of orange mystery goo.
Store-bought versions cost a small fortune for basically cardboard with frosting smeared on top. Making your own costs less, and the filling tastes like real pumpkin pie instead of artificial flavor. I tend to notice kids get extra excited about anything homemade, especially something this flaky. Wait until you see how simple the filling really is.
I used to think pop tarts required some fancy bakery skill set. Turns out all you need is pie crust, canned pumpkin, and a little patience. This recipe skips complicated pastry techniques completely, which matters when patience is not exactly my strong suit. Stick around, because the ingredient list might surprise you. That combination fits how most of us cook on a busy weeknight.
Budget baking gets a bad reputation it does not deserve. People assume cheap ingredients mean a lesser result, but that is not what happens here. These tarts come out flaky, golden, and genuinely impressive for the cost. By the end, you will have the full recipe and a few tricks I picked up. Grab your pie crust, and let’s get into it!
This one might just become your new favorite fall tradition.
Some of the links on this page are affiliate links, which means I may earn a small commission if you purchase through them. It never costs you extra. You can always peek at my full disclosure if you’d like the details.
Why Pumpkin Pop Tarts Just Make Sense On A Budget
Let’s talk money for a second, because that’s basically my love language. A box of name-brand pop tarts costs several dollars for just eight tarts. Most of them taste like sugar and cardboard anyway.
Homemade pumpkin pop tarts cost a fraction of that per tart. They still taste like something worth eating. That math alone sold me the first time I ran the numbers. Numbers don’t lie, and these numbers make a pretty strong case.
Pie crust is cheap, canned pumpkin is cheap, and spices probably already live in your cabinet. You’re not buying anything exotic or hard to find here. Even the glaze uses pantry basics like powdered sugar and milk. Nothing about this recipe requires a special trip to a fancy grocery store.
Let’s put real numbers on this, since vague claims never convince me either. A basic pie crust runs about two dollars for a two-pack at most stores. Canned pumpkin costs even less, especially if you grab the store brand instead of a name brand. That’s most of your ingredient cost handled for well under five dollars total.
Here’s the part that surprised me most: homemade stretches further than you’d expect. One batch makes six generous tarts, which beats most store boxes in size and flavor. Plus, you control exactly how sweet or spiced each one turns out. Store-bought tarts give you zero say in that department.
I’ve found that budget recipes get dismissed as boring, but that assumption falls apart here. These tarts look bakery-worthy, and nobody needs to know they cost pennies. Your guests will ask where you bought them, and that reaction never gets old. It’s a small win, but those wins add up fast around here.

What You’ll Need For This Recipe
This recipe keeps the ingredient list short on purpose. I’ve found that fewer ingredients usually means fewer chances to mess something up. Everything here is easy to find at a regular grocery store, no special orders required. Grab these basics, and you’re most of the way to a finished batch of pumpkin pop tarts.
Here’s the full ingredient list, all in standard U.S. measurements:
- 2 refrigerated pie crusts (from a 14.1 oz box), softened slightly at room temperature
- 1 cup canned pumpkin puree (not pumpkin pie filling)
- 1/3 cup packed brown sugar
- 1 teaspoon ground cinnamon
- 1/2 teaspoon ground ginger
- 1/4 teaspoon ground nutmeg
- 1/4 teaspoon ground cloves
- 1 tablespoon cornstarch
- 1 large egg, beaten with 1 tablespoon water, for the egg wash
- 1 cup powdered sugar, for the glaze
- 2 tablespoons milk, for the glaze
- 1/4 teaspoon vanilla extract, for the glaze
- A pinch of cinnamon or a few sprinkles, if you want to fancy things up
A few of these items pull double duty in other recipes too. Extra pumpkin puree freezes well for muffins or pancakes later in the week. Leftover pie crust scraps work great for tiny cinnamon sugar twists. Nothing here goes to waste if you plan your grocery trip wisely.
Notice there’s no specialty flour or fancy pumpkin spice blend required anywhere. Regular spices from your cabinet work perfectly fine here. Missing one spice is not a dealbreaker, so just add extra cinnamon instead. This recipe forgives small substitutions without ruining the final result. Even a partial spice cabinet gets you most of the way there.
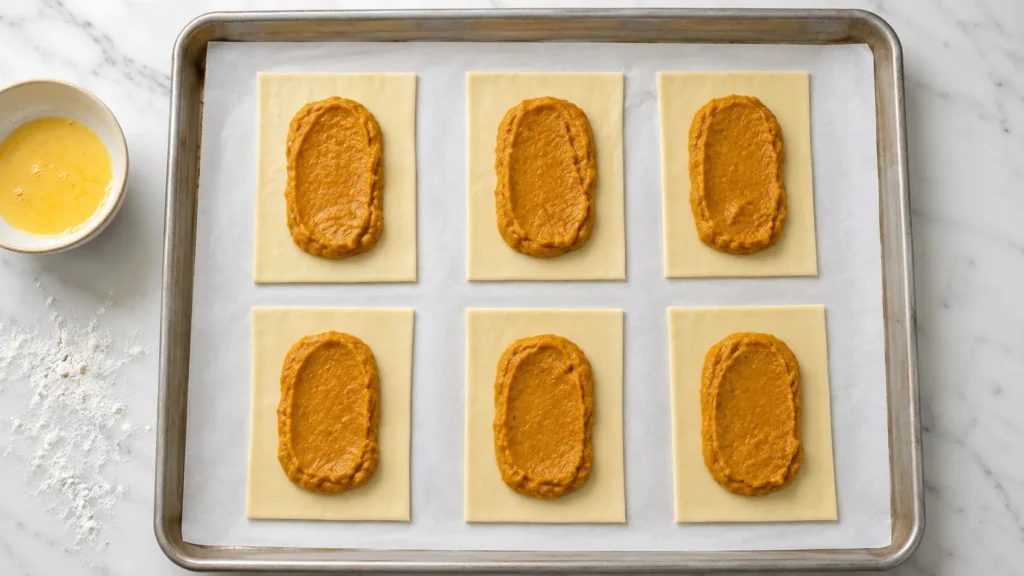
Let’s Make Pumpkin Pop Tarts, Step By Step
This is the part where pumpkin pop tarts stop being an idea and start becoming real food. None of these steps require special equipment or advanced baking knowledge. Just work through them in order, and don’t stress about making everything perfect. A slightly wonky edge never hurt anyone’s afternoon snack.
Here’s exactly how I put these together:
- Preheat the oven to 375°F and line a baking sheet with parchment paper
- Mix the pumpkin puree, brown sugar, cinnamon, ginger, nutmeg, cloves, and cornstarch in a bowl until smooth
- Unroll the pie crusts on a lightly floured surface
- Cut each crust into rectangles, about 3 by 4 inches, for roughly six tarts total
- Spoon 1 to 1.5 tablespoons of filling onto half the rectangles, leaving a small border
- Brush egg wash around the edges of the filled rectangles
- Top with the remaining rectangles and press the edges together with a fork
- Poke a few small holes in the top of each tart to let steam escape
- Brush the tops with the remaining egg wash
- Bake for 20 to 24 minutes, until golden brown
- Cool completely on a wire rack before adding glaze, about 20 minutes
- Whisk the powdered sugar, milk, and vanilla together until smooth
- Spread the glaze over the cooled tarts and add sprinkles if you’re using them
Give the glaze about 10 minutes to set before anyone takes a bite. That waiting period is genuinely the hardest part of this whole process. Everything up to that point moves fast and stays fairly forgiving. Resist cutting into them early, no matter how good your kitchen smells right now. Ten minutes seems long, but it saves you from a melty glaze mess!

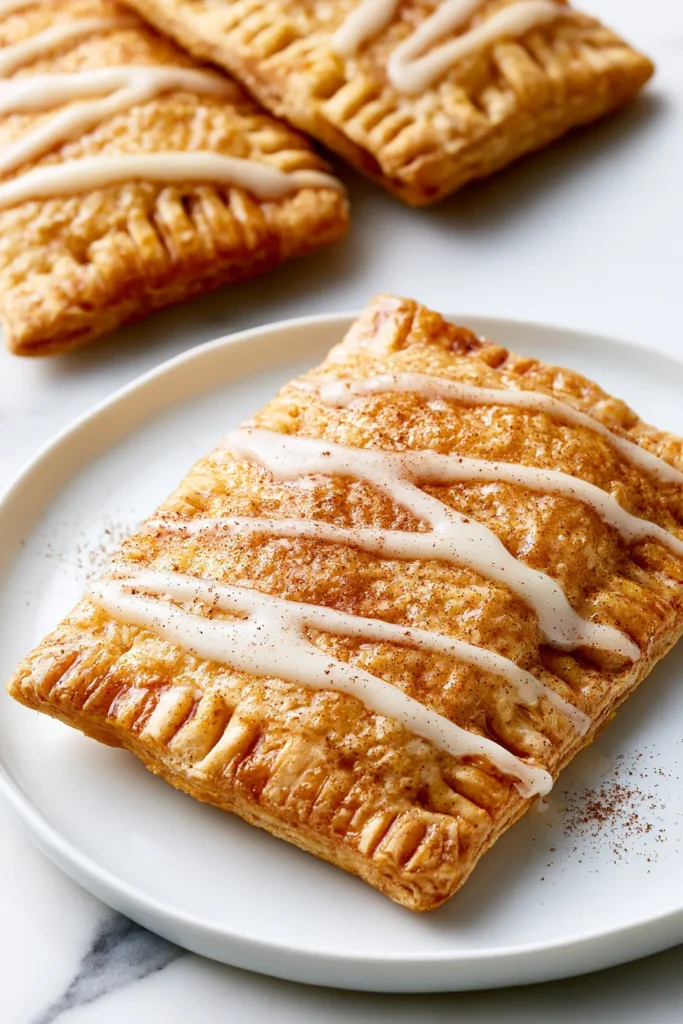
Tips That’ll Save You From A Pop Tart Disaster
A few small habits make a big difference with this recipe. I tend to notice most pop tart problems come from crust that gets too warm too fast. Cold dough holds its shape, seals better, and bakes up flakier every time. These tips come straight from batches that didn’t go quite as planned.
Keep these in mind while you work:
- Keep the pie crust cold until you’re ready to cut it, so it stays easy to handle
- Use canned pumpkin puree, never pumpkin pie filling, which already has sugar and spices mixed in
- Chill filled tarts for 10 minutes before baking to help them hold their shape
- Double the recipe and freeze unbaked tarts for a quicker treat later on
- Swap in a store-brand pie crust or pumpkin puree to save even more money
- Seal the edges firmly with a fork, since gaps let the filling leak out during baking
- Let the tarts cool fully before glazing, or the glaze slides right off
- Use a small cookie cutter to trim uneven edges for a cleaner shape
Humid kitchens make this recipe slightly trickier, so work quickly when it’s warm. A brief chill in the fridge fixes sticky dough almost every single time. Flour your hands often, since sticky fingers make sealing edges frustrating fast. None of these fixes take more than a minute or two.
Skipping the chilling step is tempting, especially when you’re hungry and impatient. Still, that short wait keeps the shape neat and prevents a messy oven. Freezing extra dough scraps also works great for a mini treat later. Nothing here goes to waste if you plan ahead a little. A little extra patience up front saves cleanup time later.
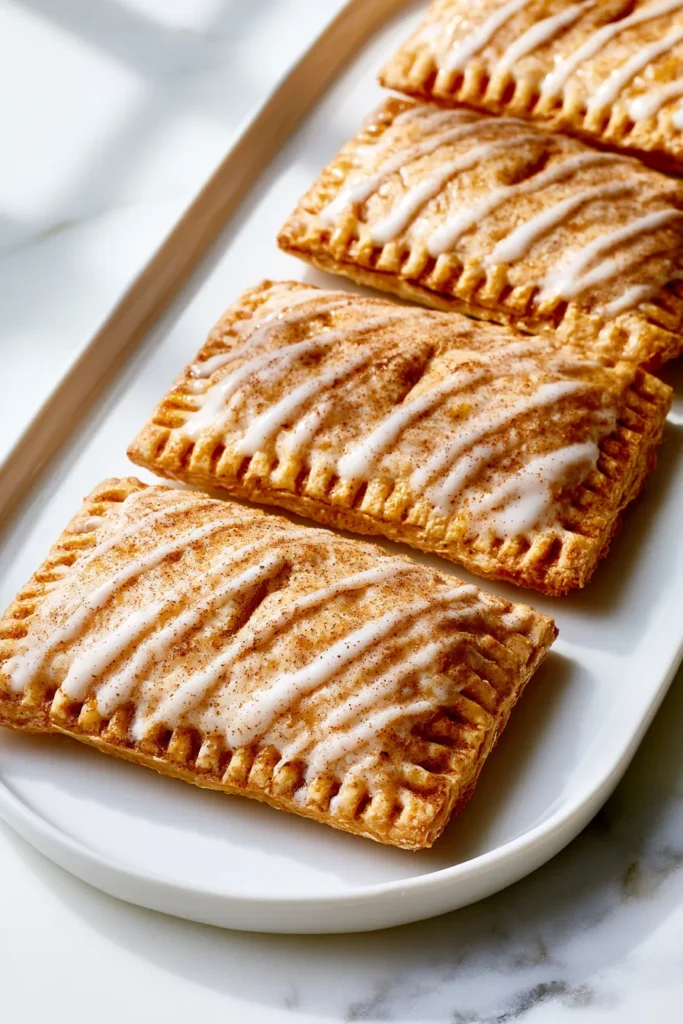
What Pumpkin Pop Tarts Taste Like (Spoiler: It’s Good)
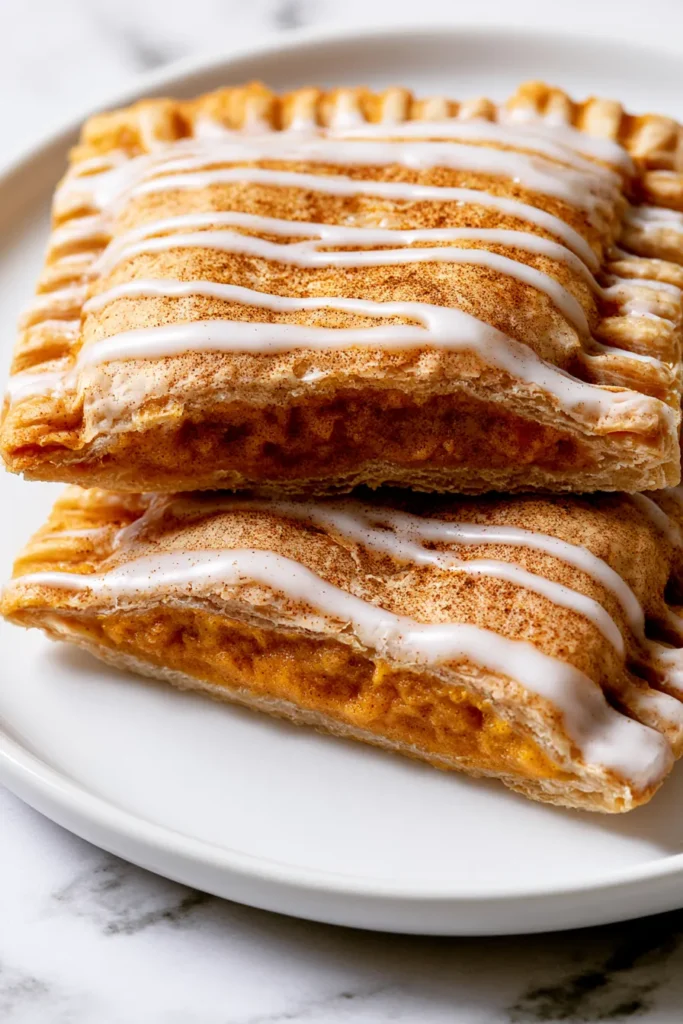
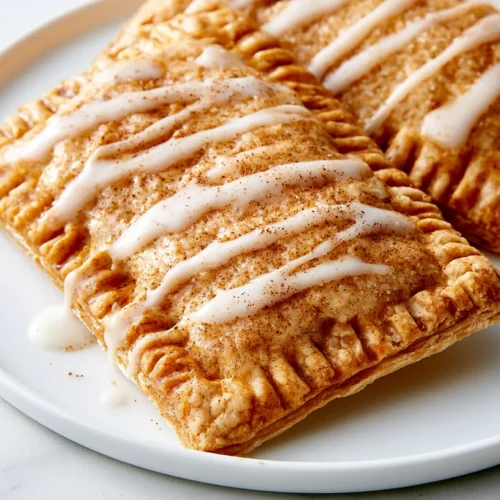
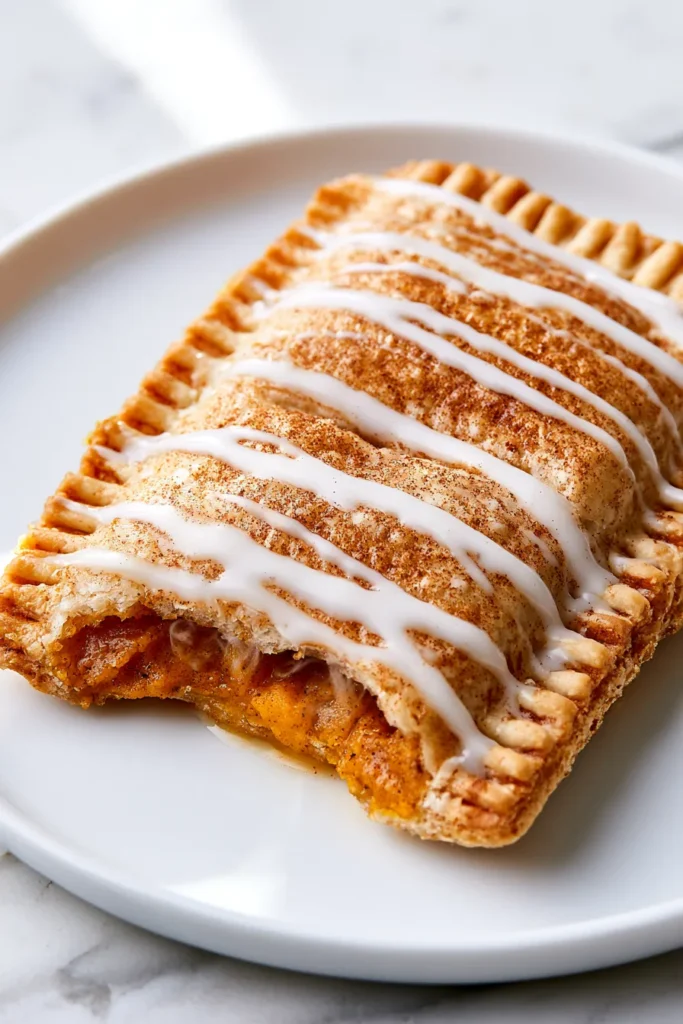
Describing flavor is tricky, but I’ll give it my best shot here. The crust turns flaky and slightly crisp, almost like a mini hand pie. Underneath that, the filling tastes warm, spiced, and genuinely like pumpkin pie in miniature form. Cinnamon and ginger show up first, with nutmeg rounding things out at the end. Some batches taste more gingery than others, depending on how fresh your spices are.
Texture plays a bigger role here than most people expect going in. The crust shatters slightly with each bite, while the filling stays soft and smooth. That contrast keeps every bite interesting instead of one-note or heavy. Add a crunchy glaze on top, and you get three textures in one tart.
The glaze adds a sweet, slightly tangy finish that balances the warm spices nicely. Without it, these tarts taste good, but the glaze pushes them into genuinely craveable territory. Temperature matters more than people expect with this recipe. Warm from the oven, everything tastes softer and more comforting overall.
Once they cool, the tarts firm up and hold together better for snacking. I tend to notice kids prefer them slightly warm, while adults seem to enjoy either version. Neither way is wrong, so pick whatever mood fits your afternoon. Some days call for gooey, and some days call for tidy. Either way, few tarts stick around long enough for a real side-by-side taste test.
Compared to store-bought pop tarts, this filling tastes noticeably less artificial and sweet. Real pumpkin puree brings actual depth that imitation filling never quite manages. That difference becomes obvious after one bite, no side-by-side taste test required. Trust me on this one, or better yet, just go bake a batch.
How To Store Them (If They Even Last That Long)
Let’s be real for a second: these rarely last long enough to need storage. Still, if you somehow have leftovers, storing them properly matters. Keep baked and glazed tarts in an airtight container at room temperature. They’ll stay fresh for about two days before texture starts to change. That’s rare around here, glaze or no glaze.
Label your containers with the date, since fall baking blurs together fast. A sticky note works fine if you don’t own fancy labels. I tend to notice unlabeled leftovers get forgotten in the back of the fridge. A little organization now saves confusion later in the week.
For longer storage, the refrigerator works well for up to five days total. Just know the crust softens slightly once it’s chilled and covered. A quick reheat in the oven or toaster brings back most of that original crispness. Skip the microwave here, since it makes the crust go soft and chewy.
Freezing works great, especially if you plan ahead for busy weeks. Freezer math sounds intimidating, but this part barely takes any effort. Freeze baked, unglazed tarts in a single layer until firm. Then transfer them into a freezer bag for up to two months. Add the glaze fresh after reheating instead of freezing it directly on top.
Unbaked, assembled tarts also freeze well before you ever turn on the oven. This trick saves serious time on busy mornings or unexpected guests. Bake straight from frozen, adding a few extra minutes to the original bake time. Either way, planning ahead keeps pumpkin pop tarts ready whenever cravings hit. Future you will be thankful when a busy Tuesday needs a fast breakfast.
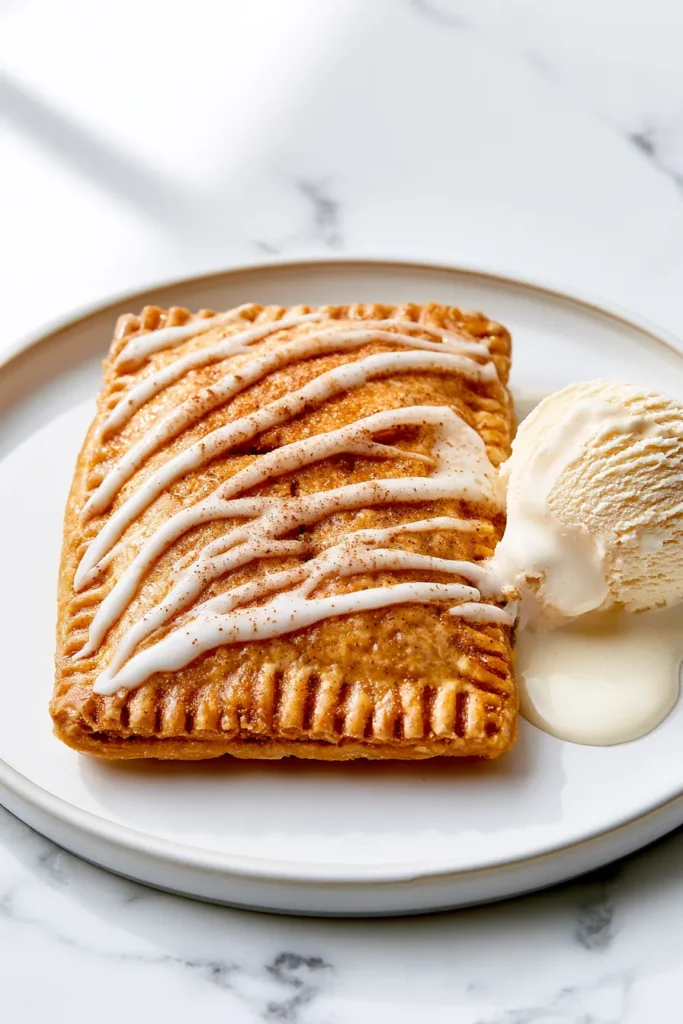
Serving Ideas That Make This Look Fancy
Presentation makes a bigger difference than people usually expect with homemade treats. A little effort here turns a simple pastry into something special. None of these ideas require extra cooking or complicated setup work. Pick whichever option matches your morning, afternoon, or unexpected guest situation. That’s the quiet magic of homemade food in general.
Kids’ lunchboxes benefit from these just as much as brunch tables do. A cooled tart wrapped in parchment survives a backpack ride just fine. Parties get a nice boost too, especially around Halloween or Friendsgiving gatherings. Cut a full batch into halves for a crowd, and everyone gets a taste.
Try serving pumpkin pop tarts one of these ways:
- Warm, with a small scoop of vanilla ice cream melting on top
- Alongside hot apple cider or a homemade pumpkin spice latte
- On a fall brunch board with fresh fruit and coffee
- Packed cooled and wrapped in parchment paper for school lunches
- Dusted with extra cinnamon sugar for a little crunch on top
- Sliced in half and drizzled with extra glaze for dessert night
- Wrapped individually and given as a small homemade gift
Brunch spreads especially benefit from these tarts sitting front and center. Guests notice homemade pastry immediately, even when everything else on the table came from a jar. That contrast works entirely in your favor here.
Confidence goes a long way when you’re serving something you made yourself. Nobody needs to know how simple the whole process really was. Either way, this trick works for casual days and fancier occasions alike.
Why This Beats The Store-Bought Pumpkin Pop Tarts Every Time
Let’s circle back to where this whole post started: the comparison. Store-bought pop tarts win on convenience alone, and that’s the only category they win. Once you factor in taste, cost, and ingredients, homemade pulls ahead easily. That gap only gets wider once you bake a batch yourself. This isn’t a small margin, and it adds up fast over time.
Nutrition labels on packaged pop tarts read like a chemistry experiment gone slightly wrong. Homemade versions use ingredients you can pronounce and probably already own. That transparency matters more to me the older I get. Plus, watching a pastry puff up in your own oven brings real satisfaction.
Control matters more than people admit when they’re feeding a household. You decide the sweetness, the spice level, and the size of each tart. Picky eaters get a say too, since you can adjust the filling easily. Store-bought boxes never ask for anyone’s opinion before hitting the shelf.
Cost comparisons rarely lie, and this one favors homemade by a wide margin. A single batch costs less than one box of the name-brand version. You get double the filling, real spices, and total control over sweetness. Six tarts for that price beats any drive-through breakfast deal too. Store-bought simply can’t compete once you break down the numbers.
Every time I make a batch, I’m reminded why homemade wins. Convenience matters on busy days, sure, but flavor wins most other days. Pumpkin pop tarts prove homemade doesn’t have to mean complicated or expensive. Given the choice, I’ll take flaky and homemade over convenient and forgettable, every single time. That’s a trade I’ll make every single week without a second thought.
FAQs
Can I use homemade pie crust instead of store-bought? Yes, homemade crust works fine here if you prefer making it yourself. Just make sure it’s rolled thin enough to fold and seal easily.
Can I make these gluten-free? Swap in a gluten-free pie crust, and the rest of the recipe stays the same. Double-check your other ingredients too, since cross-contamination can happen easily.
Do I have to glaze the tarts? No, plain tarts still taste great without any glaze at all. Skipping it also cuts down on sugar if that matters to you.
Can I make the filling ahead of time? Yes, the pumpkin filling keeps well in the fridge for about three days. Just give it a quick stir before spooning it onto the dough.
Why did my tarts leak filling during baking? This usually happens when the edges aren’t sealed tightly enough with a fork. Overfilling each tart also increases the chances of a mid-bake leak.
Pumpkin Pop Tarts
Ingredients
Filling and Crust
- 2 refrigerated pie crusts from a 14.1 oz box, softened slightly at room temperature
- 1 cup canned pumpkin puree not pumpkin pie filling
- 1/3 cup packed brown sugar
- 1 teaspoon ground cinnamon
- 1/2 teaspoon ground ginger
- 1/4 teaspoon ground nutmeg
- 1/4 teaspoon ground cloves
- 1 tablespoon cornstarch
- 1 large egg beaten with 1 tablespoon water, for the egg wash
Glaze
- 1 cup powdered sugar
- 2 tablespoons milk
- 1/4 teaspoon vanilla extract
- A pinch of cinnamon or a few sprinkles if you want to fancy things up
Instructions
- Preheat the oven to 375°F and line a baking sheet with parchment paper.
- Mix the pumpkin puree, brown sugar, cinnamon, ginger, nutmeg, cloves, and cornstarch in a bowl until smooth.
- Unroll the pie crusts on a lightly floured surface.
- Cut each crust into rectangles, about 3 by 4 inches, for roughly six tarts total.
- Spoon 1 to 1.5 tablespoons of filling onto half the rectangles, leaving a small border.
- Brush egg wash around the edges of the filled rectangles.
- Top with the remaining rectangles and press the edges together with a fork.
- Poke a few small holes in the top of each tart to let steam escape.
- Brush the tops with the remaining egg wash.
- Bake for 20 to 24 minutes, until golden brown.
- Cool completely on a wire rack before adding glaze, about 20 minutes.
- Whisk the powdered sugar, milk, and vanilla together until smooth.
- Spread the glaze over the cooled tarts and add sprinkles if you’re using them.
- Let the glaze set for about 10 minutes before serving.
The Verdict: Bake These Already
Fall might skip Orlando entirely, but my kitchen doesn’t have to know that. Pumpkin pop tarts give me the cozy payoff without waiting on weather that never shows up. That’s the whole appeal for me this time of year.
I tend to notice the best recipes solve a real problem instead of just tasting good. This one solves the fall-craving problem without a plane ticket or a fake pumpkin patch. It also solves the budget problem, which matters most days around here. Two problems, one pan, zero regrets.
Budget baking gets a bad reputation, and this recipe quietly proves it wrong. You don’t need fancy tools, rare ingredients, or a big grocery budget here. A little patience and a rolling pin get the job done just fine. Everything else comes down to pantry staples most kitchens already stock.
I’ve found that recipes like this one earn a permanent spot in the rotation. They’re affordable, they photograph well, and they disappear fast around my house. Save this one to Pinterest now, because future you will want it back. Fall cravings tend to sneak up faster than anyone expects around here. I say that as someone who has forgotten plenty of good recipes before.
Give pumpkin pop tarts a try this weekend, even if fall still refuses to show up outside. Your kitchen can create its own season, one flaky batch at a time. Store-bought never stood a chance against this — case closed!